Hood Gas Strut Lower
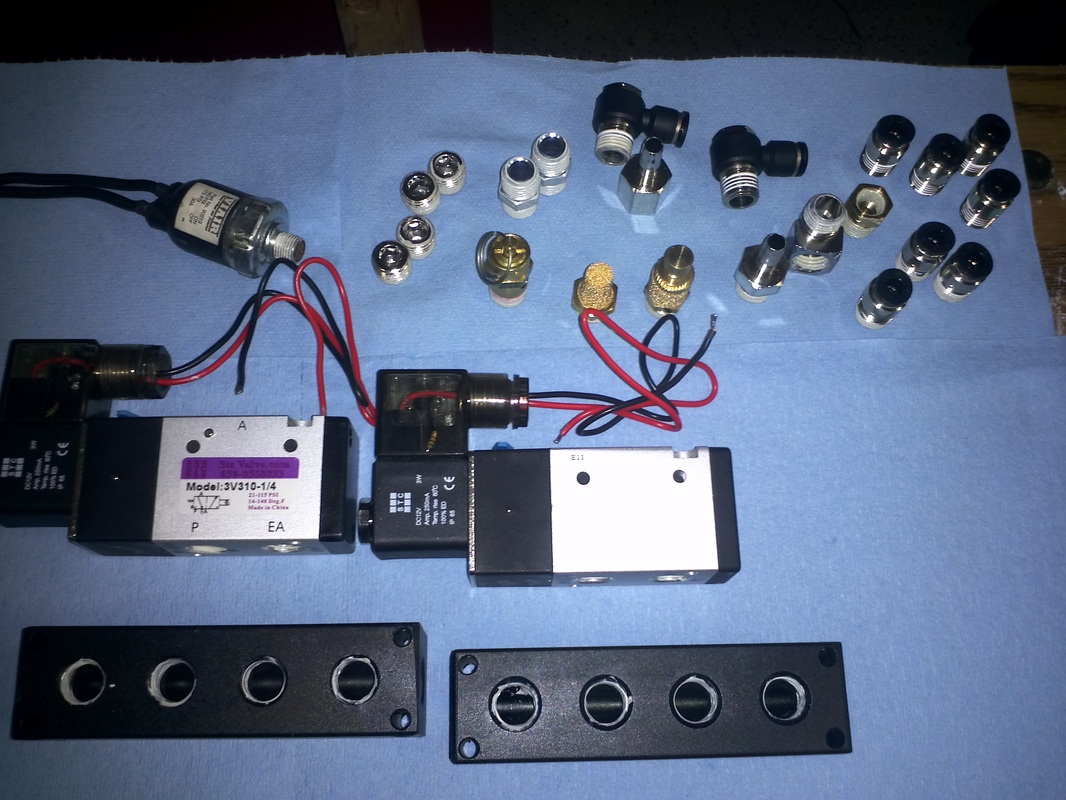
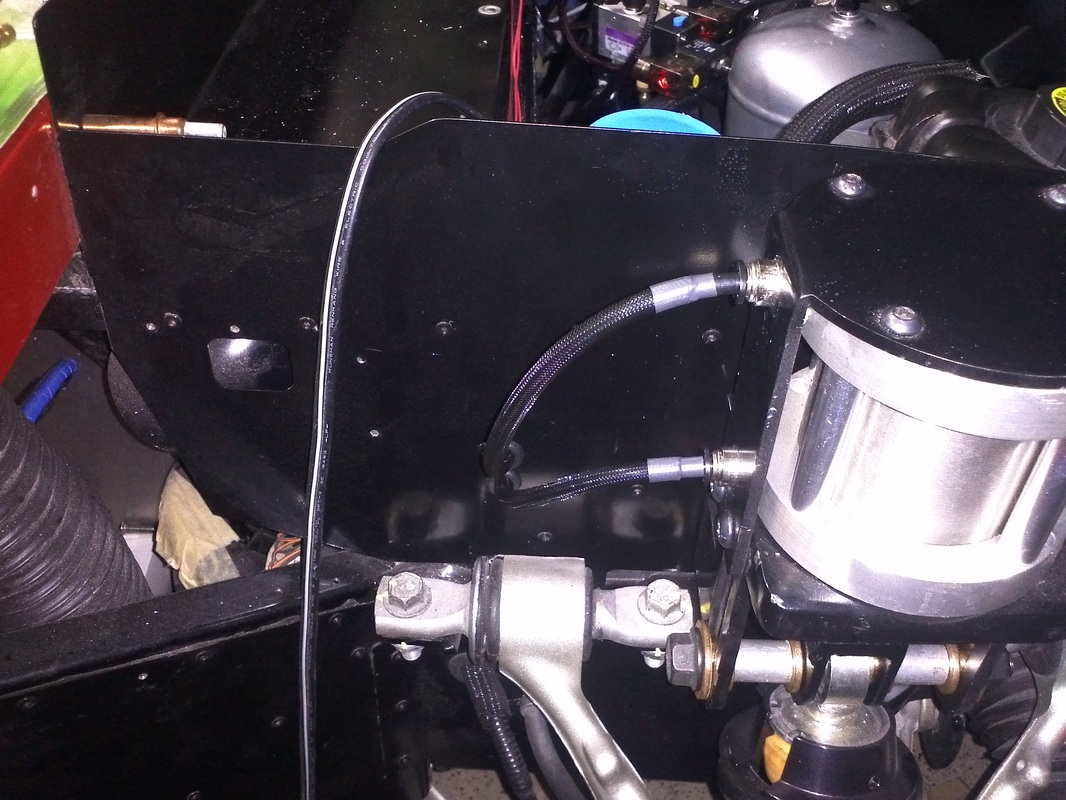
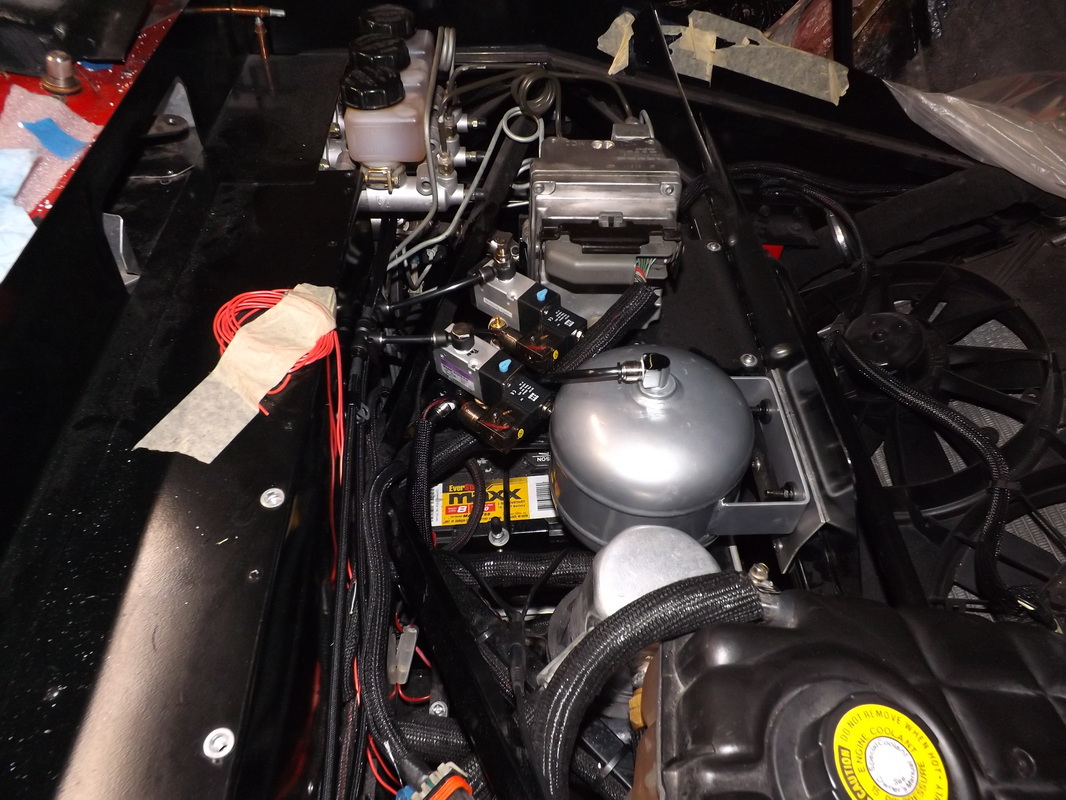
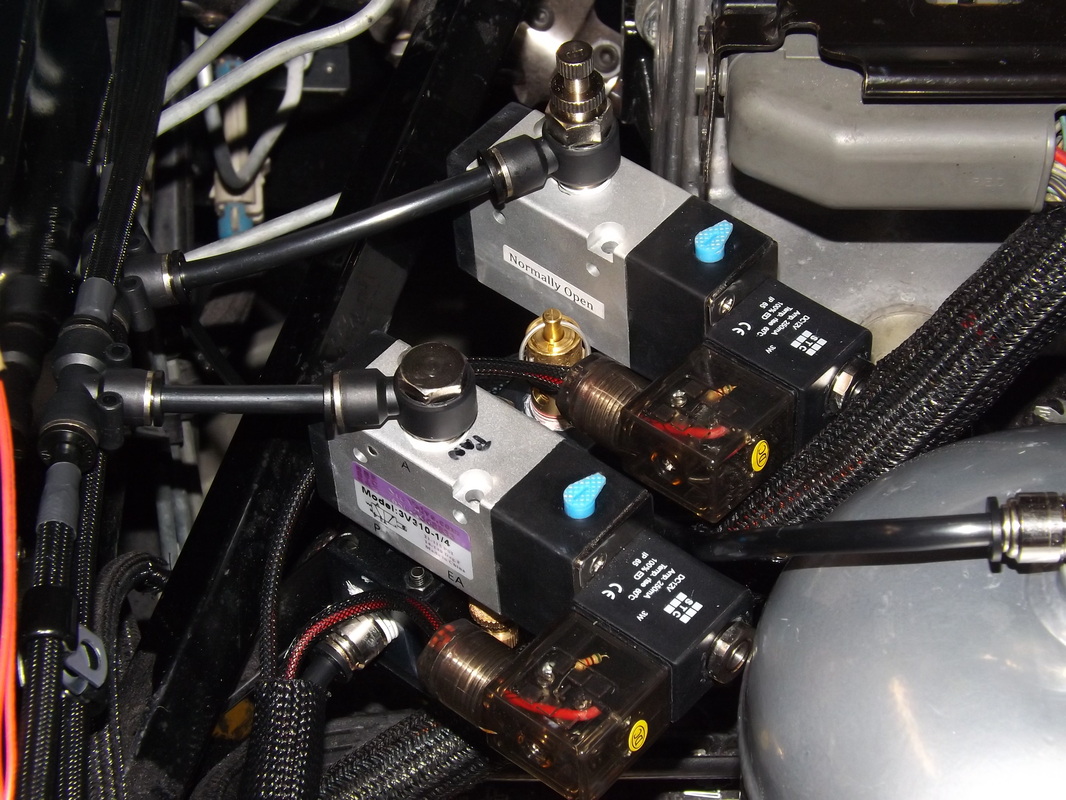
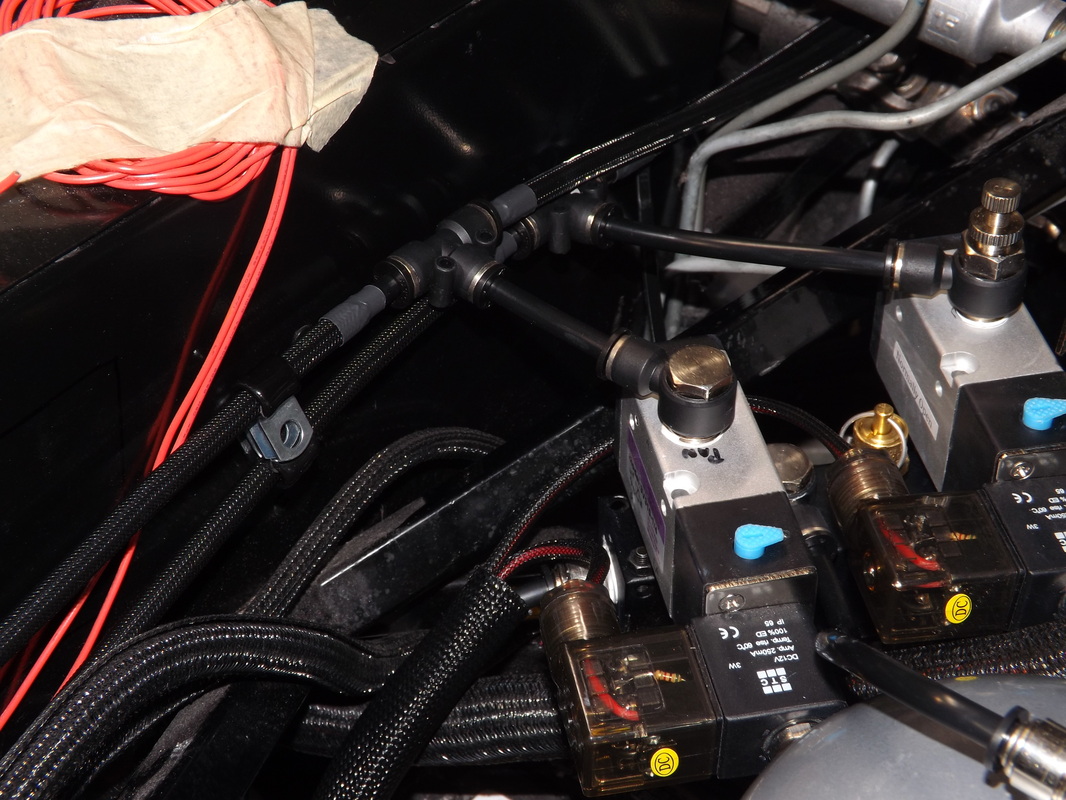
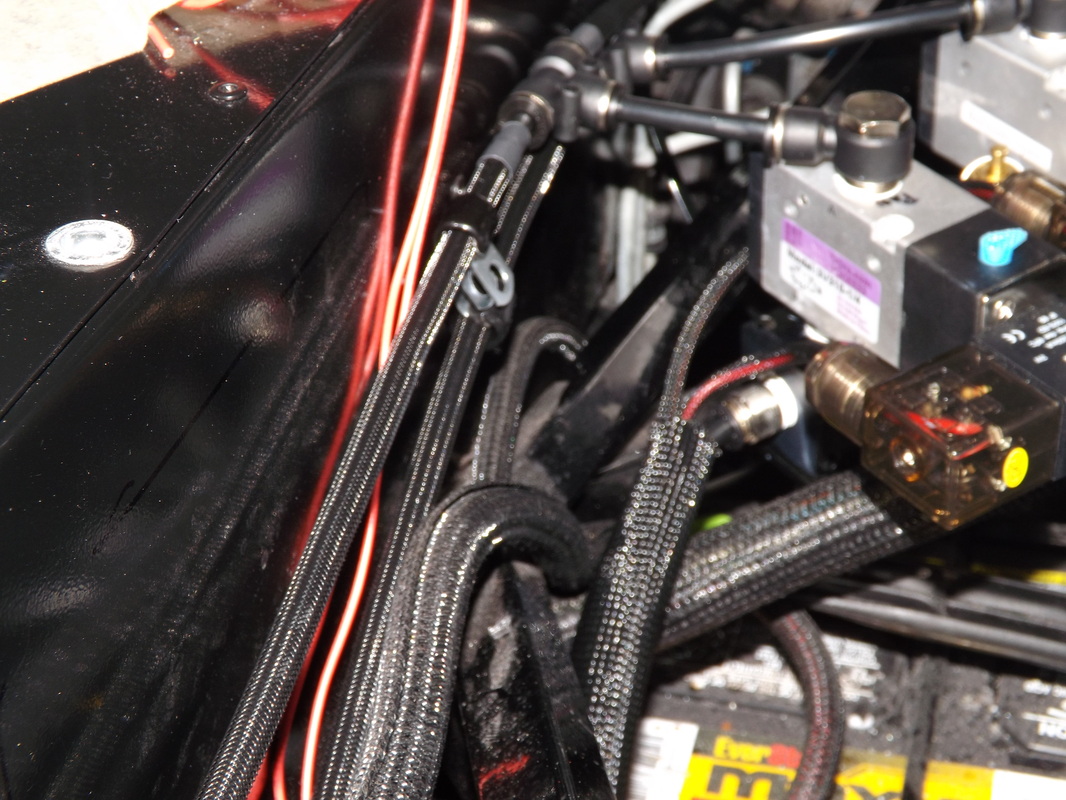
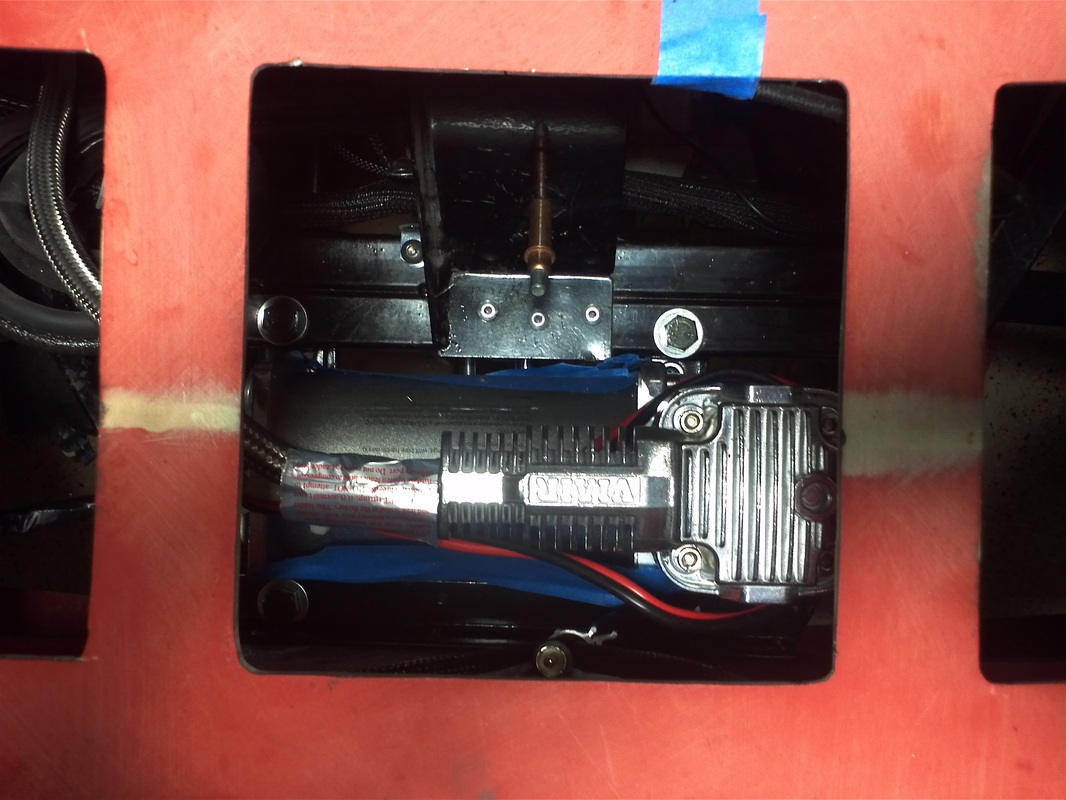
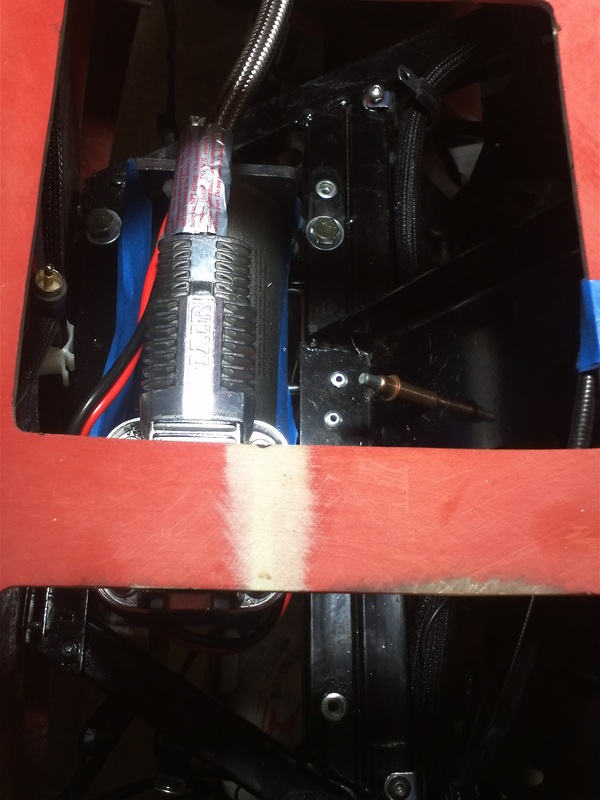
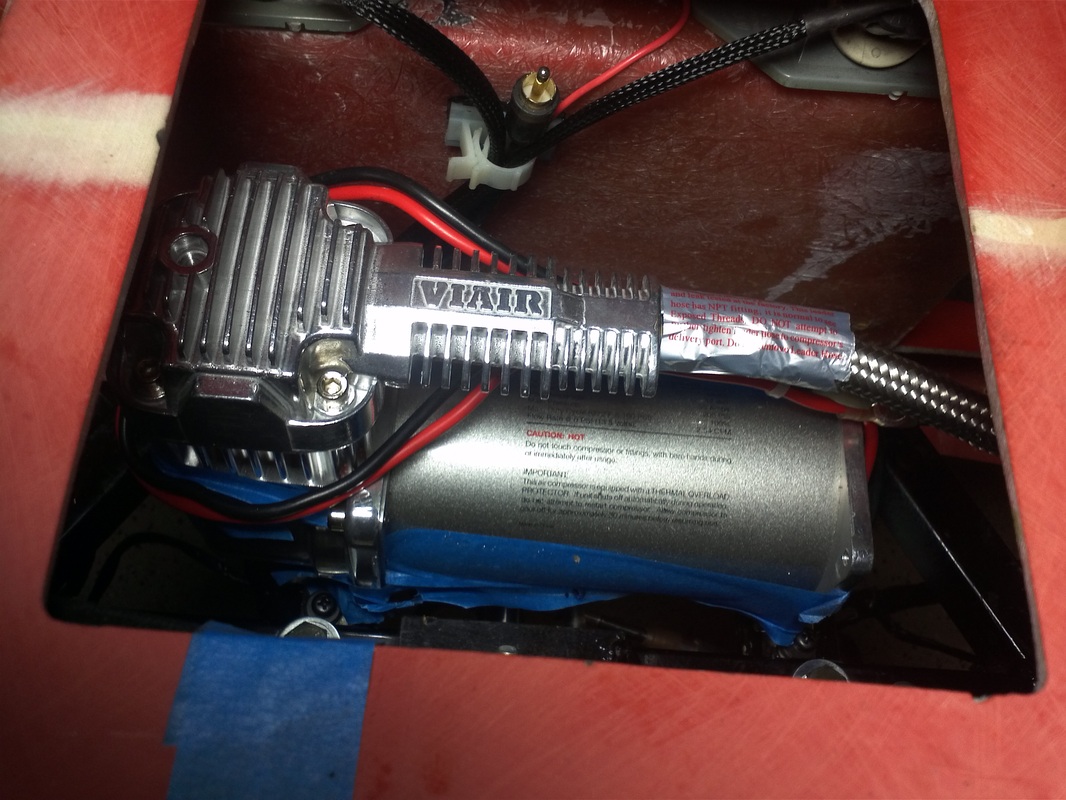
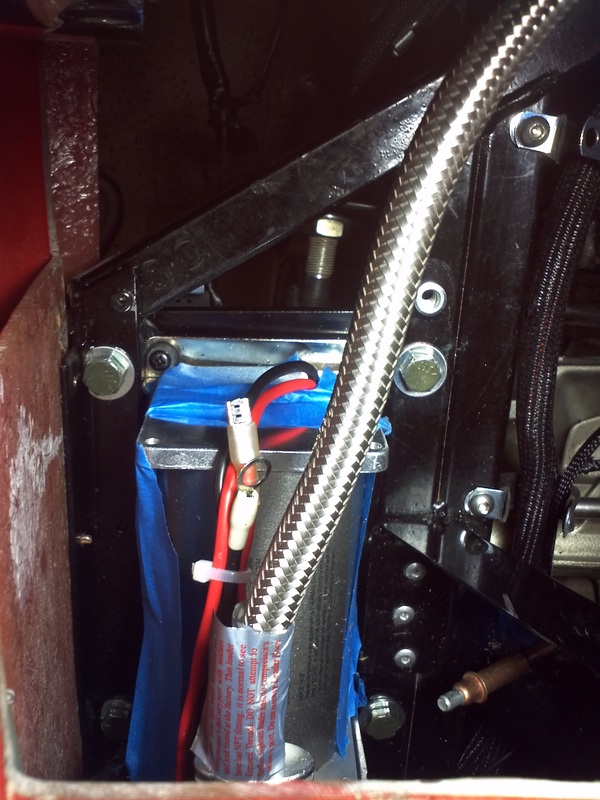
Pneumatic Lift System


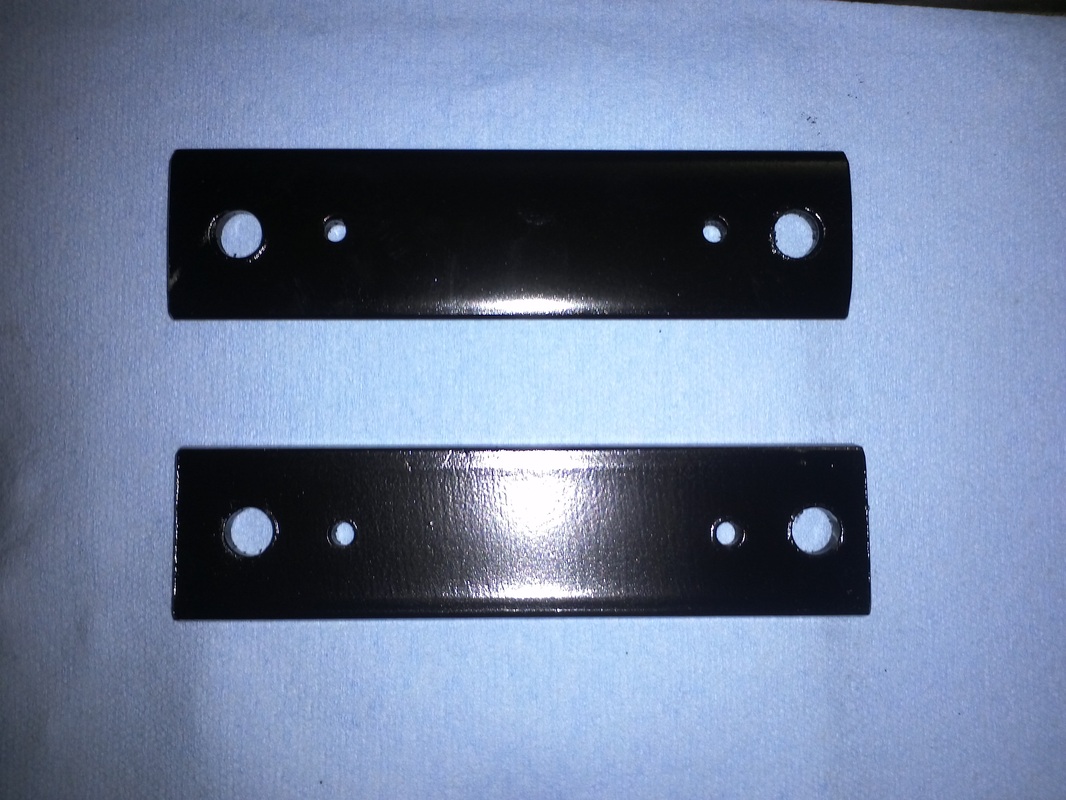


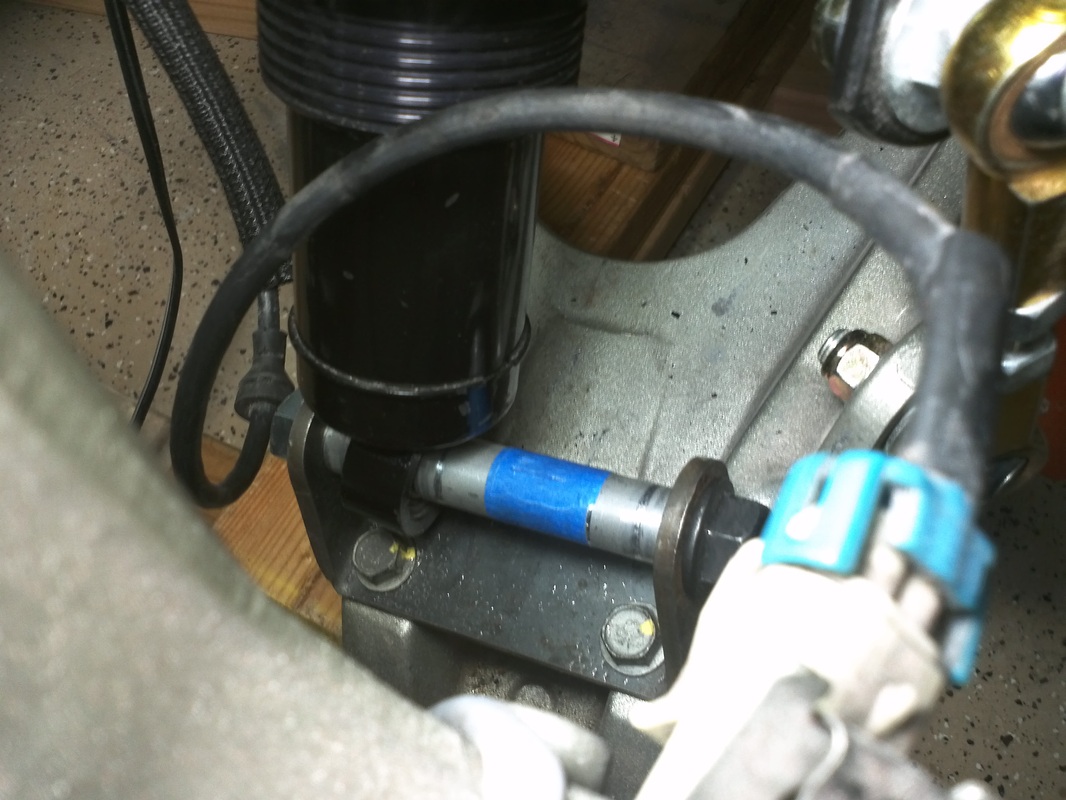
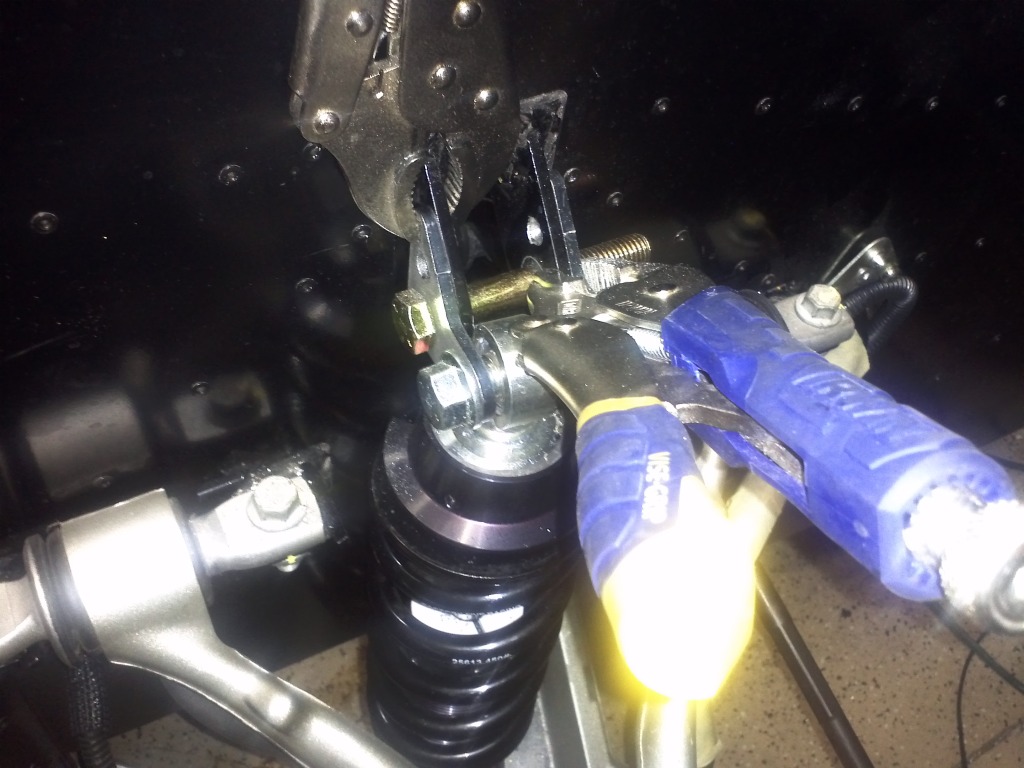
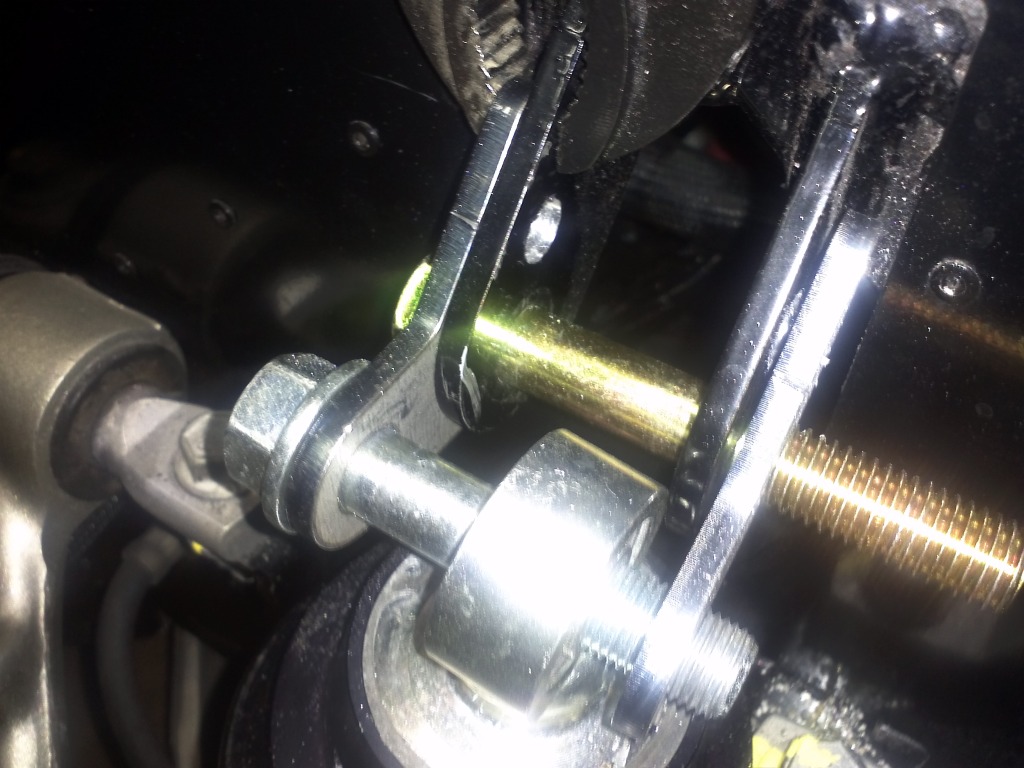
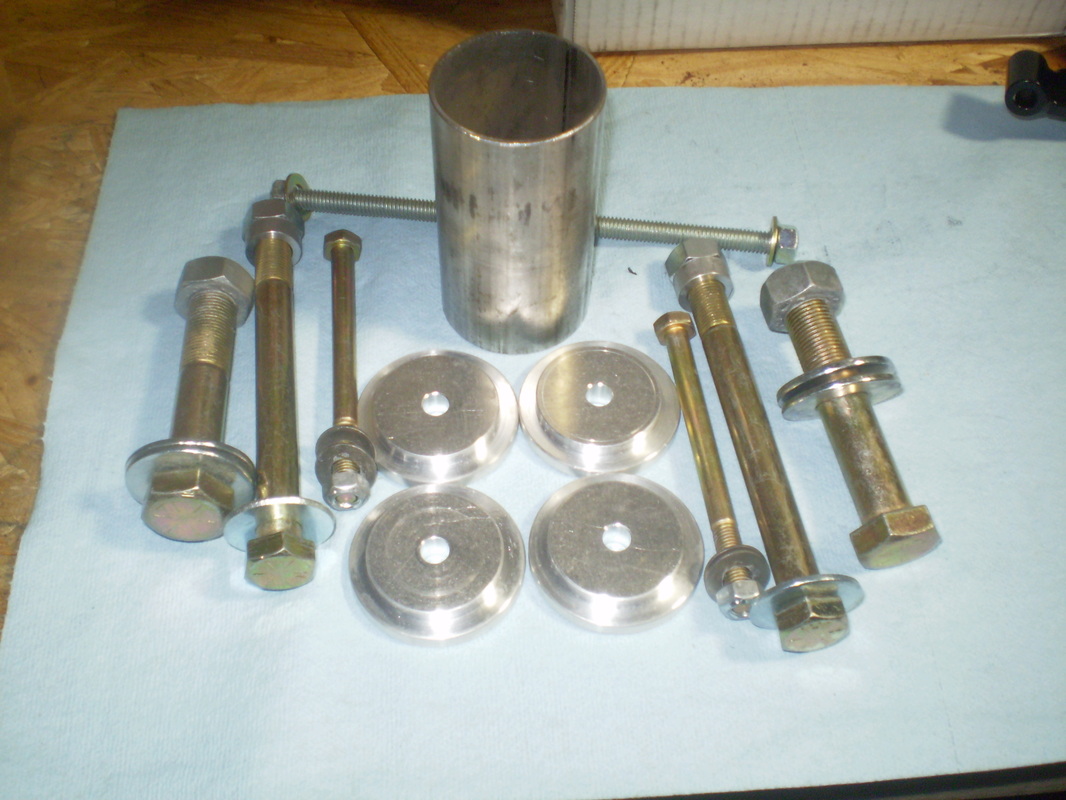
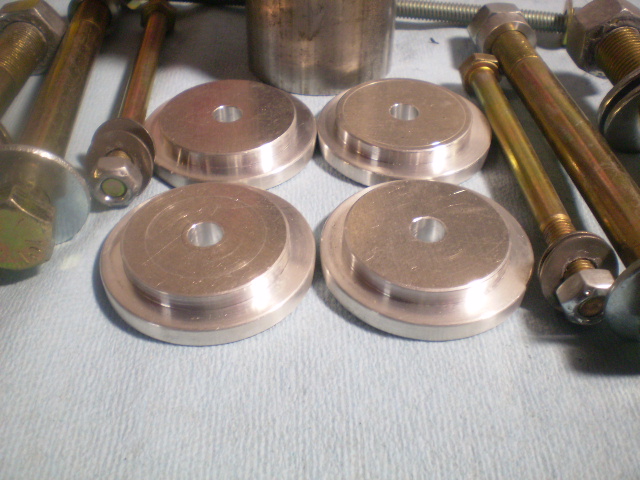
Cam Bolt Washer
These are added to allow the cam bolts to be torqued to spec and not spin in the mount. There are four for the front and two for the rear. Shane leaves two holes for welding. They're welded and ready for installation.


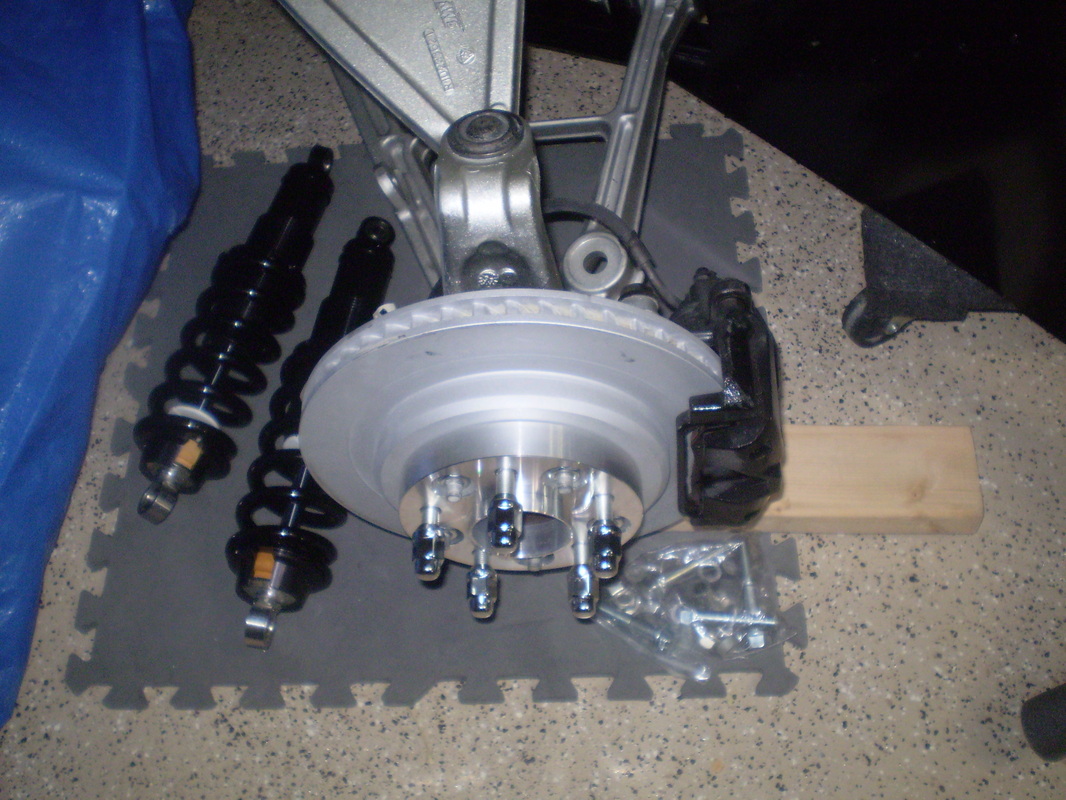

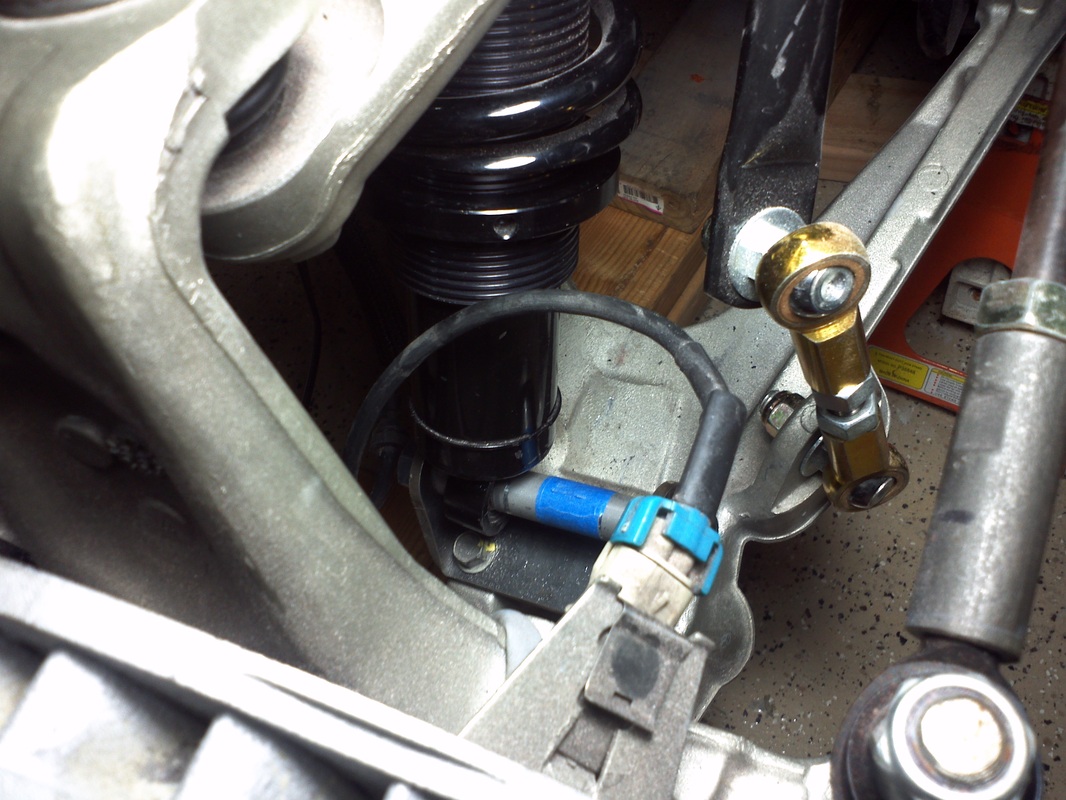
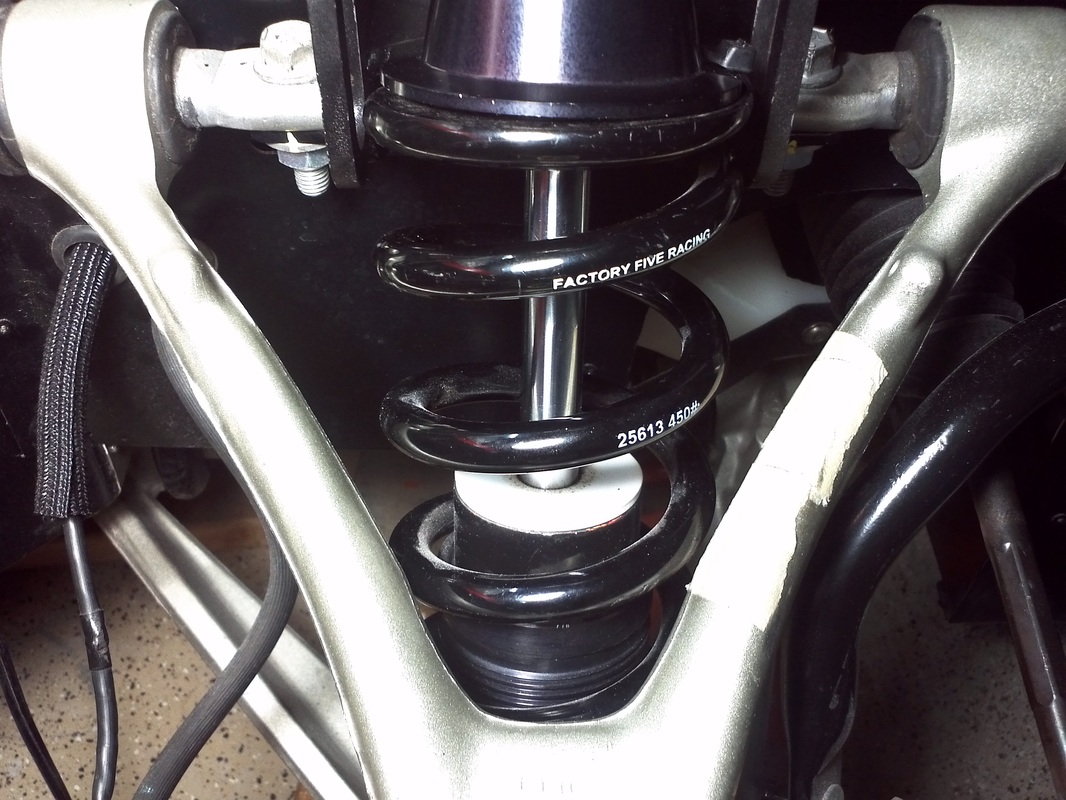
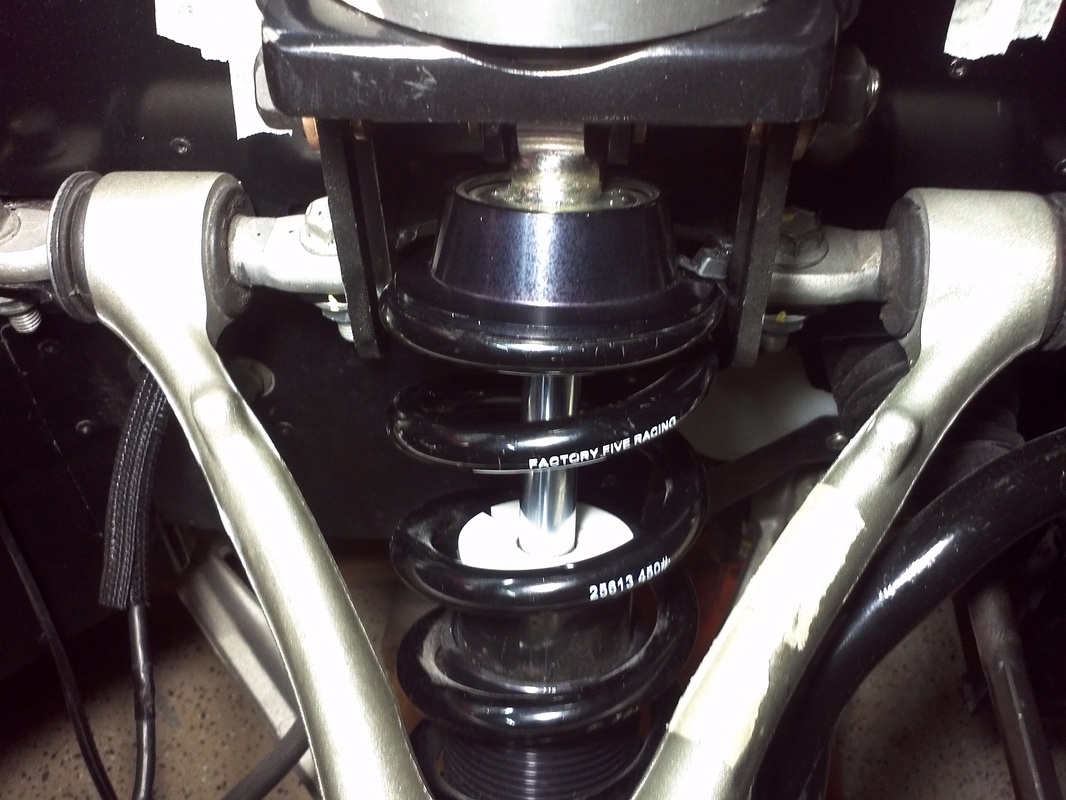
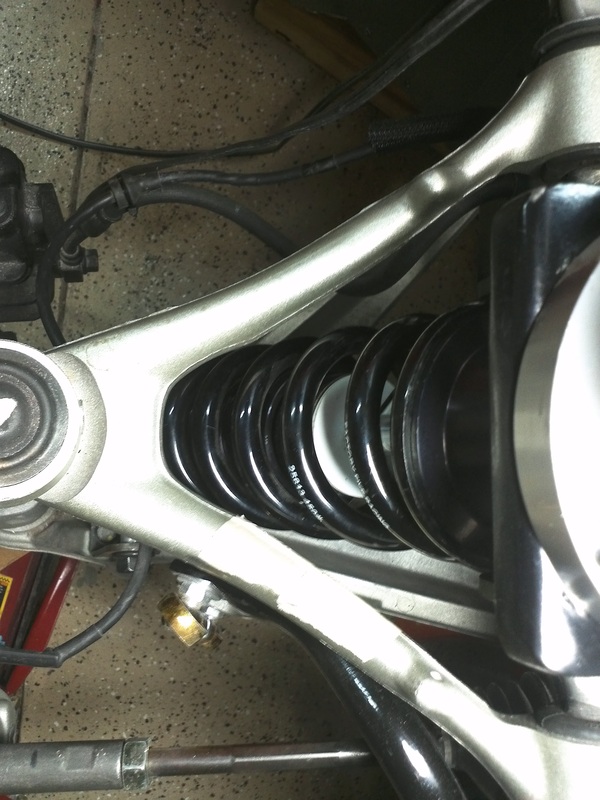
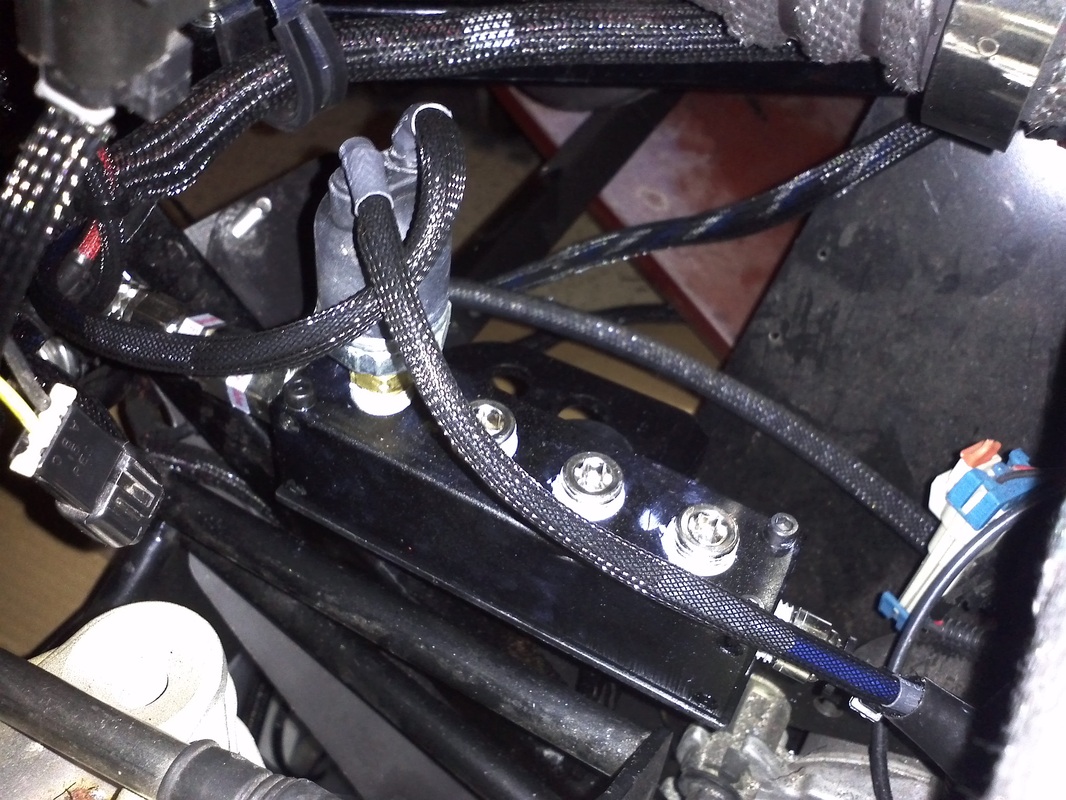
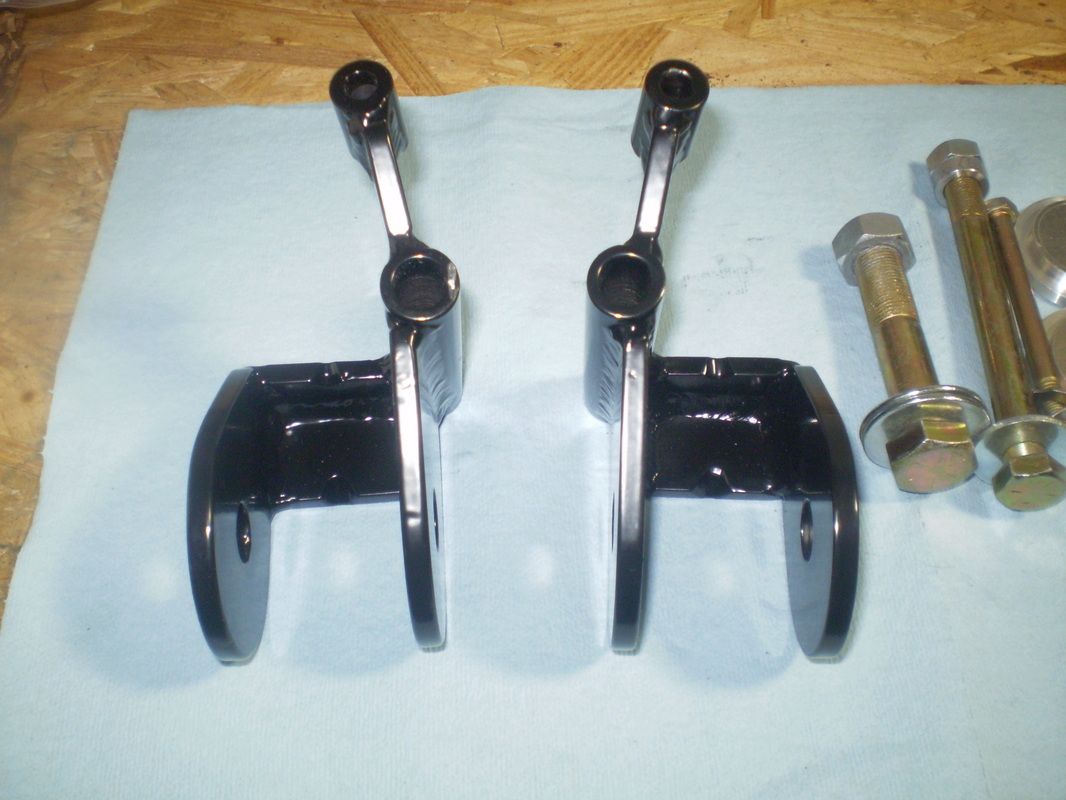
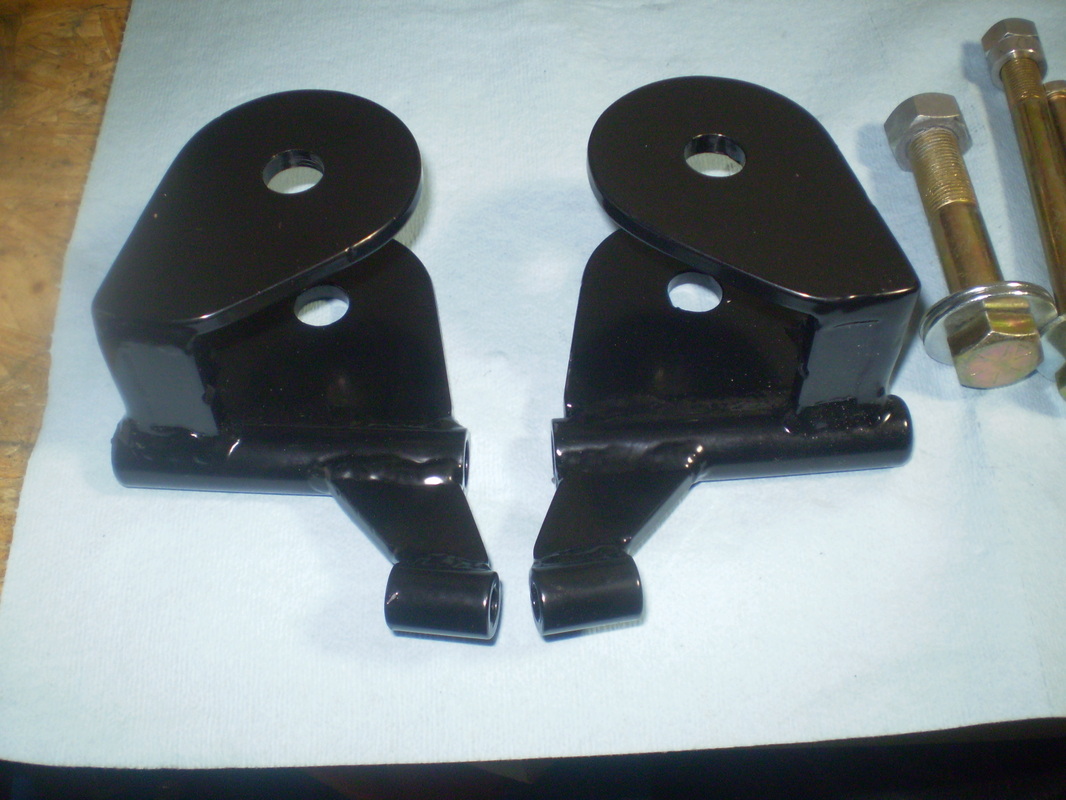
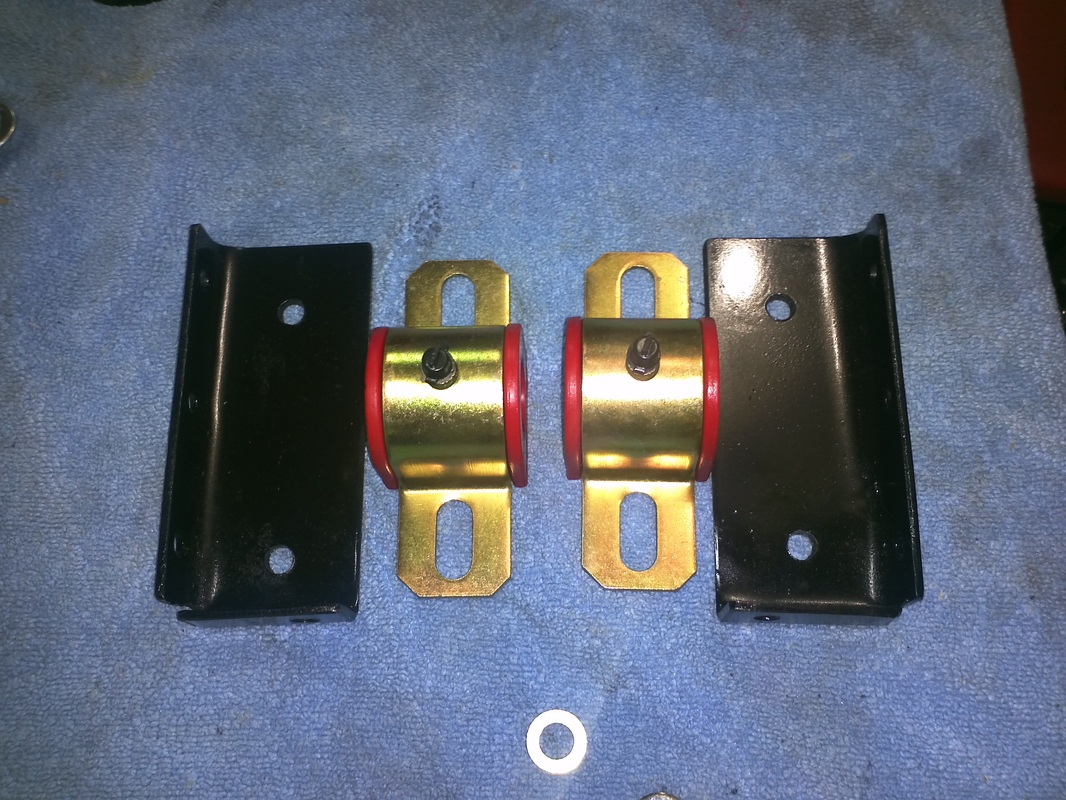
Quick Product Shock Mounts
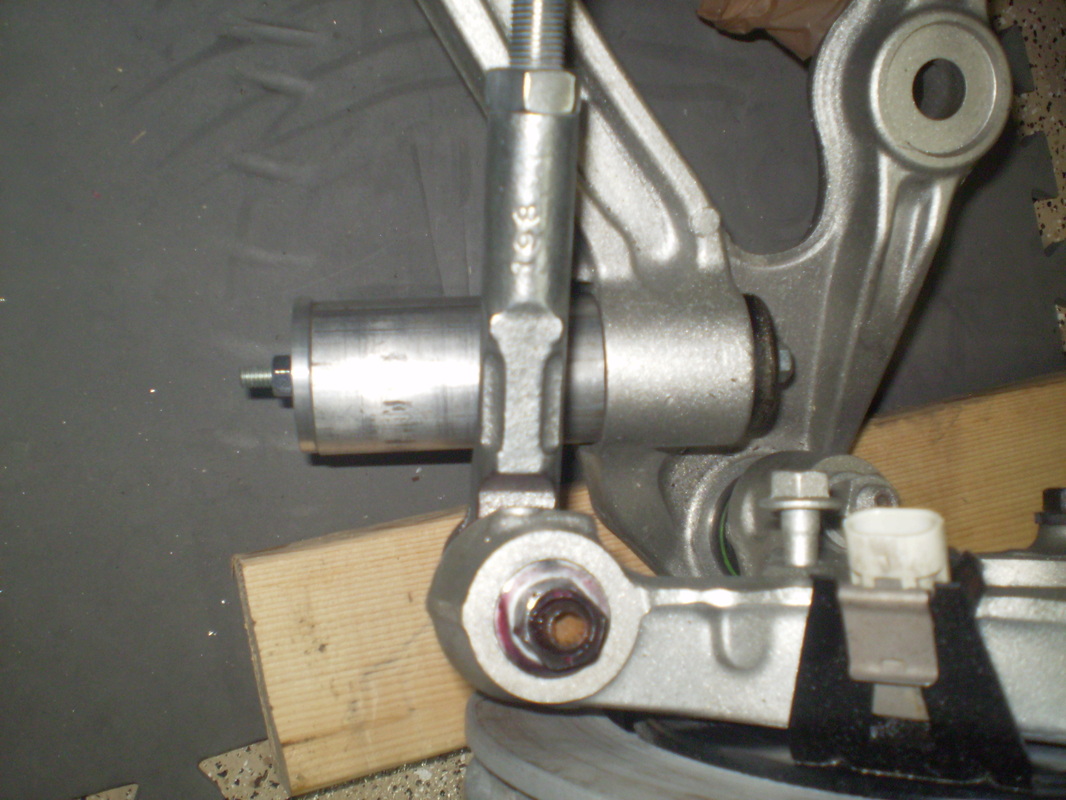
There have been issues with the supplied rear shock mounts. FFR has began shipping a fix, but most as I still have concerns. Here's a race proven solution. The mounts from Quick Products come powder coated with all required hardware. There is even a simple tool to pull the lower rear rubber bushing.
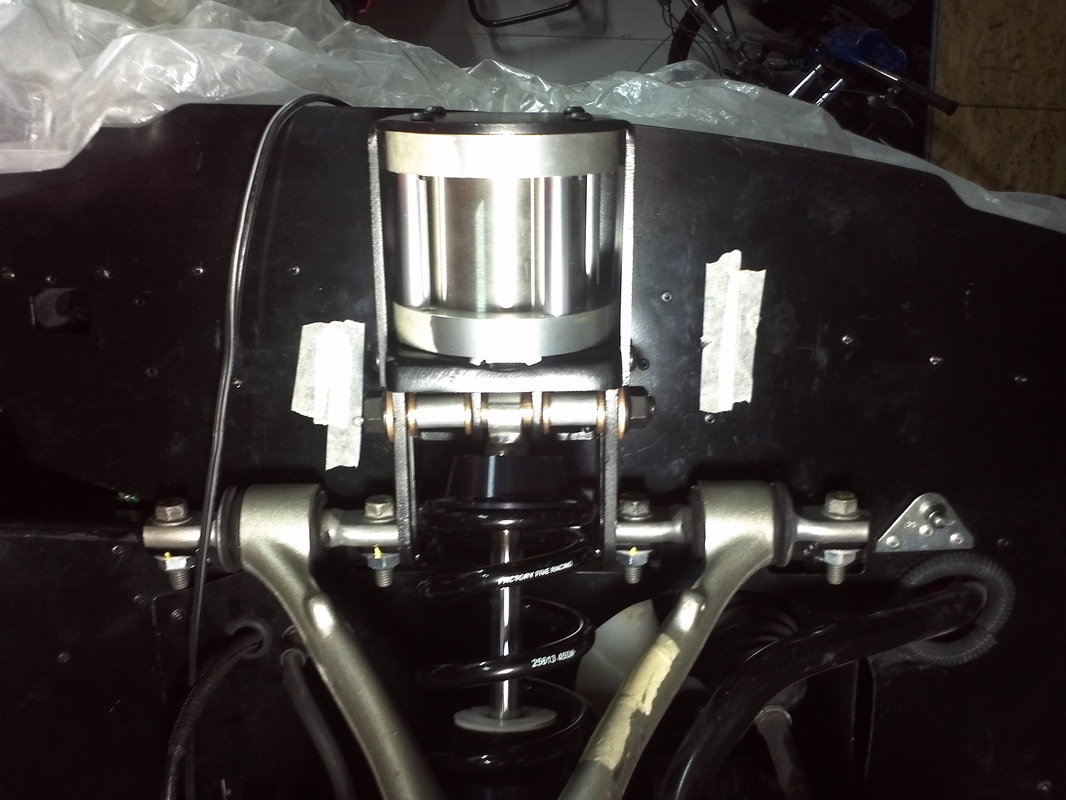
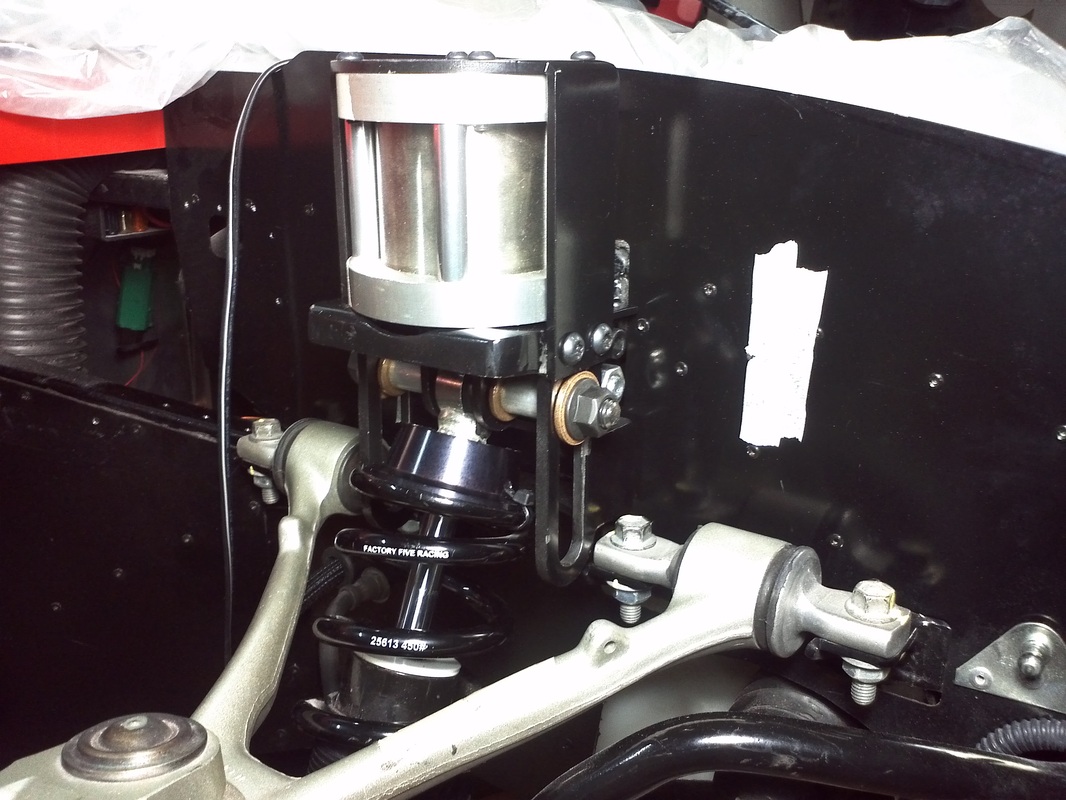
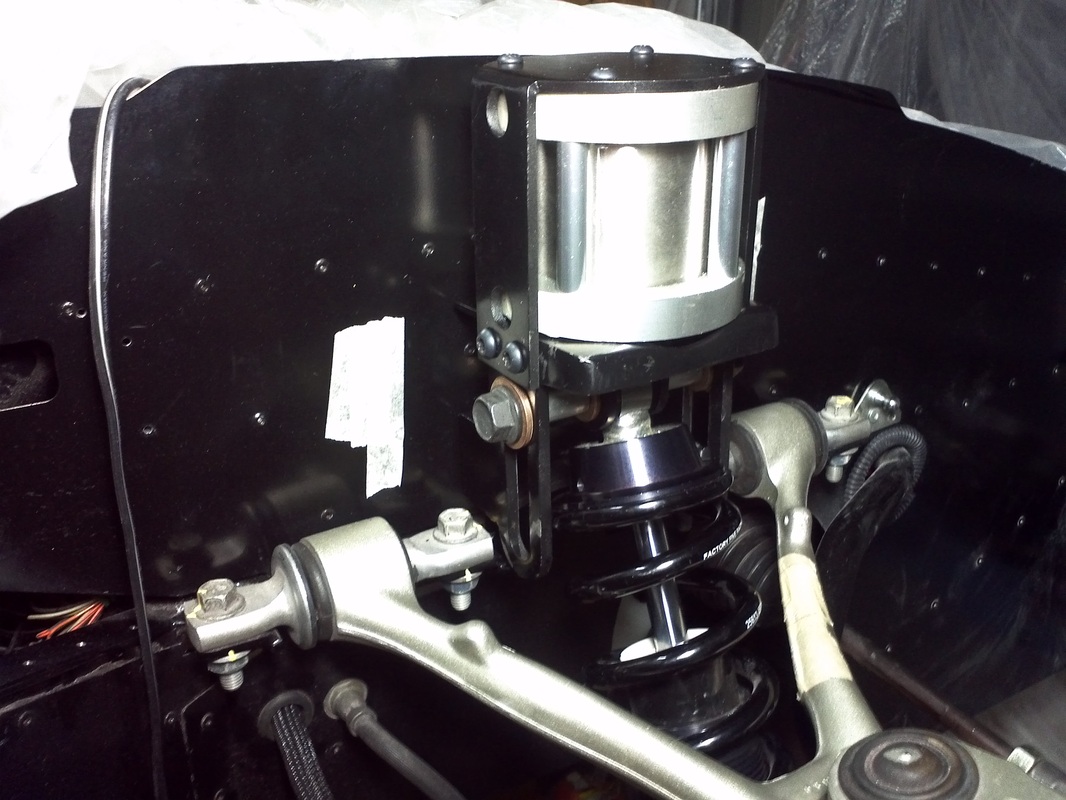
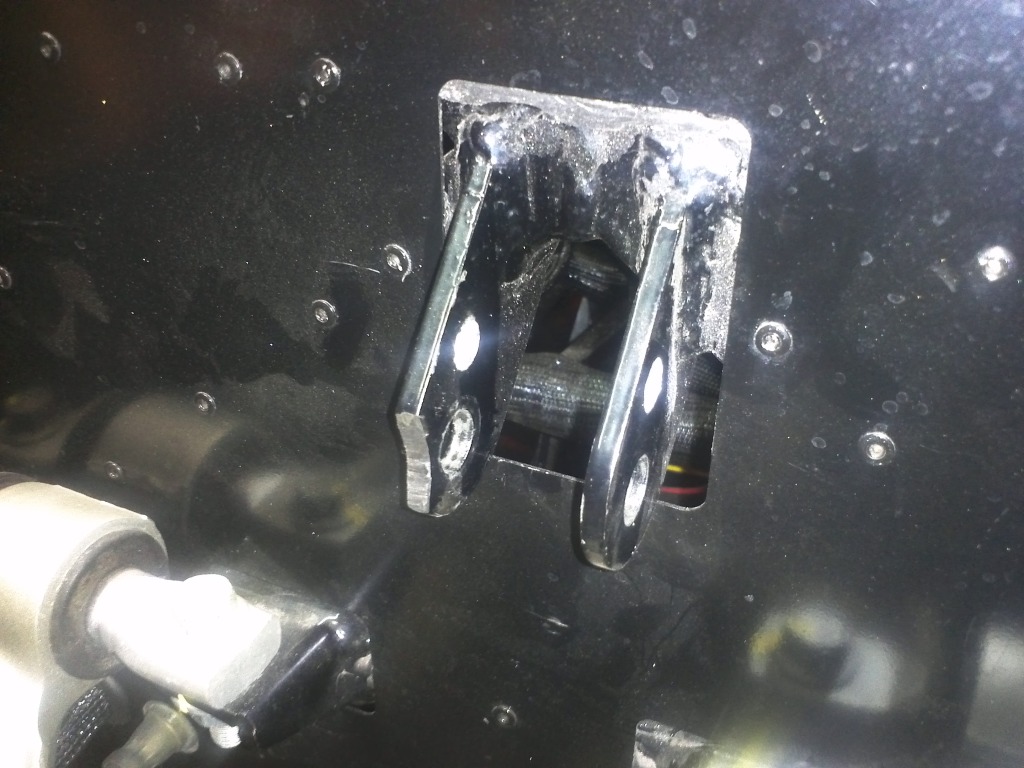
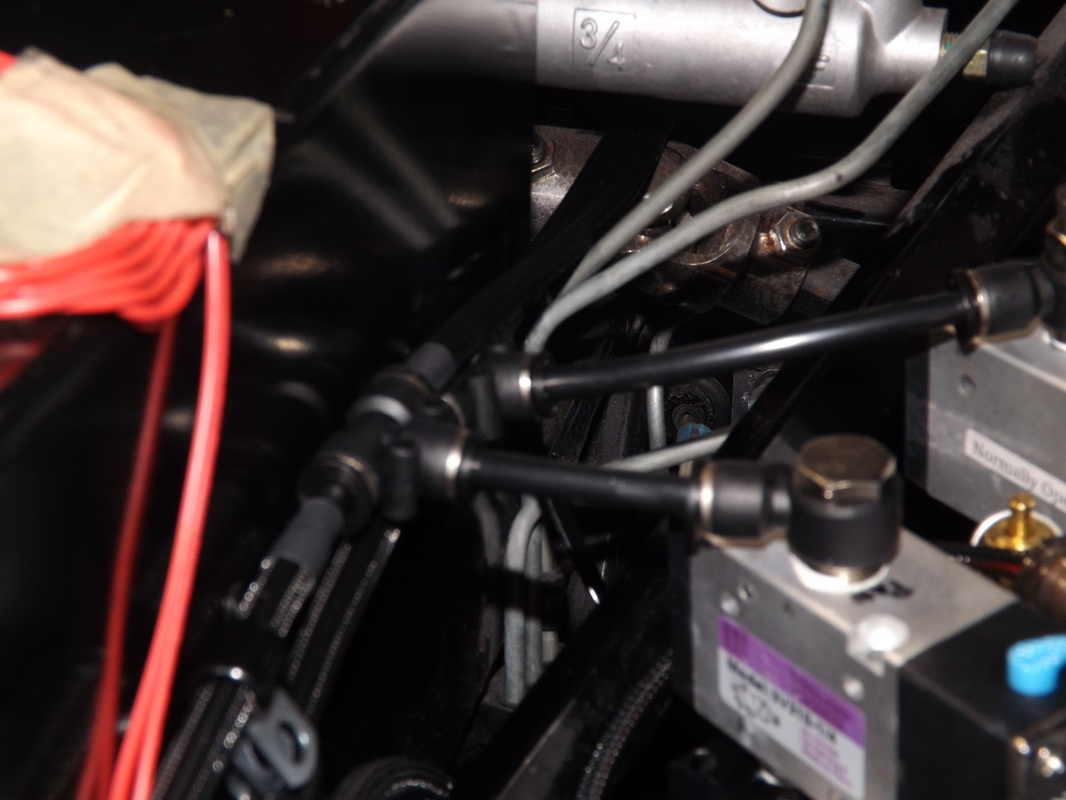
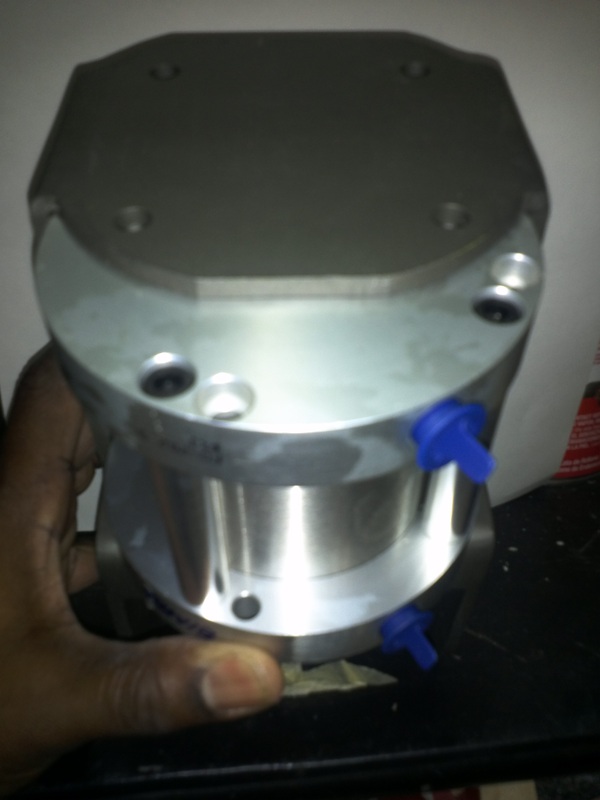
Prototype Lift Bracket
Mike sent me an original to test the fit on my GTM as the upper shock mounts are still in the original position.
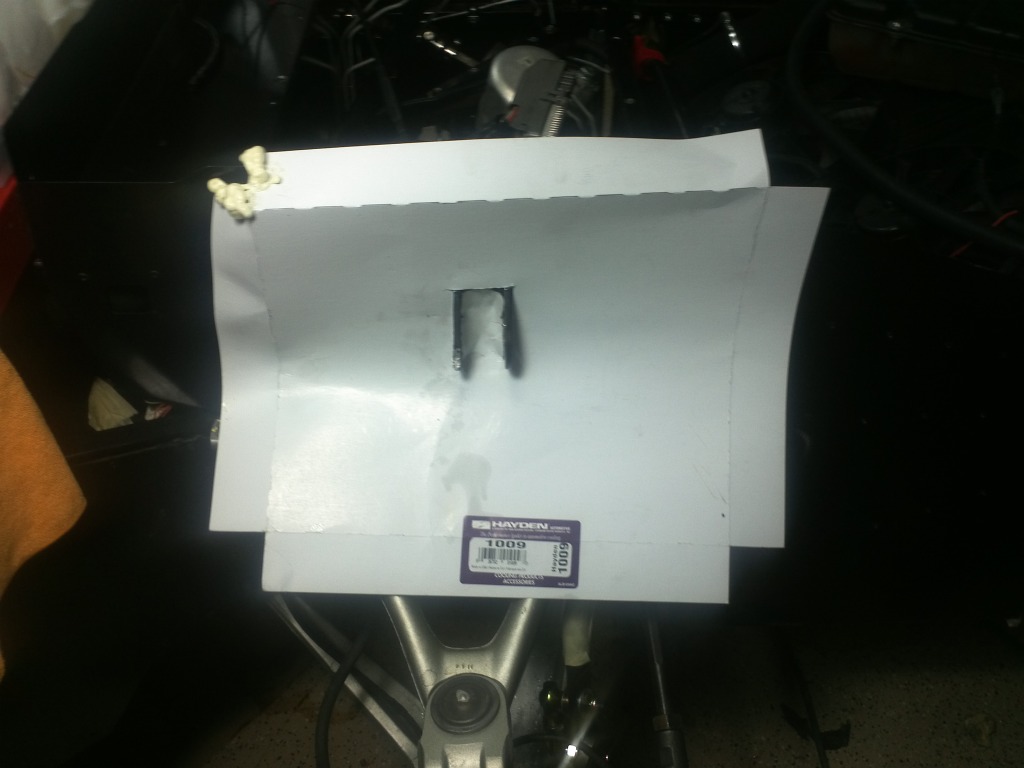
Lift System Prototype for Fitment


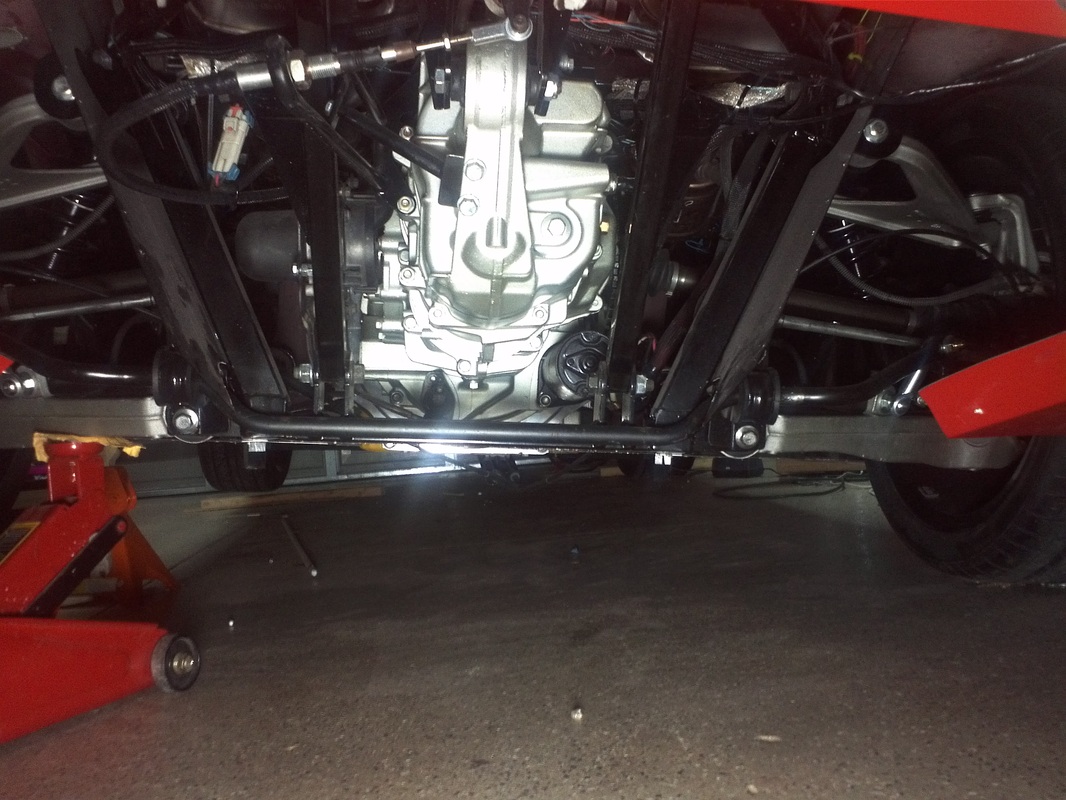
Anti-Sway/ Torsion Bar Install
One of the great things about the forums is the ability to make the build/GTM a much better car than one person could on their own. I have been doing some collaboration with Mike on a few items. Anti-sway bars are one of them and are not a new item for a GTM build. Many builders have installed front anti-sway kits on their cars. Ted sells a kit that most have used and a few have created their own from the universal kits. When you go into a turn, the suspension member of the outside of the turn is compressed. With the torsion bar in the system outside arm of the torsion bar is pushed upward with the suspension. This applies torsion, or a twist caused by that torque, to the rod. The torsion then moves the arm at the other end of the rod, which causes the suspension on the inside of the turn to compress as well. This entire process tends to keep the car flat/ flatter in the turn.
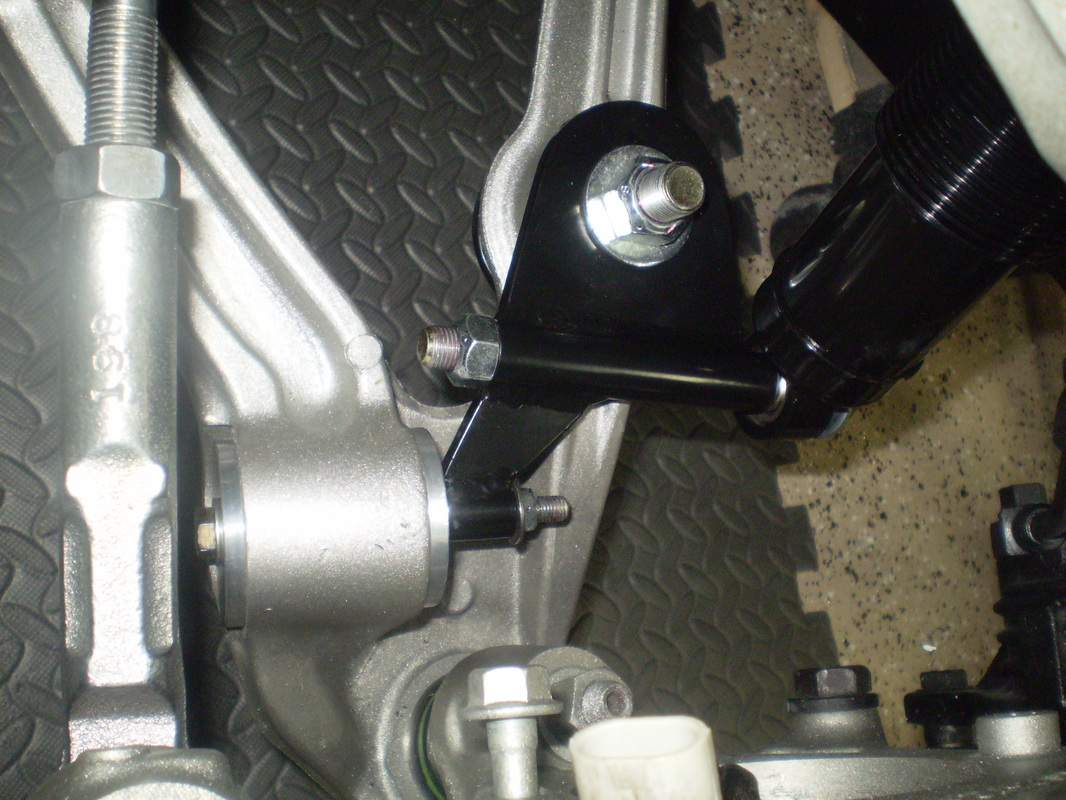
Because of the difference in the GTM's CG and total vehicle weight as compared to C5 corvette I expect I may need more rear bar. I am using the stock C5 torsion set which is 23mm up front (which I expect will work well) and 19.1mm in the rear (which I expect I will need to upgrade to 23mm or 25mm). If I have too much bar, the tendency will be a loss in independence between the RH and LH side. When one wheel hits a bump, the bar will transmit the bump to the other side of the car as well. I The goal will be to find a bar that reduces body roll but has a minimum effect in the independence of the suspension. If the 19.1mm is to light I’ll move to the aftermarket 25mm.
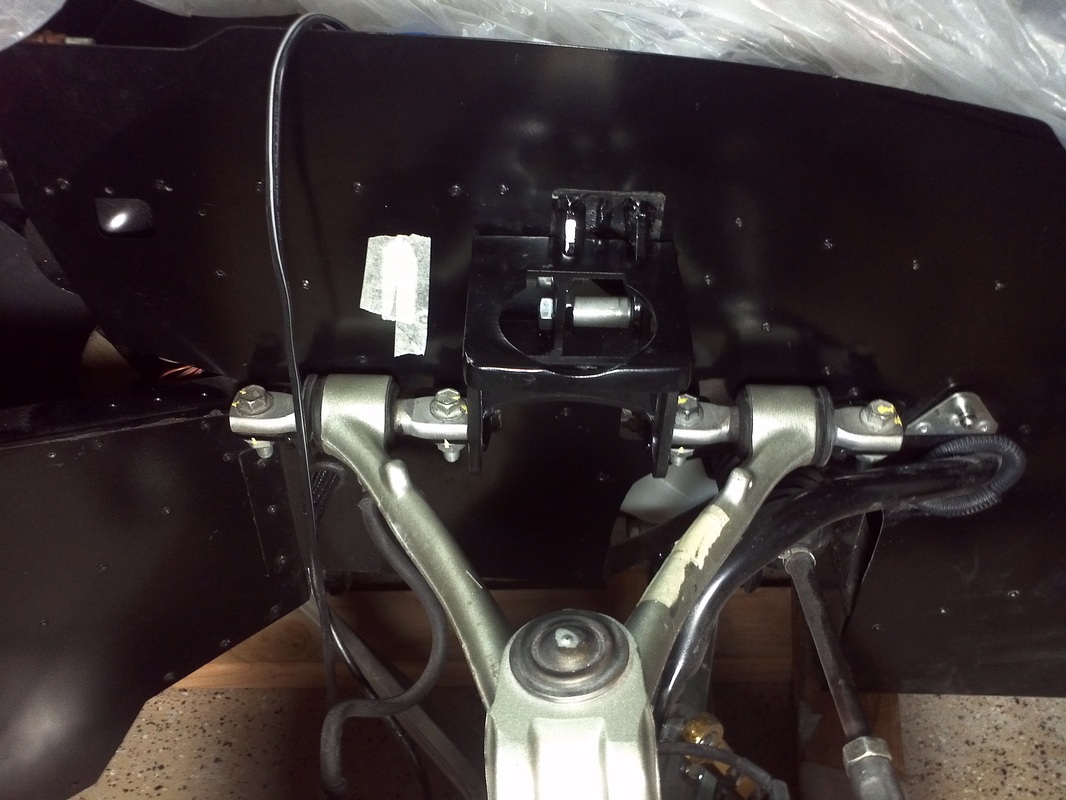
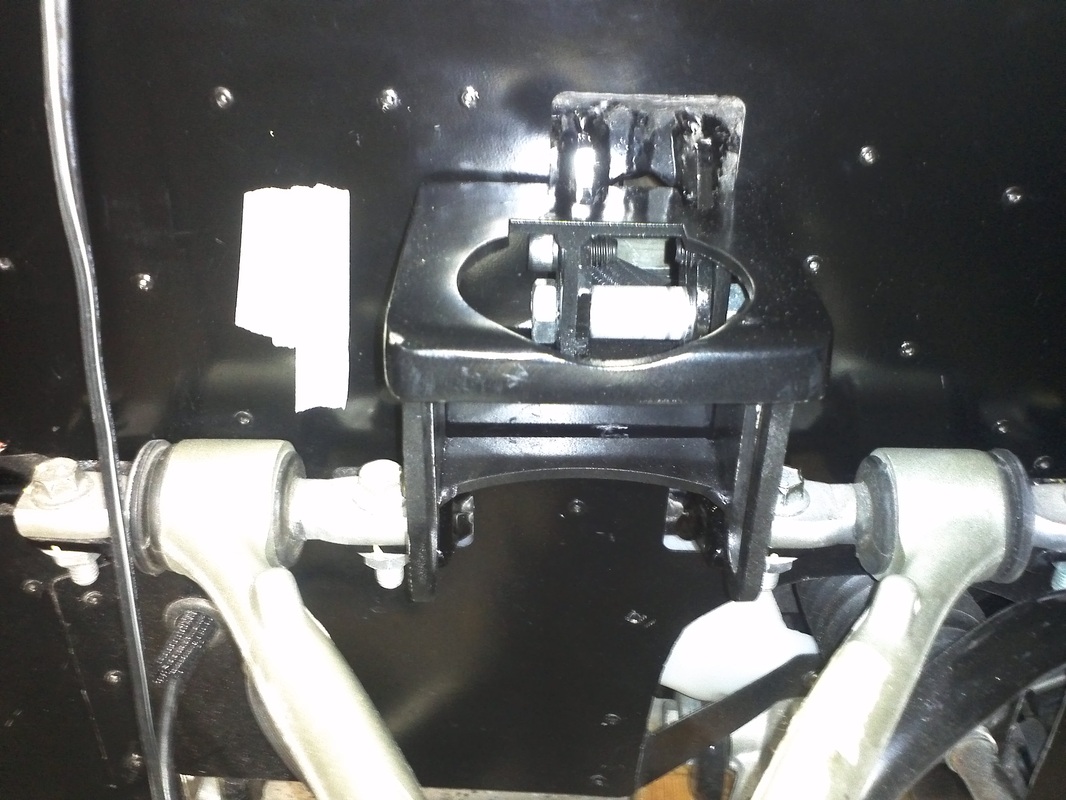
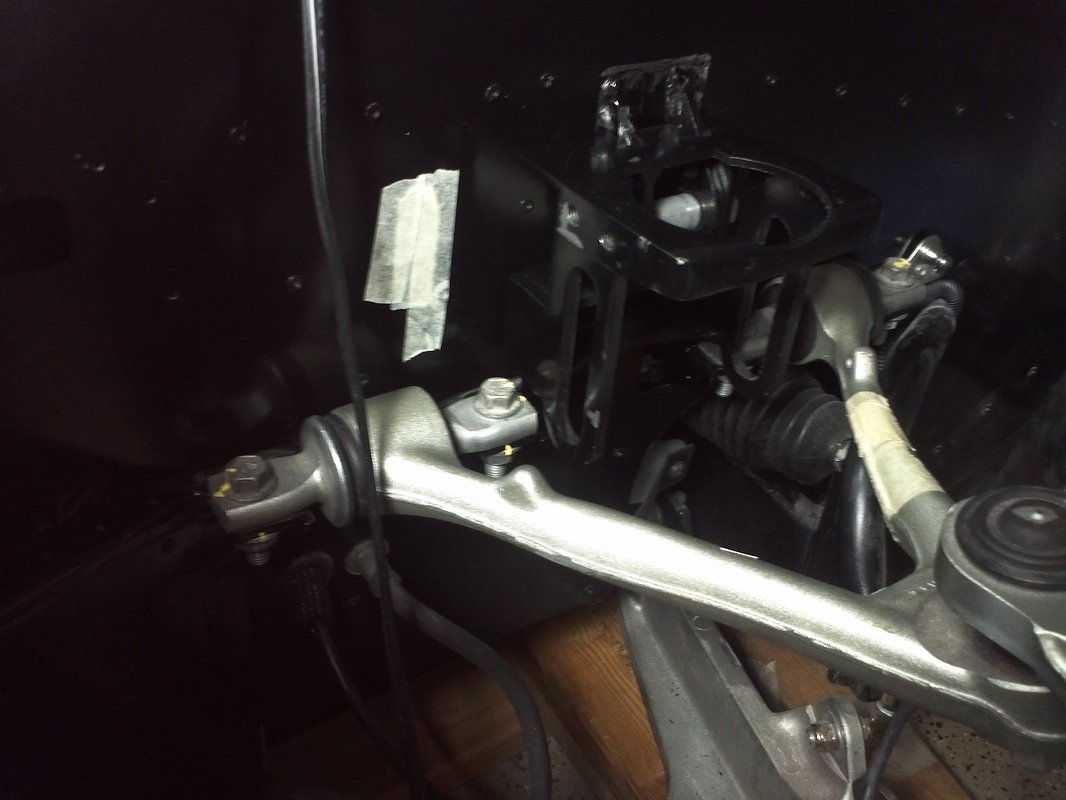
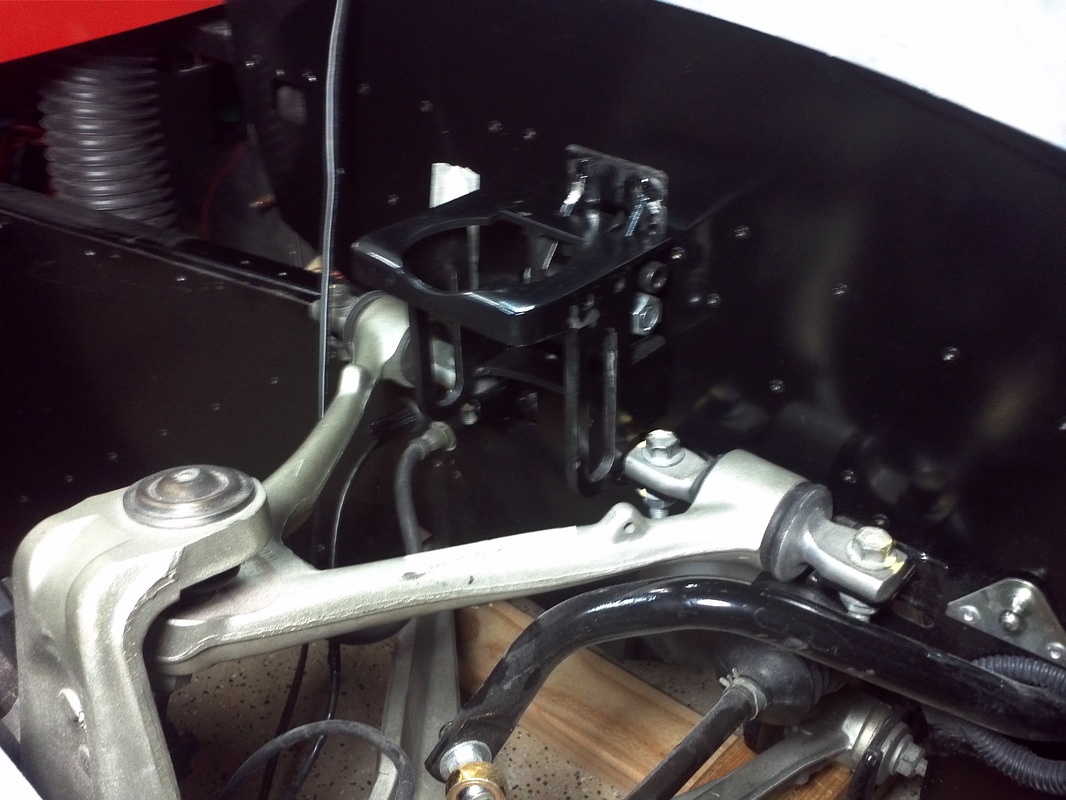
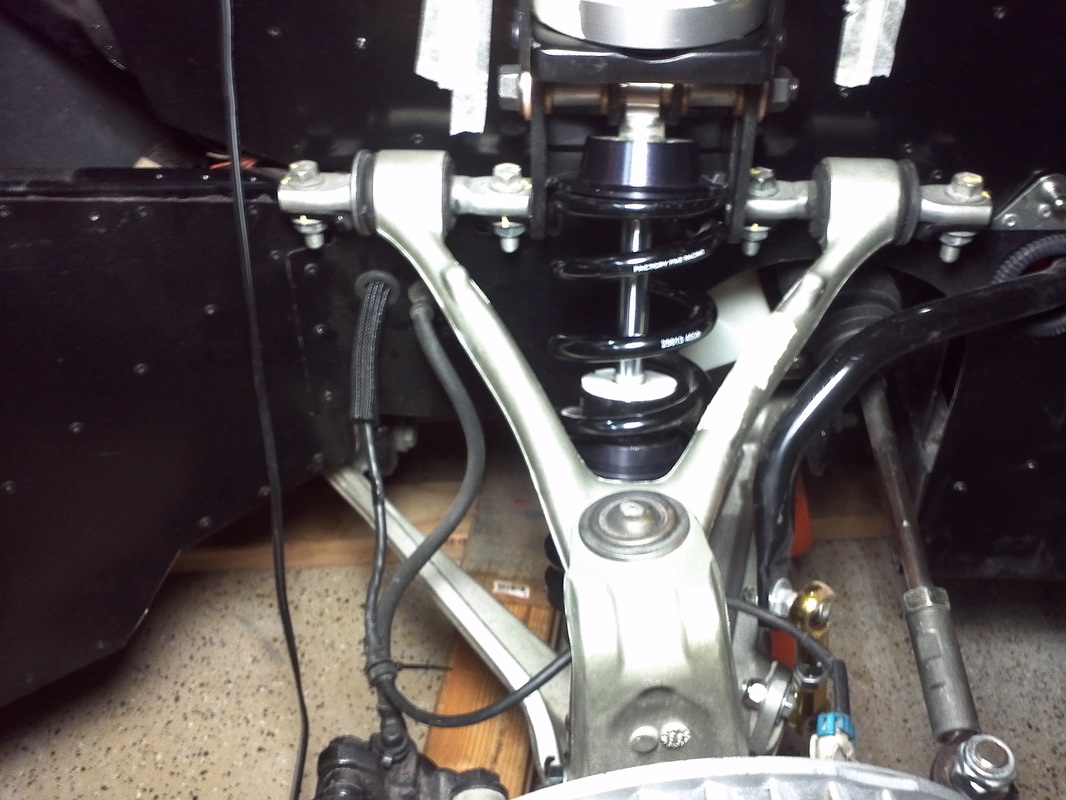
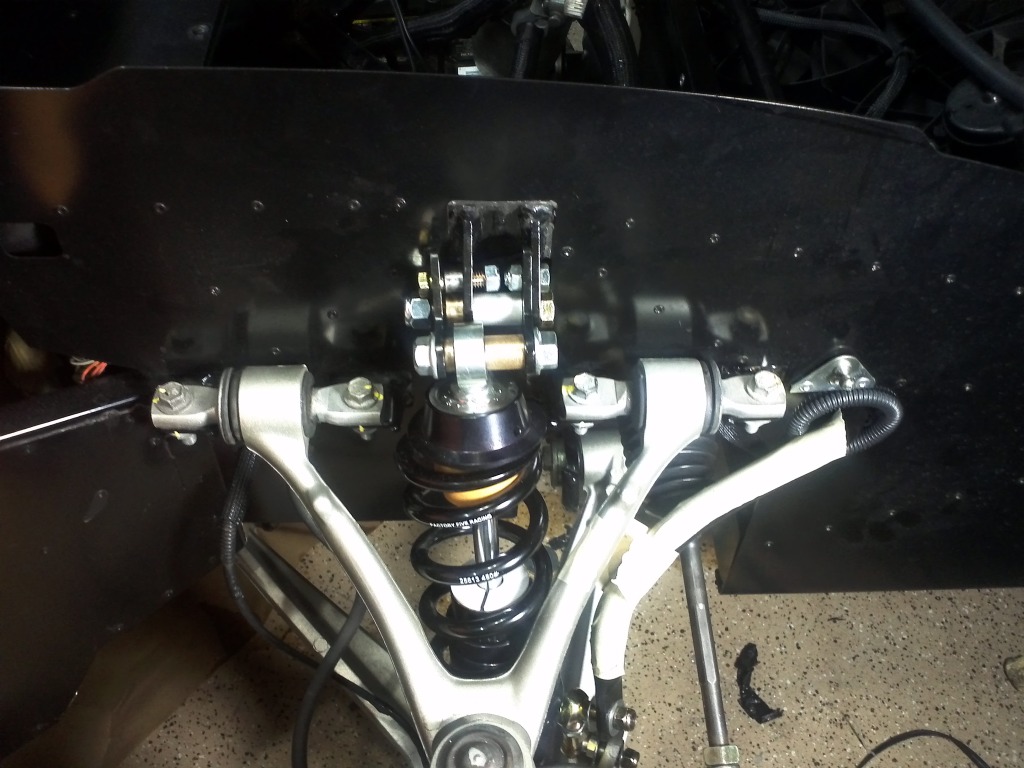
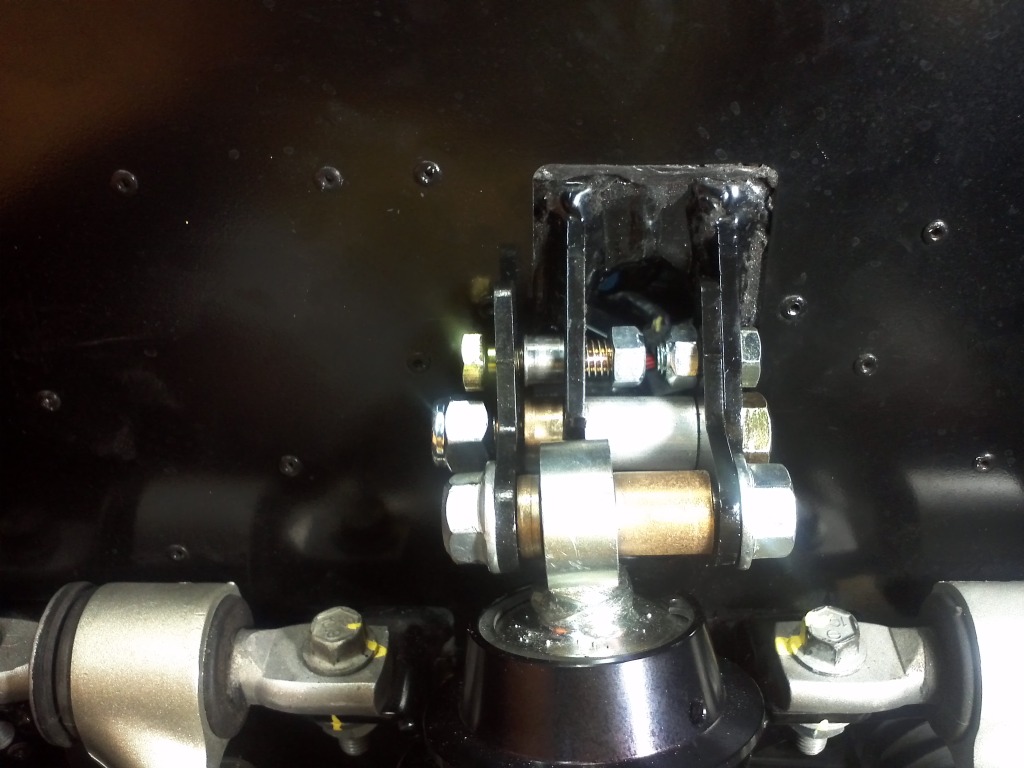
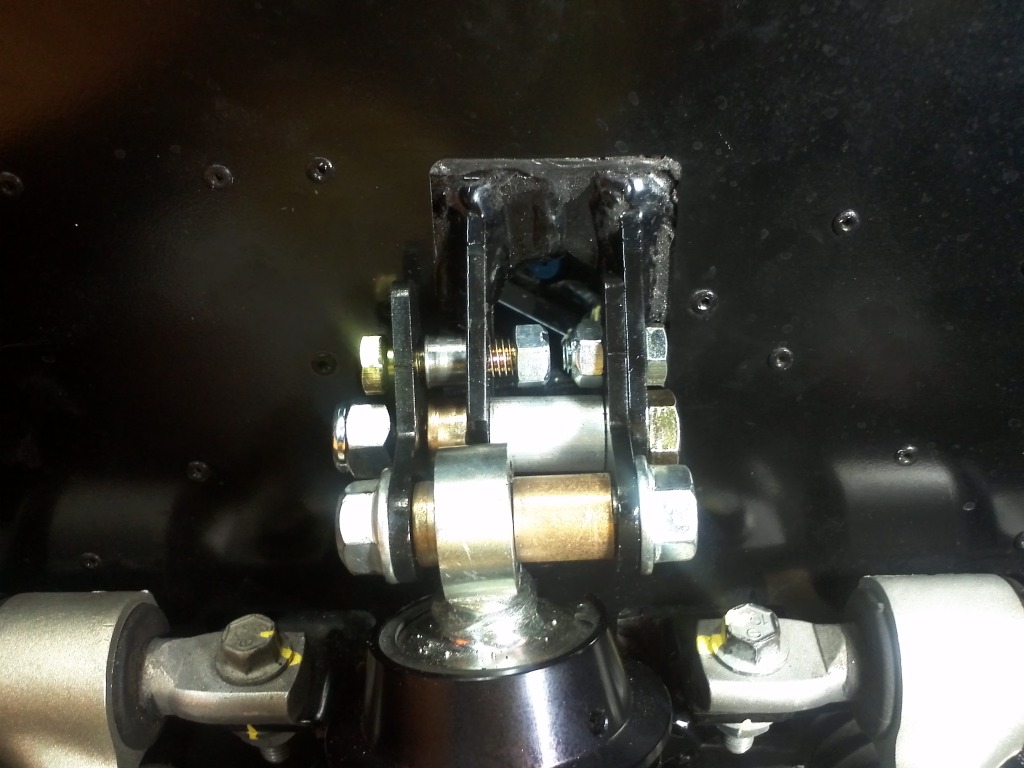
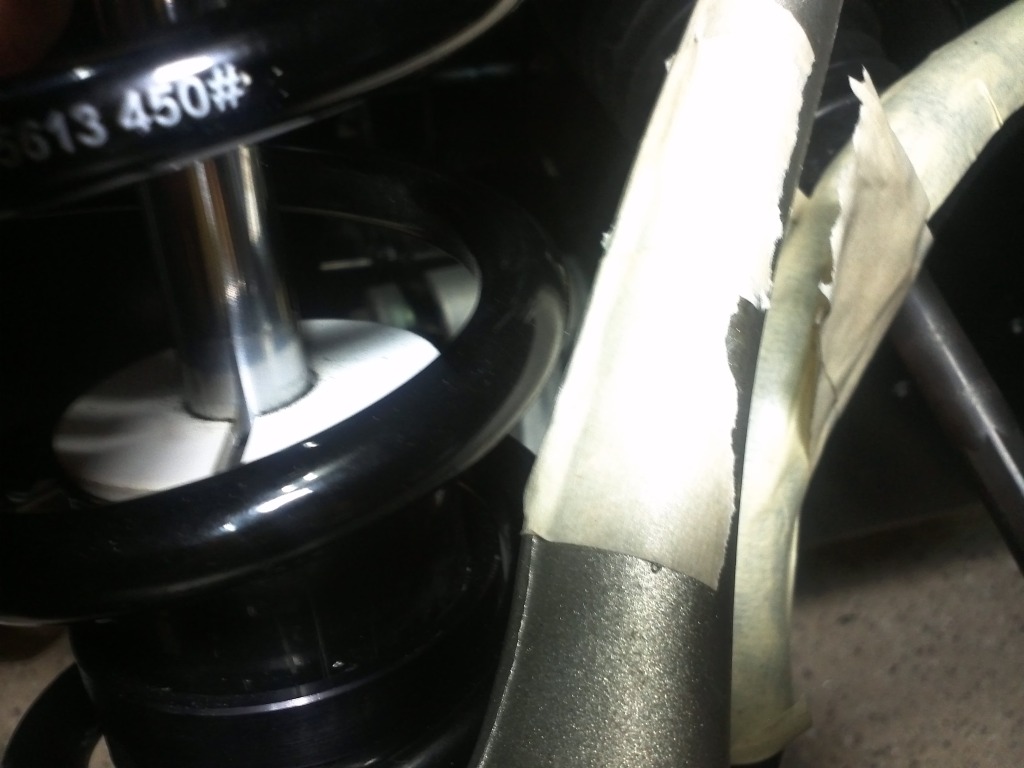
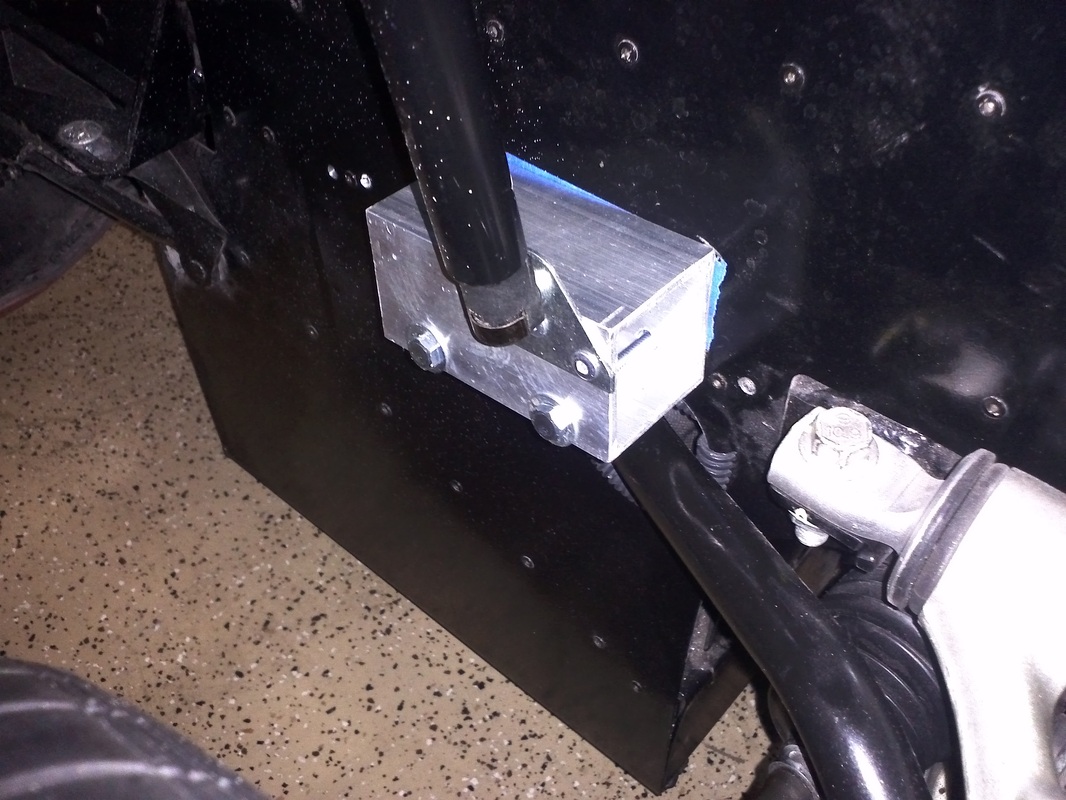
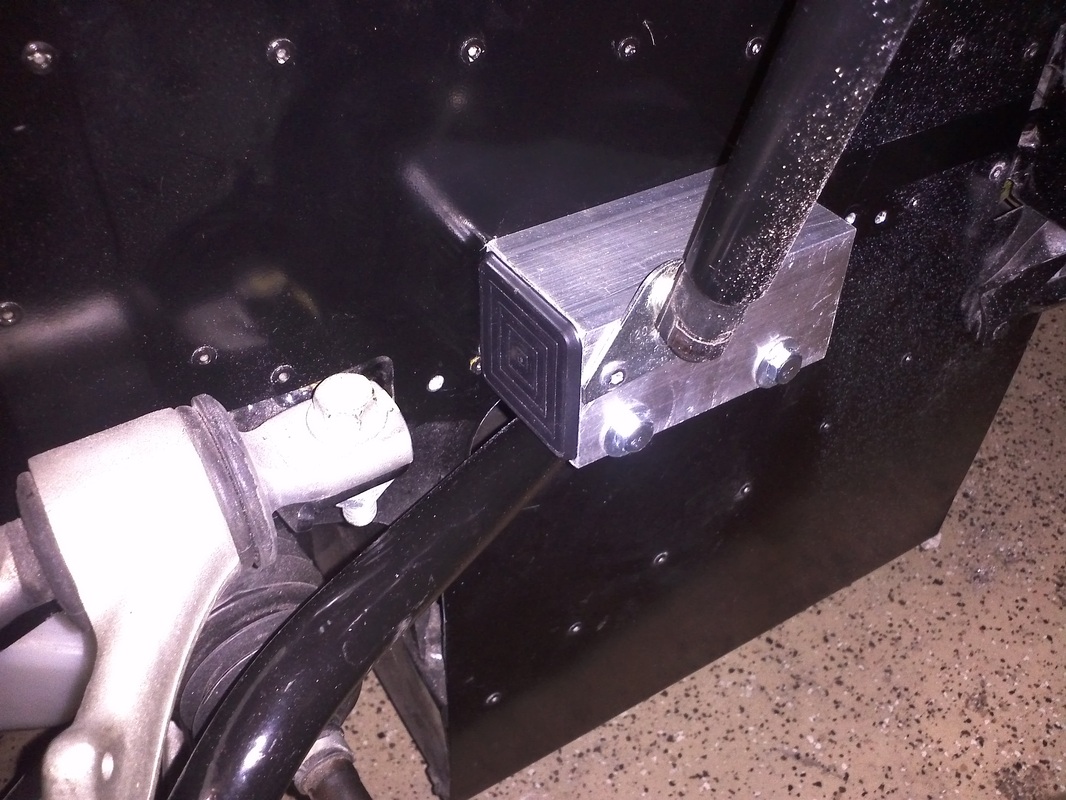
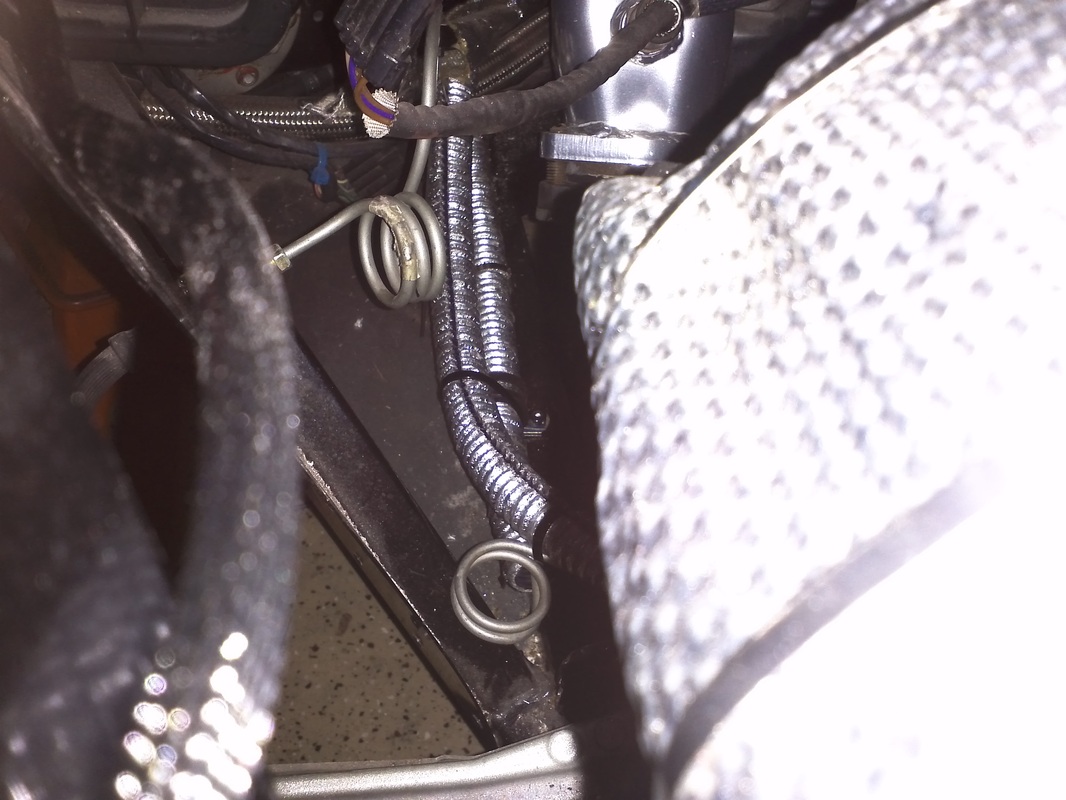
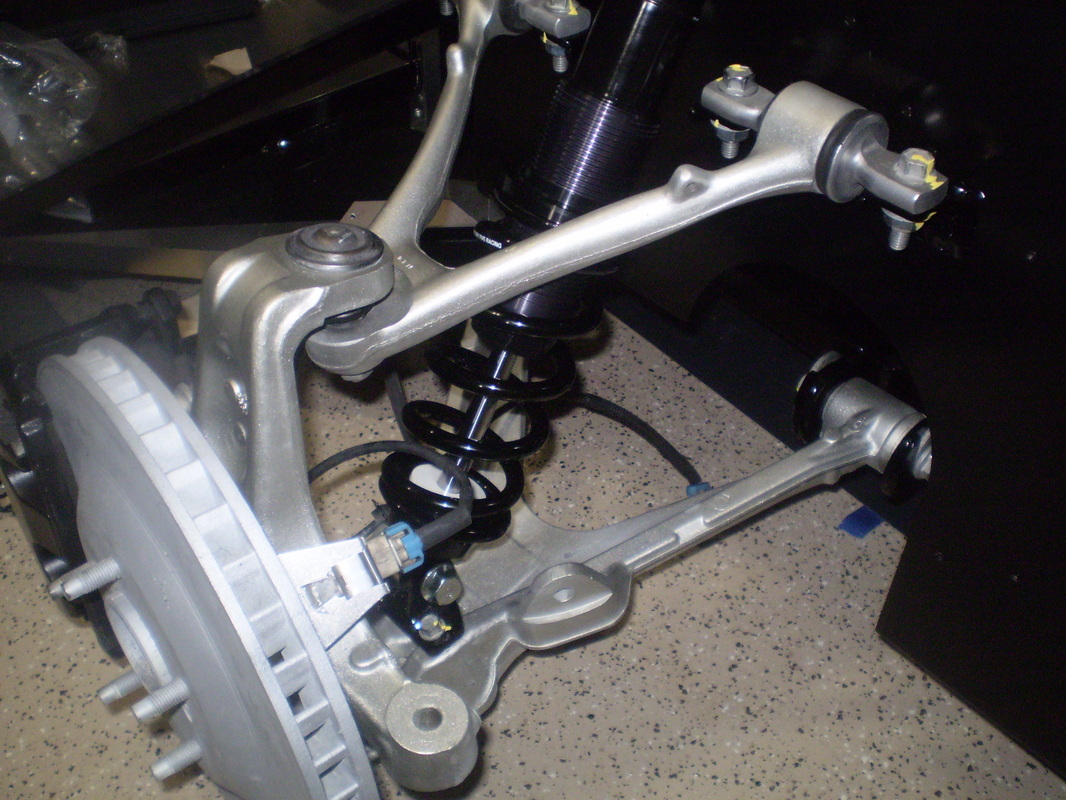
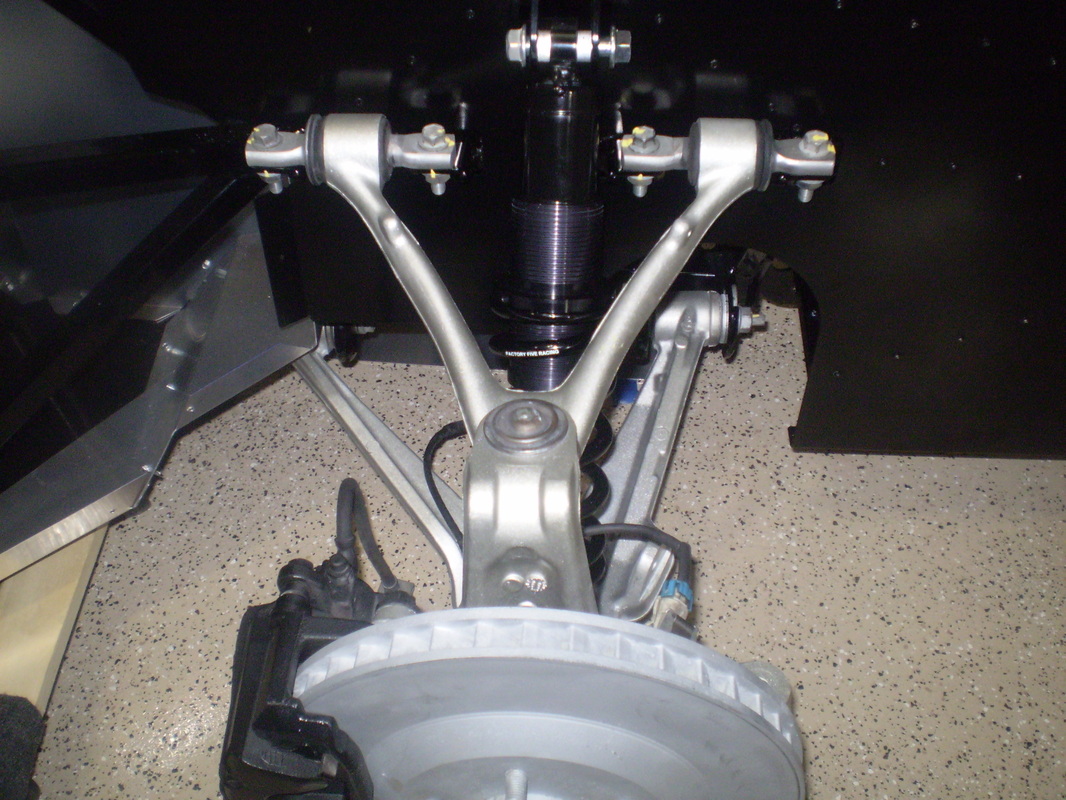
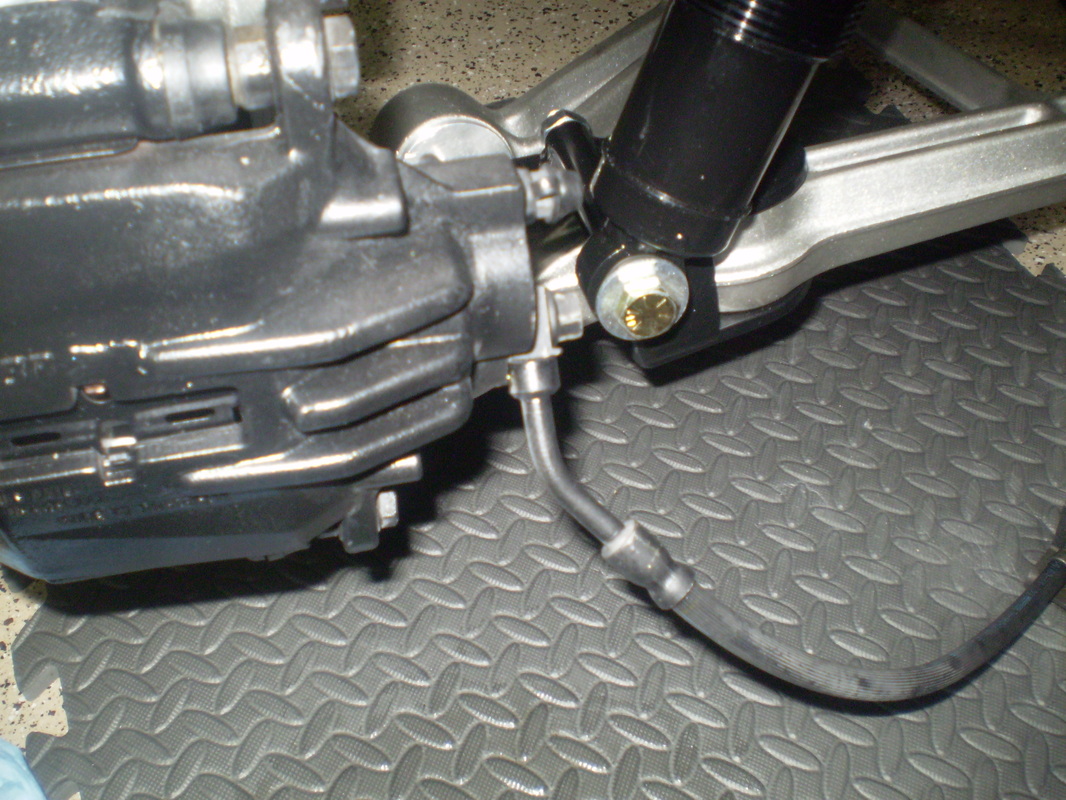
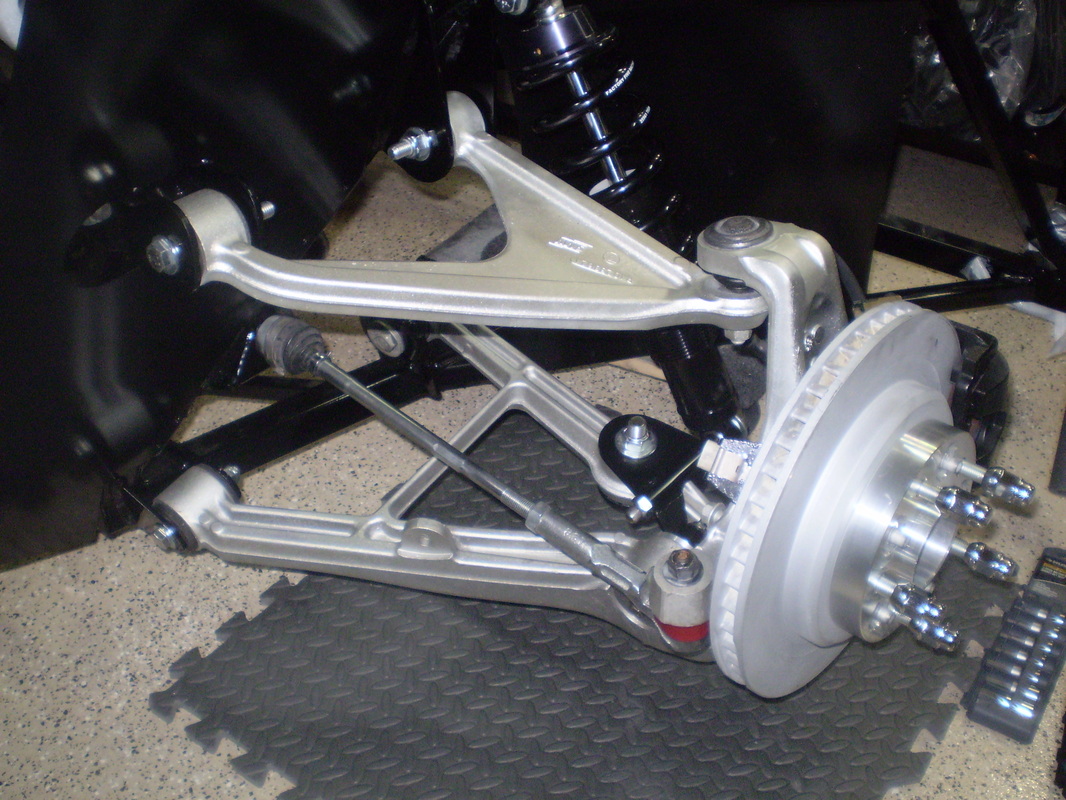
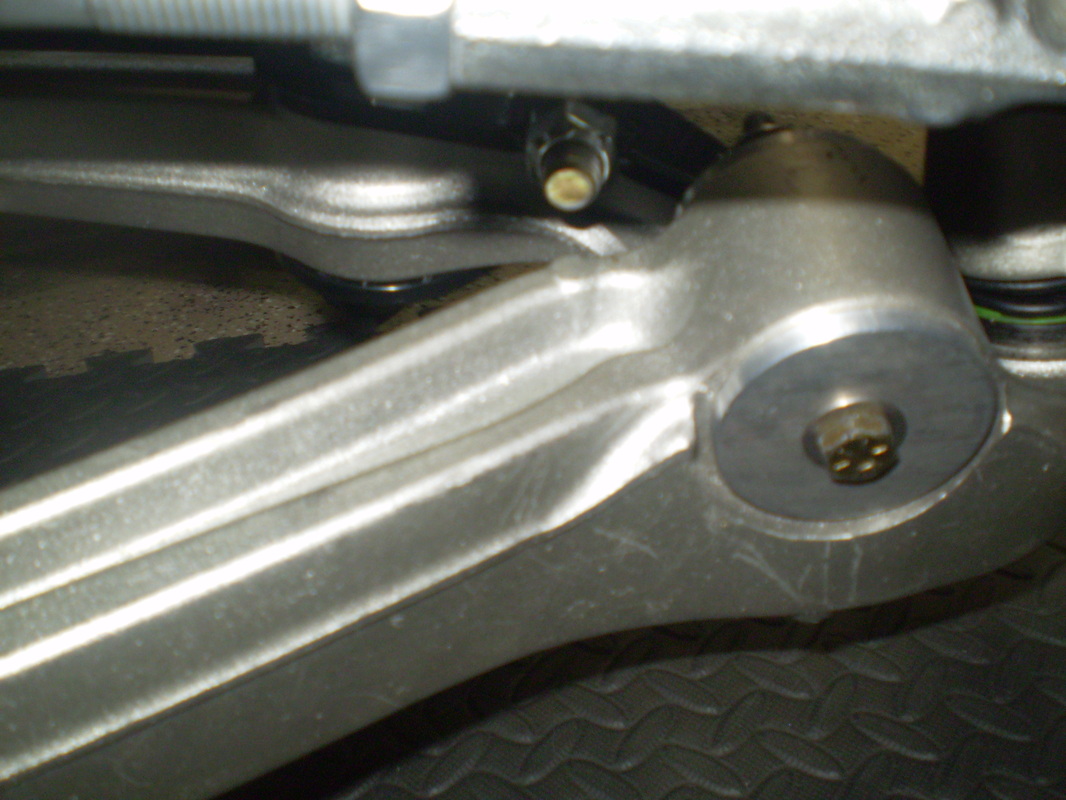
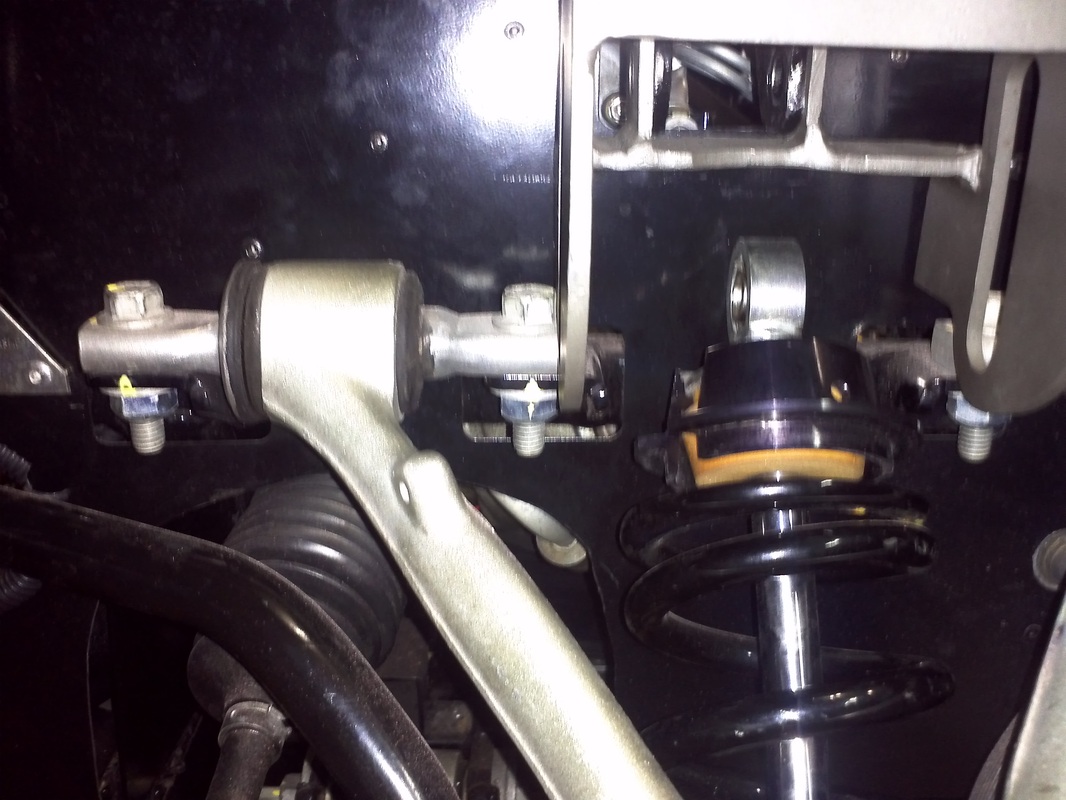
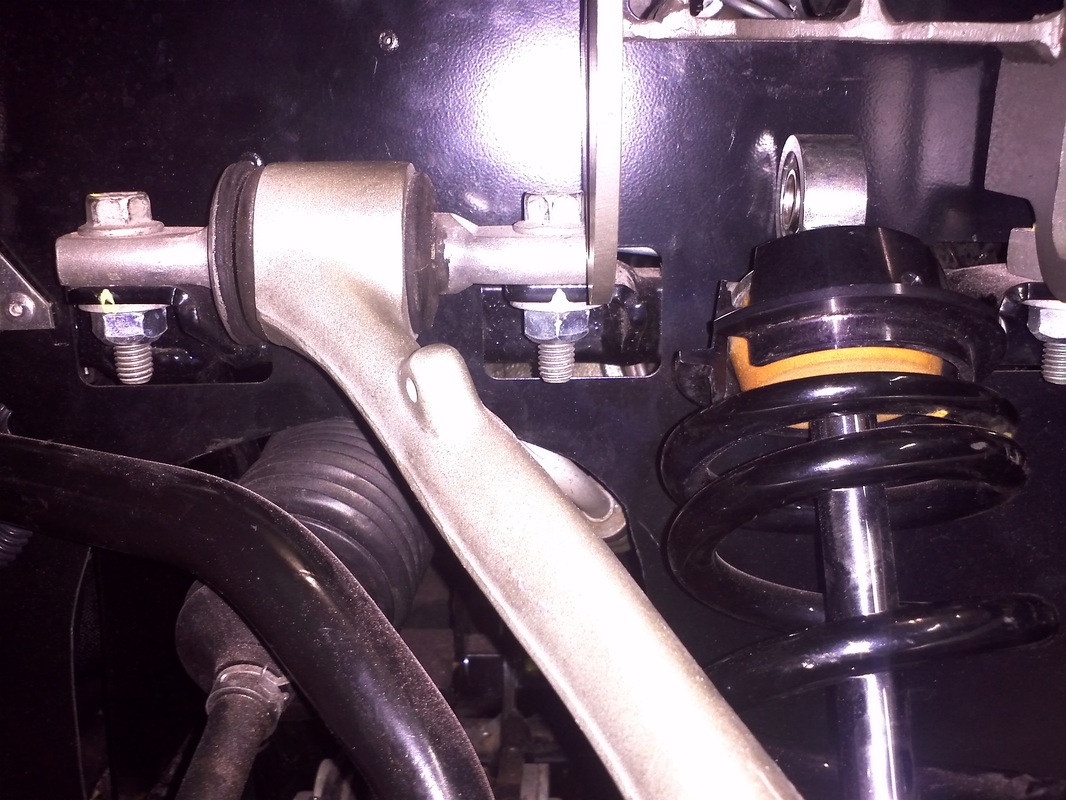
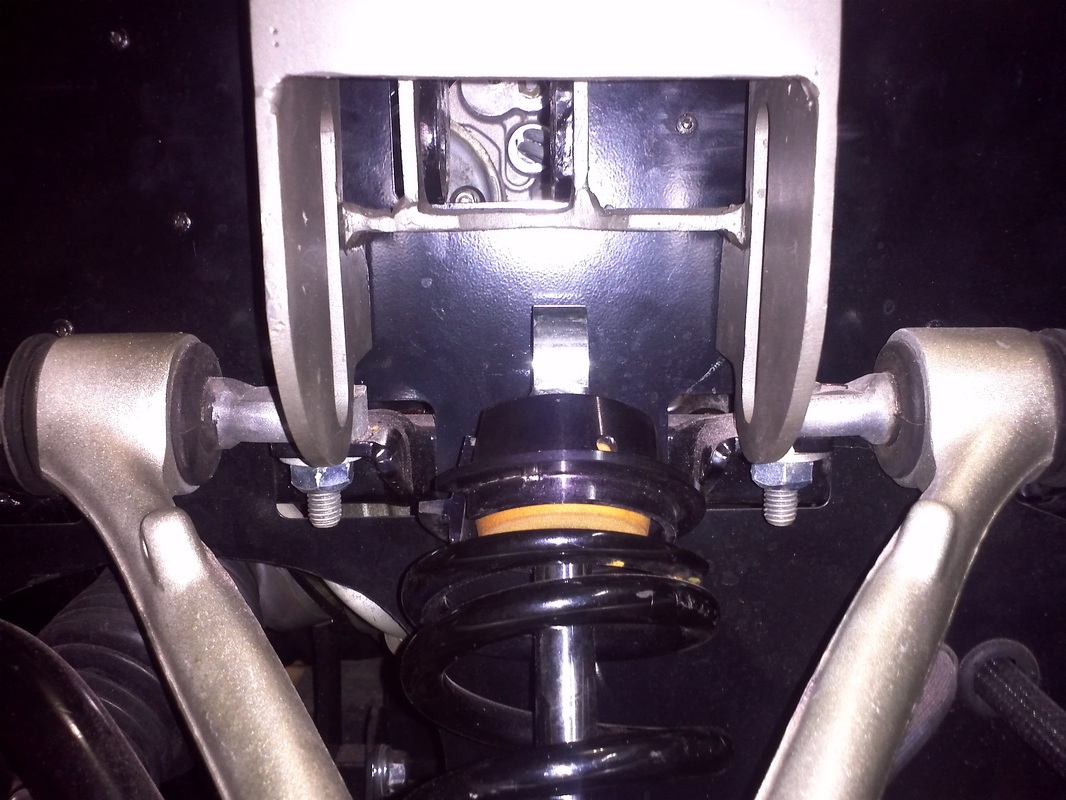
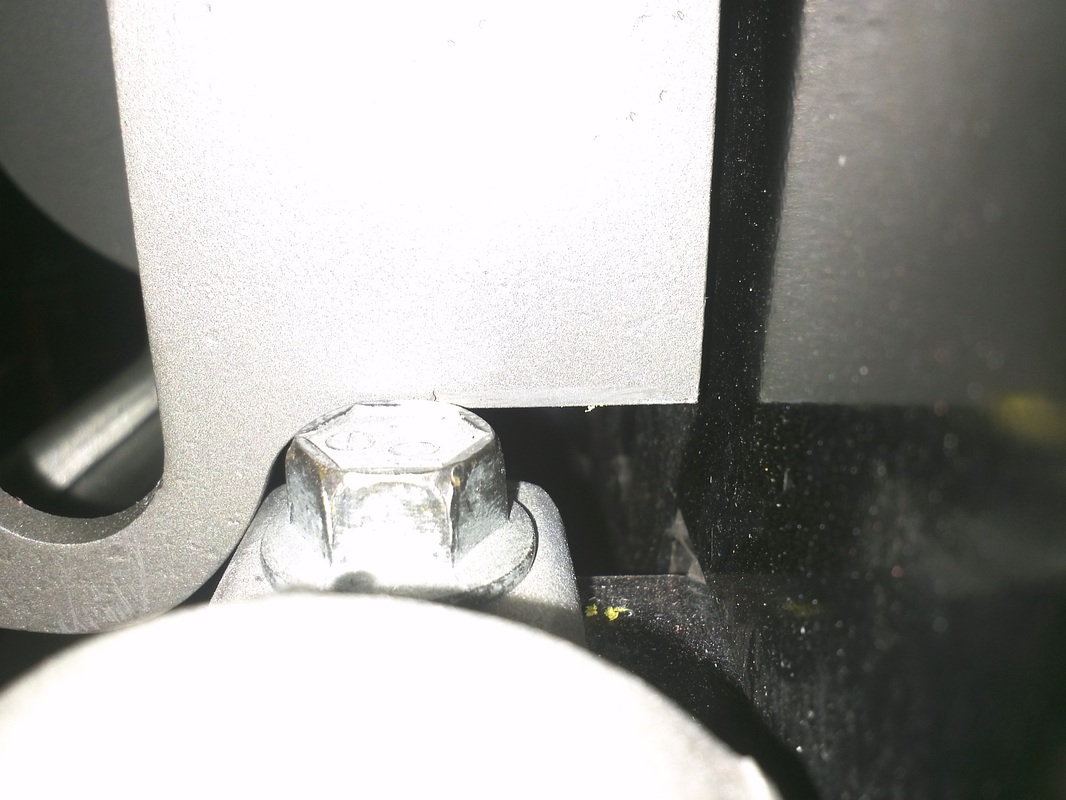
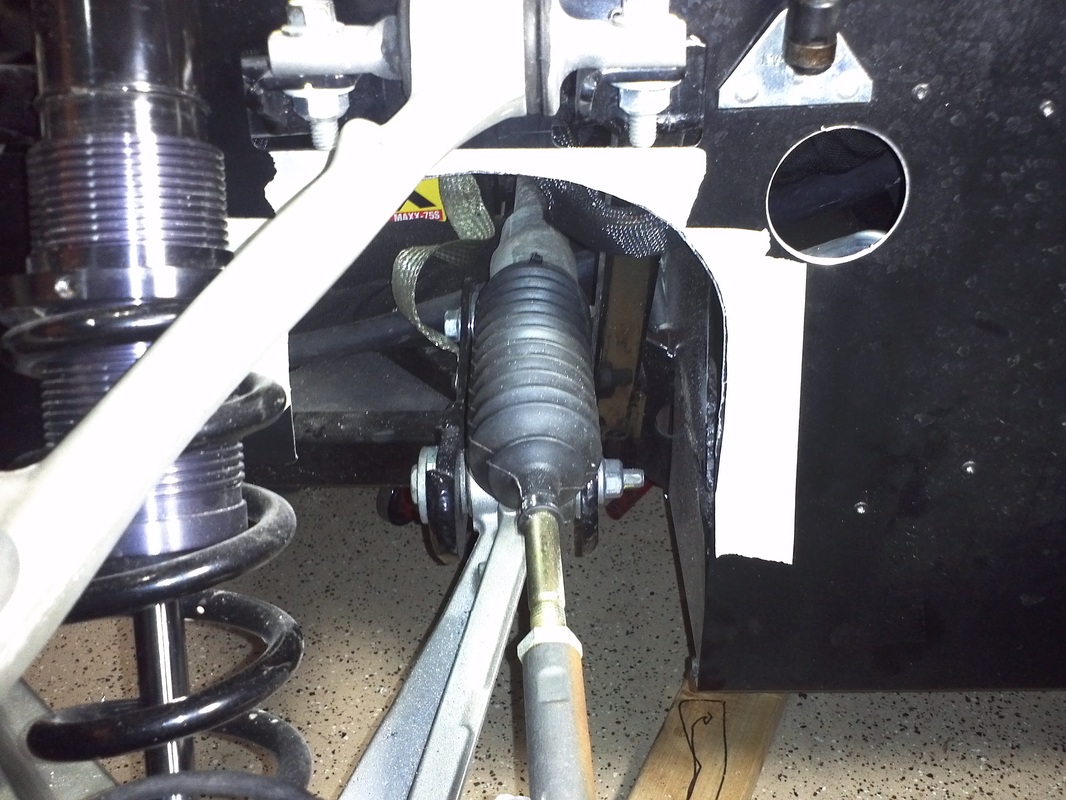
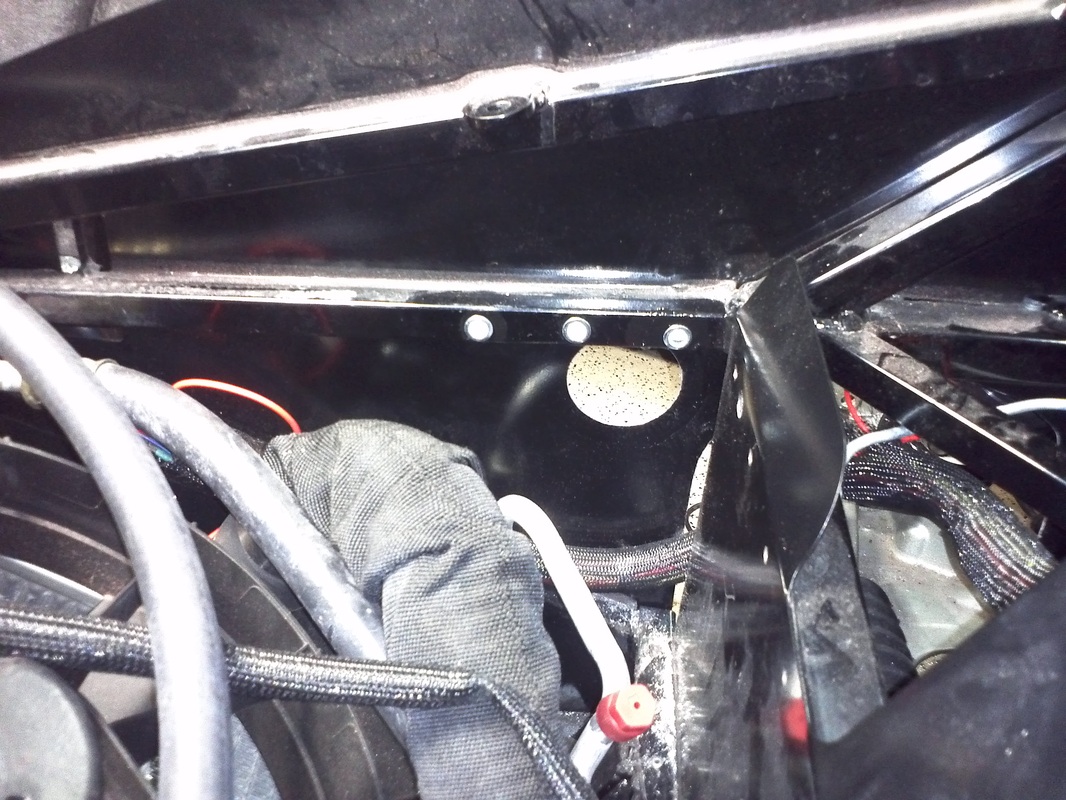
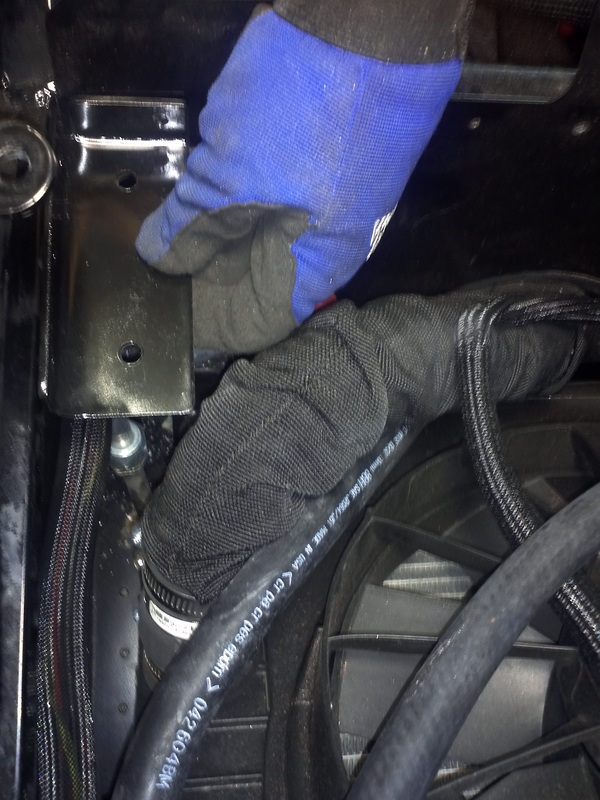
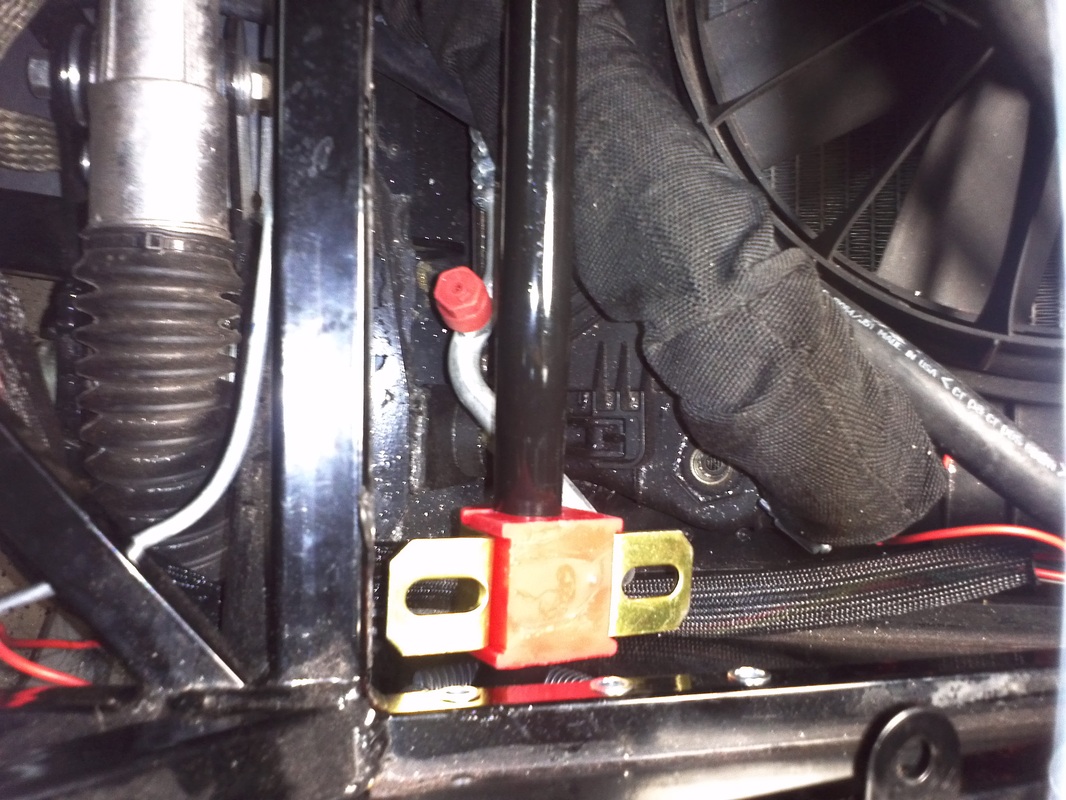
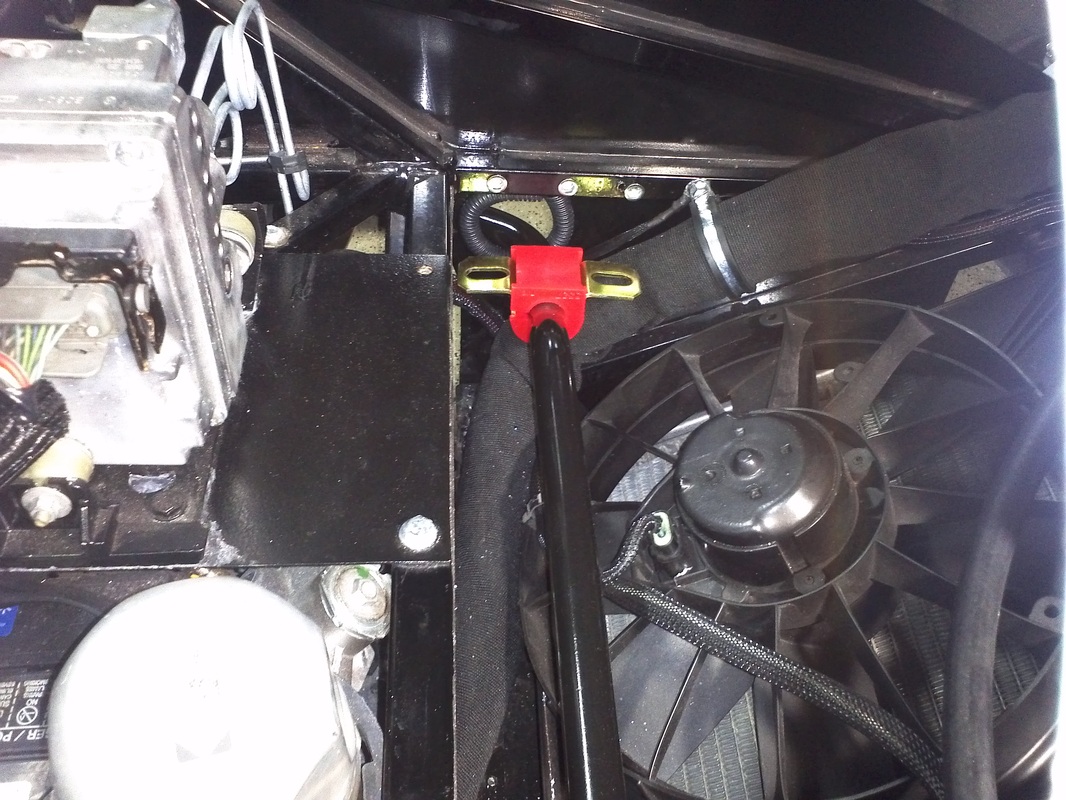
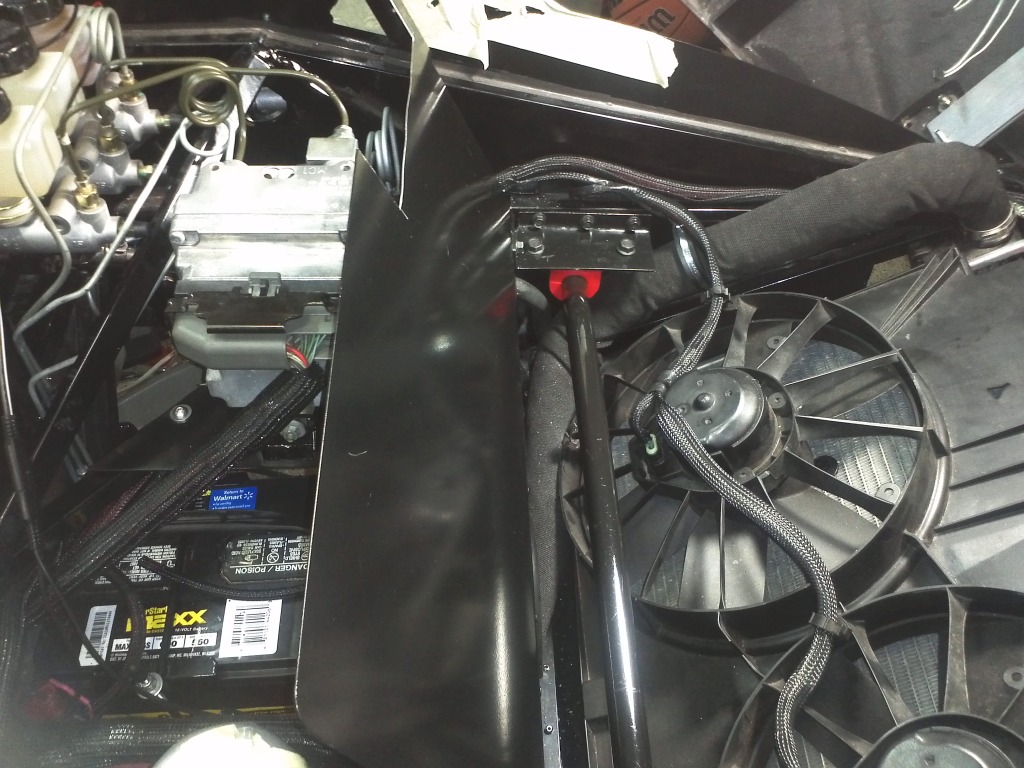
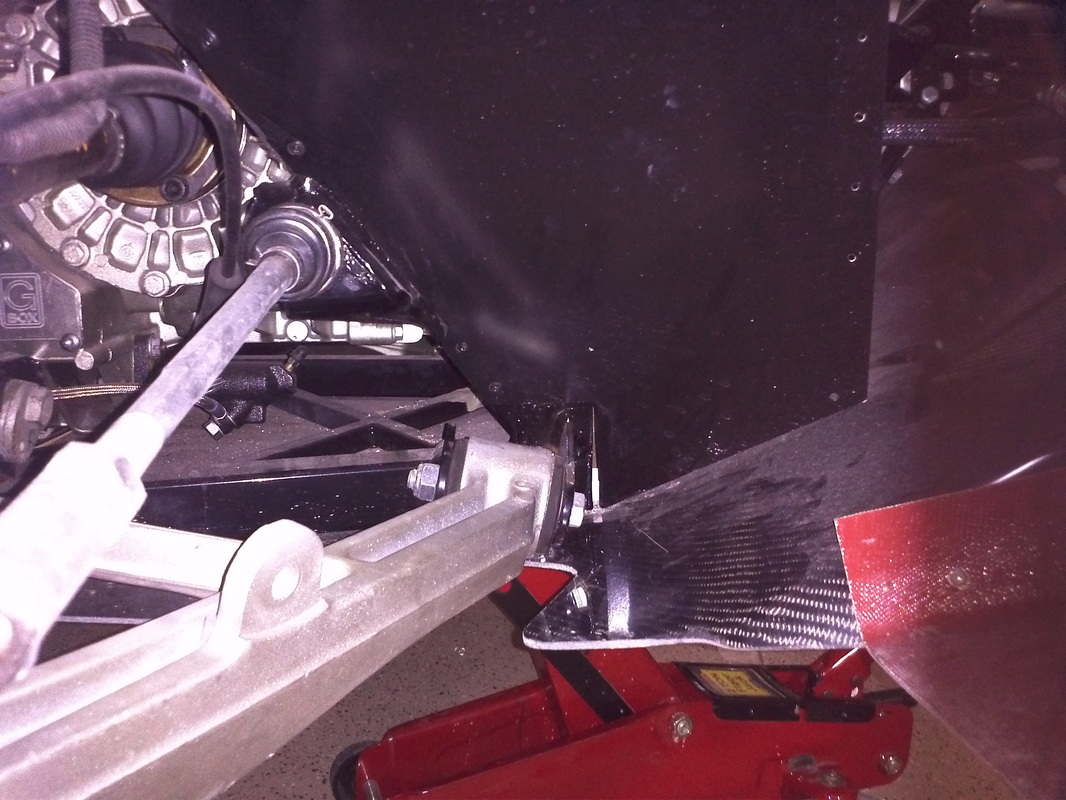
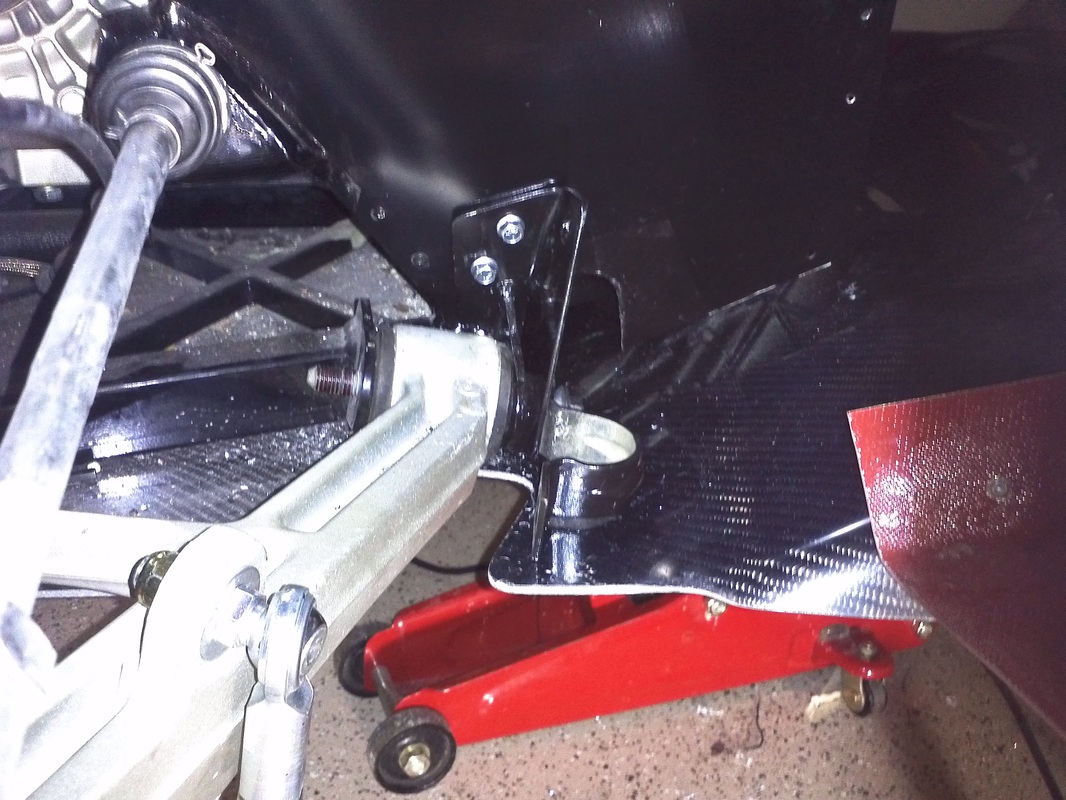
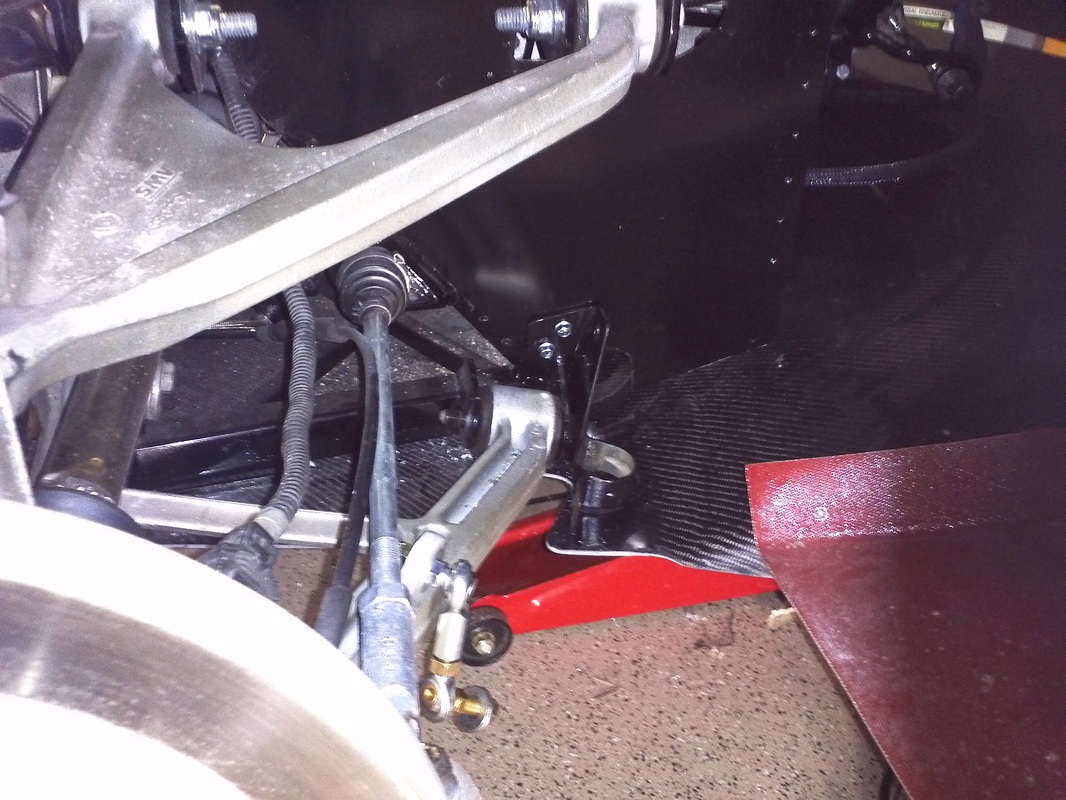
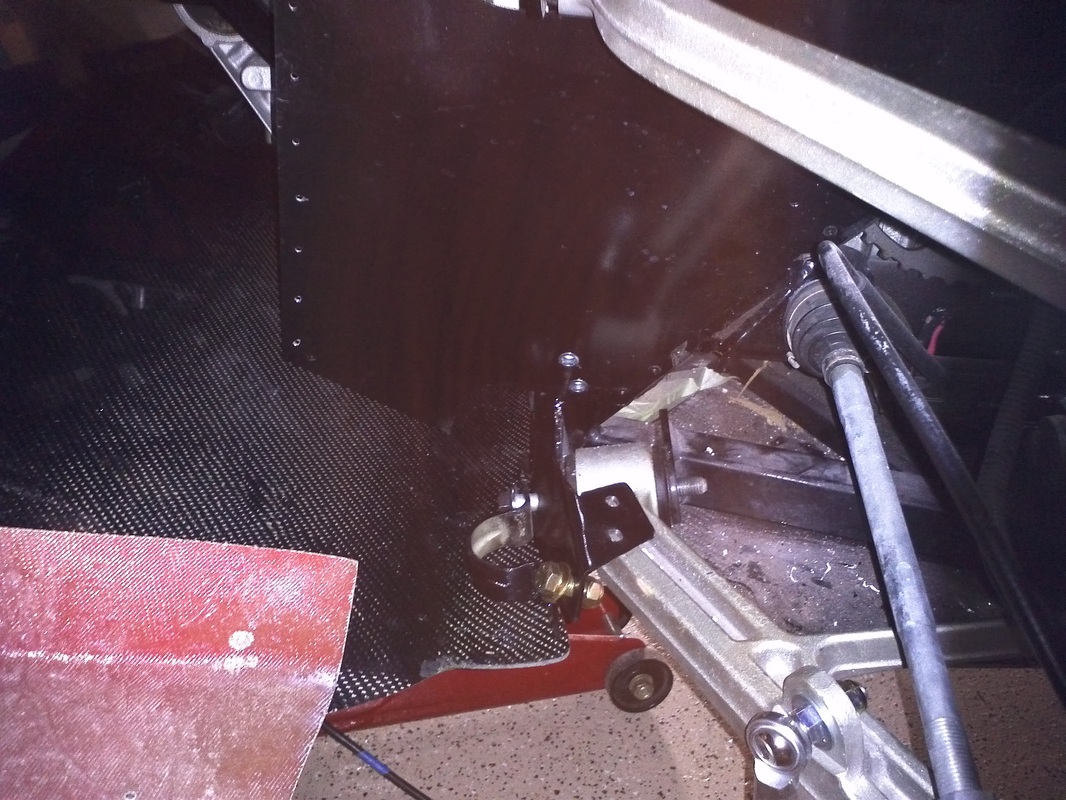
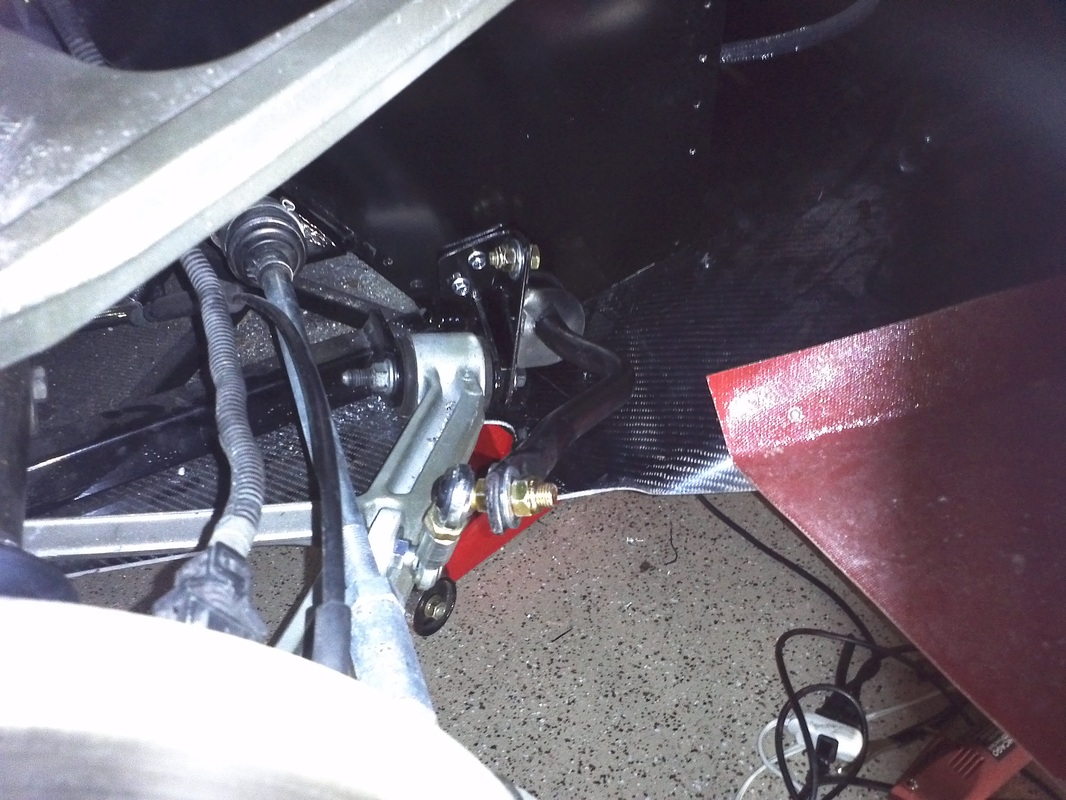
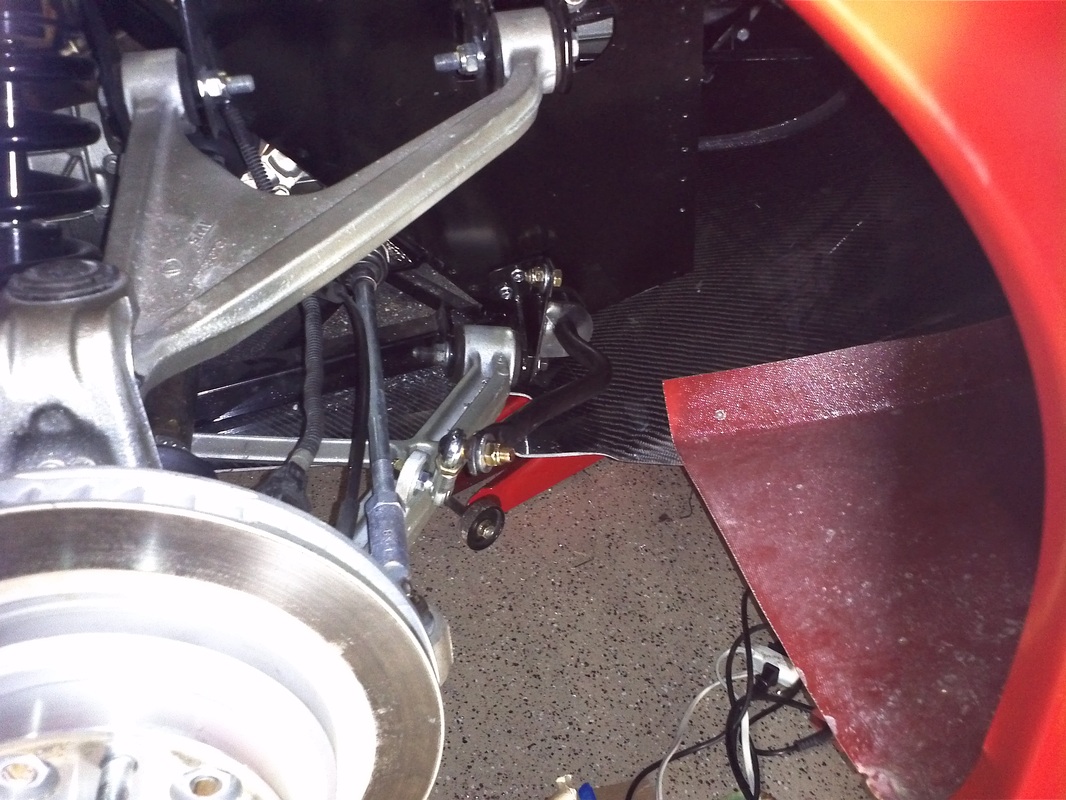
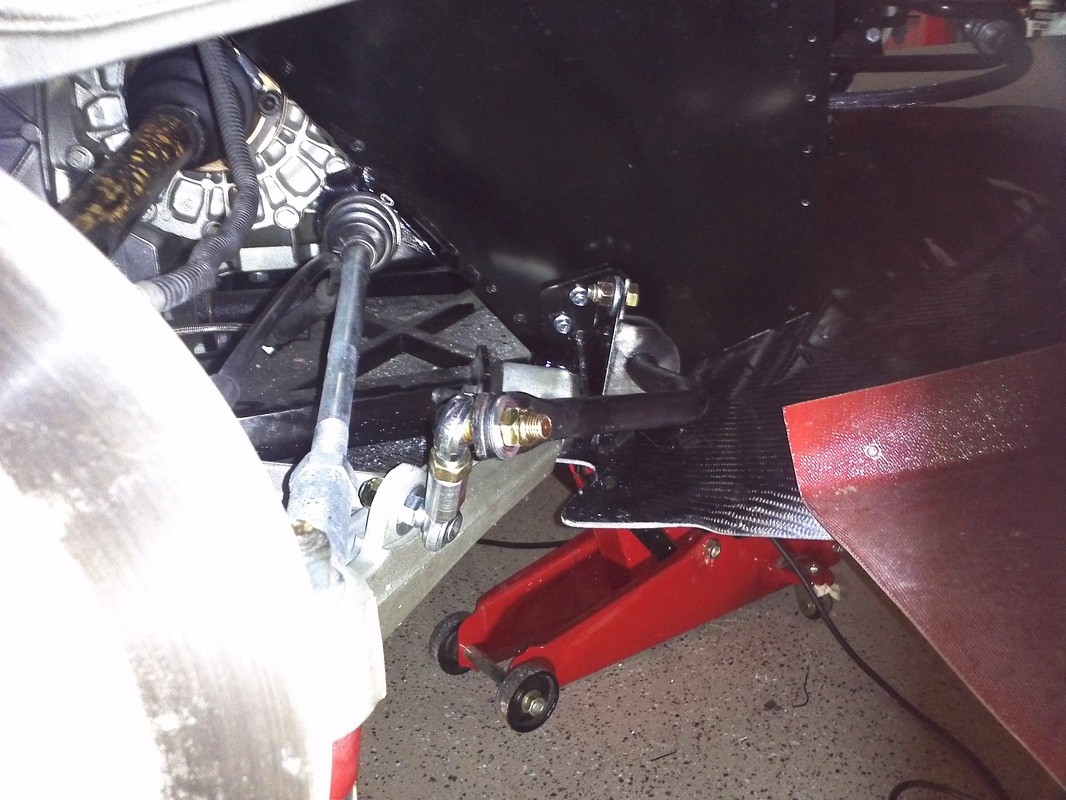
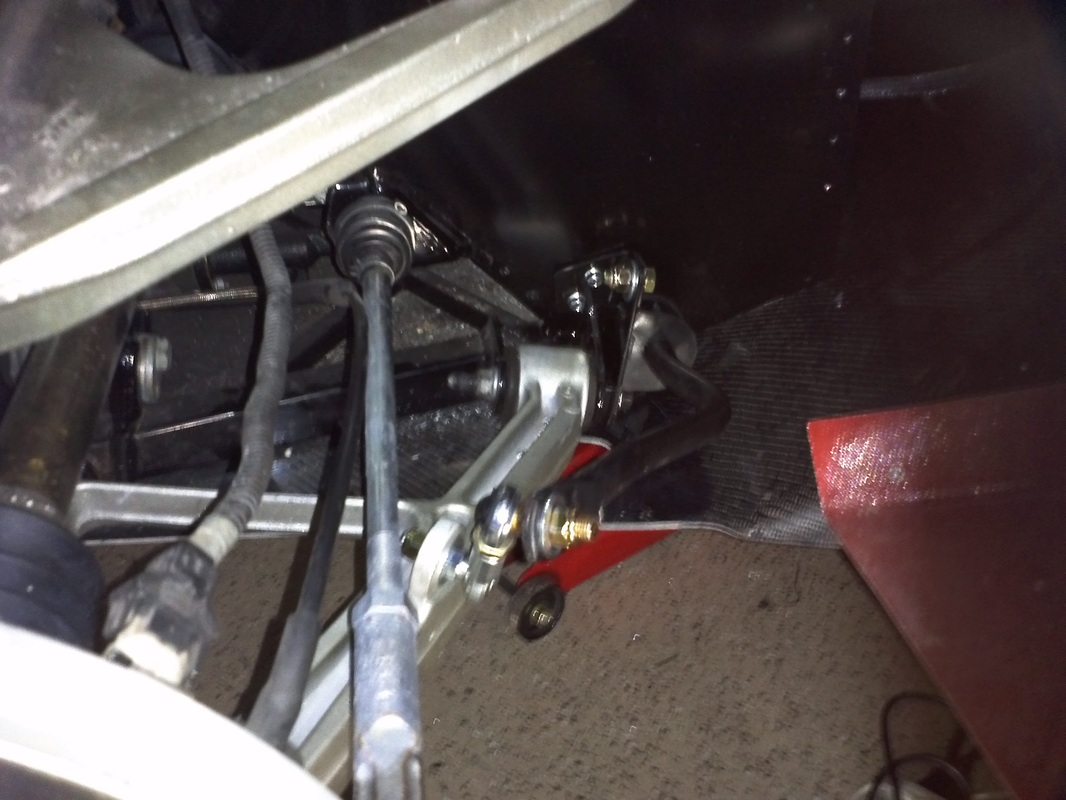
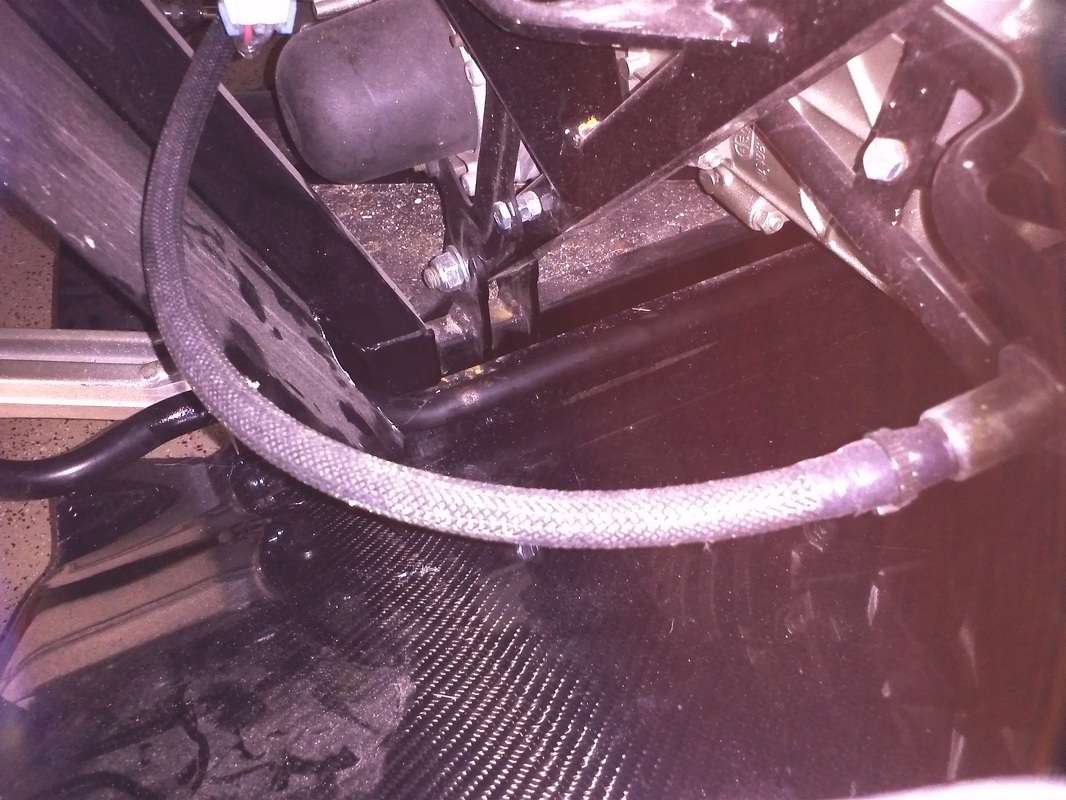
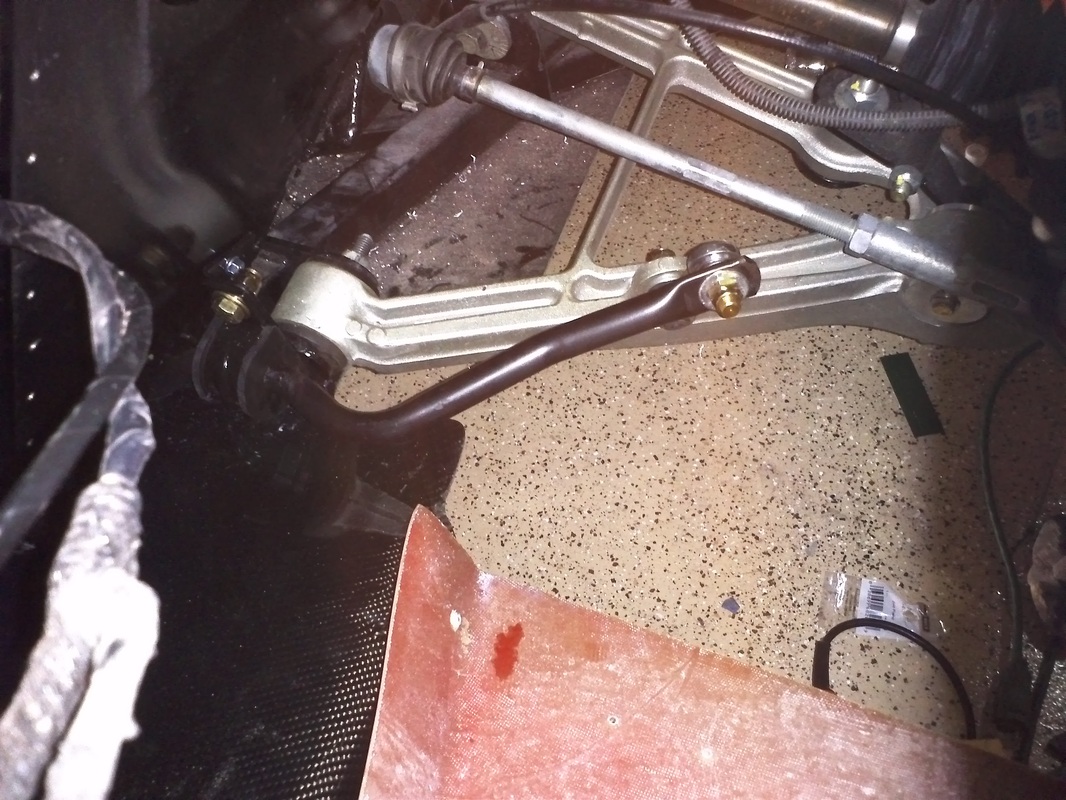
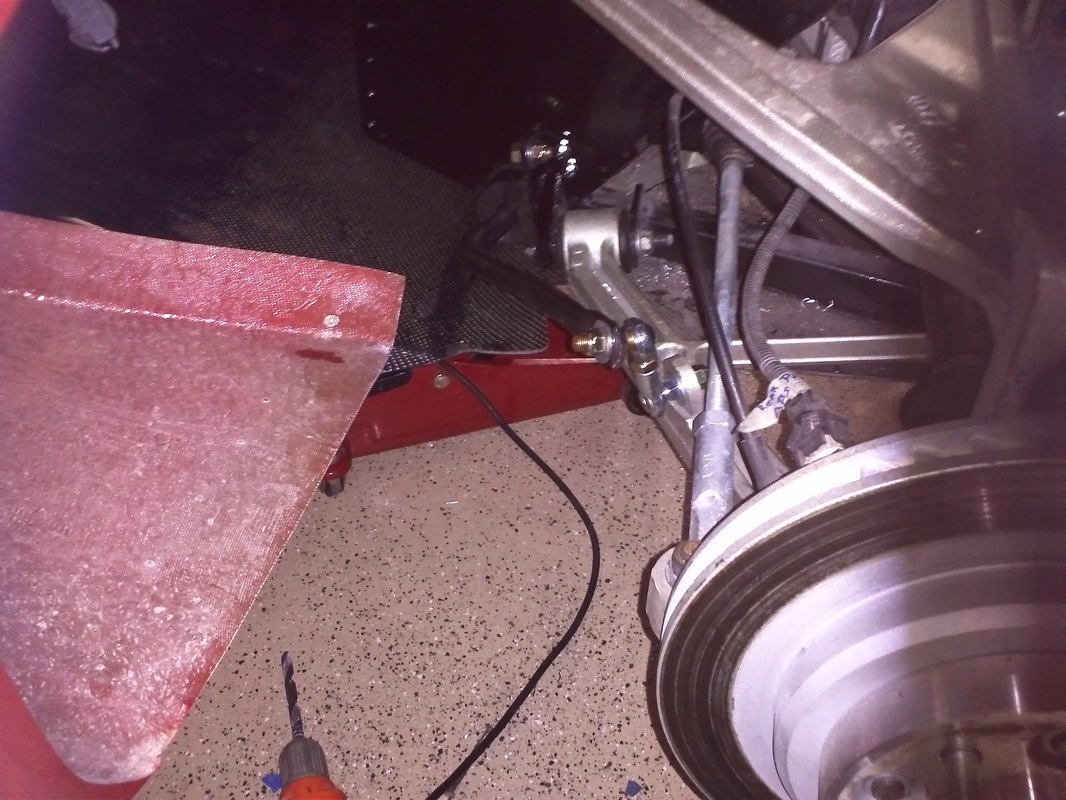
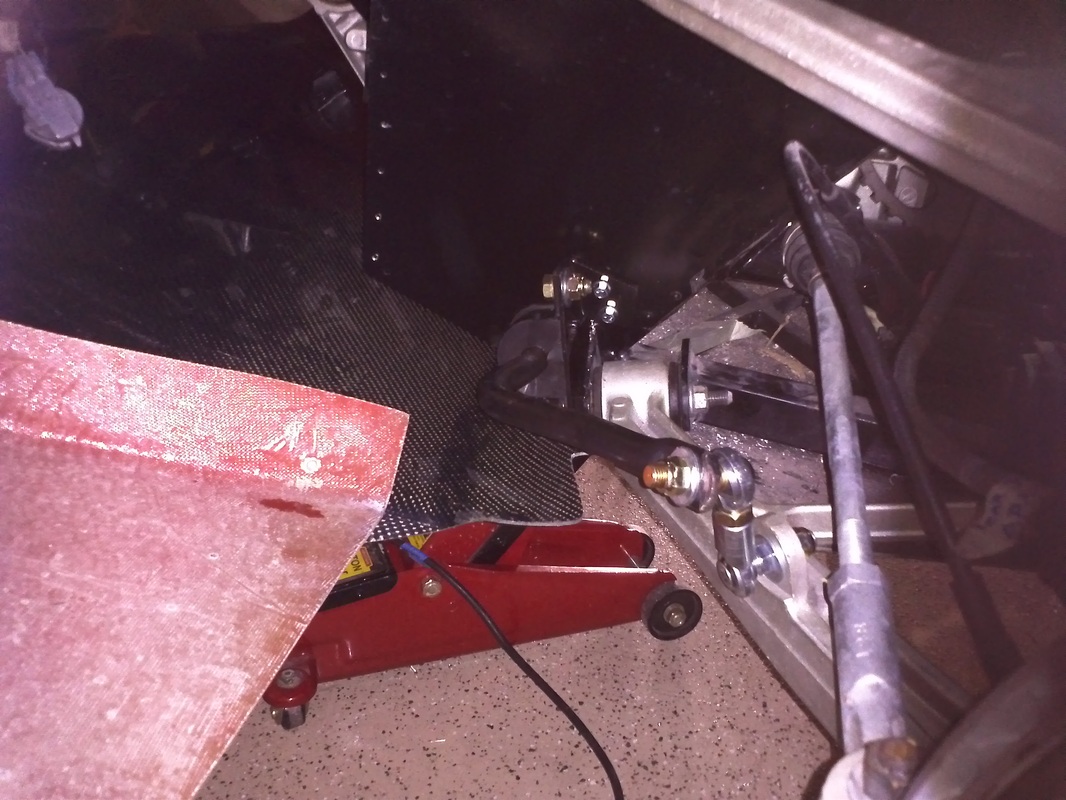
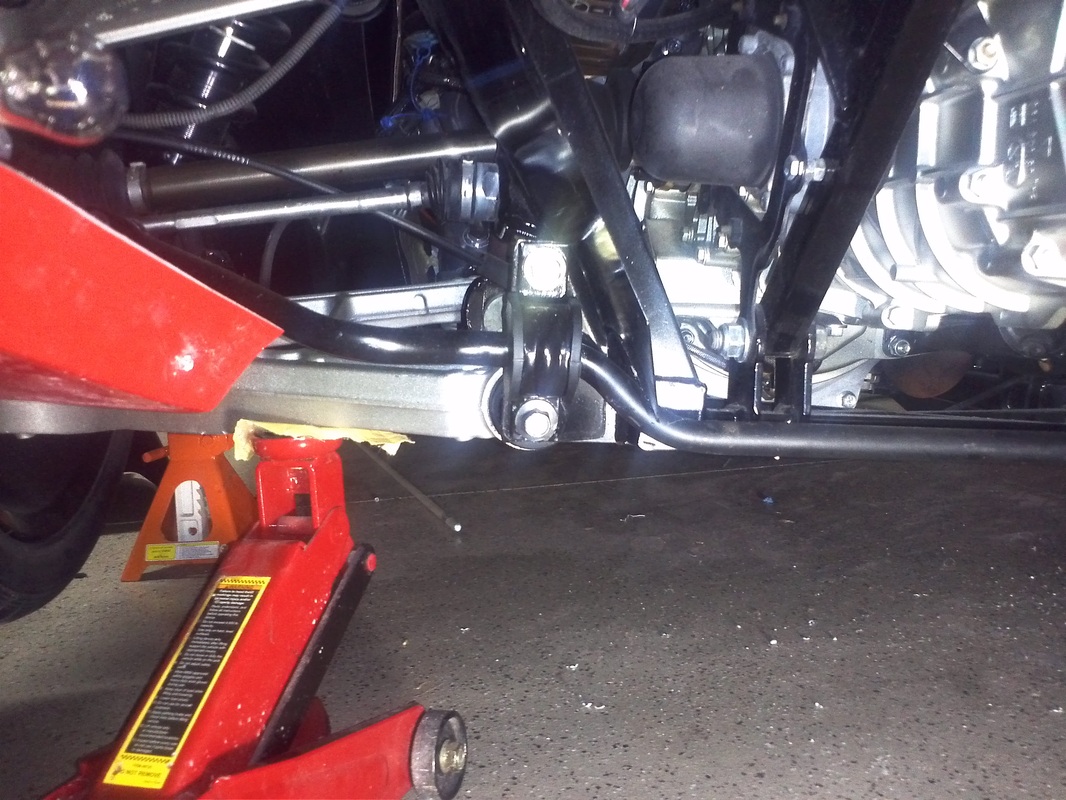
We are installing them in as they were on the corvette. On the corvette the bushing bracket is attached through the lower rear suspension bolt and the upper is attached to the suspension member. To mimic this Mike fabricated an 11ga bracket that attaches with the suspension bolt for the lower position and to the GTM frame. I used the donor bolt because the kits bolt was too short for the lower attachment. I used two heavy duty rivnuts for the bracket’s top attachment to the frame. The bushing’s lower mount is the suspension bolt and the upper is bolted to the bracket. At its closest position the bar is about an 1/8” from the diffuser.
Because of the difference in the GTM's CG and total vehicle weight as compared to C5 corvette I expect I may need more rear bar. I am using the stock C5 torsion set which is 23mm up front (which I expect will work well) and 19.1mm in the rear (which I expect I will need to upgrade to 23mm or 25mm). If I have too much bar, the tendency will be a loss in independence between the RH and LH side. When one wheel hits a bump, the bar will transmit the bump to the other side of the car as well. I The goal will be to find a bar that reduces body roll but has a minimum effect in the independence of the suspension. If the 19.1mm is to light I’ll move to the aftermarket 25mm.
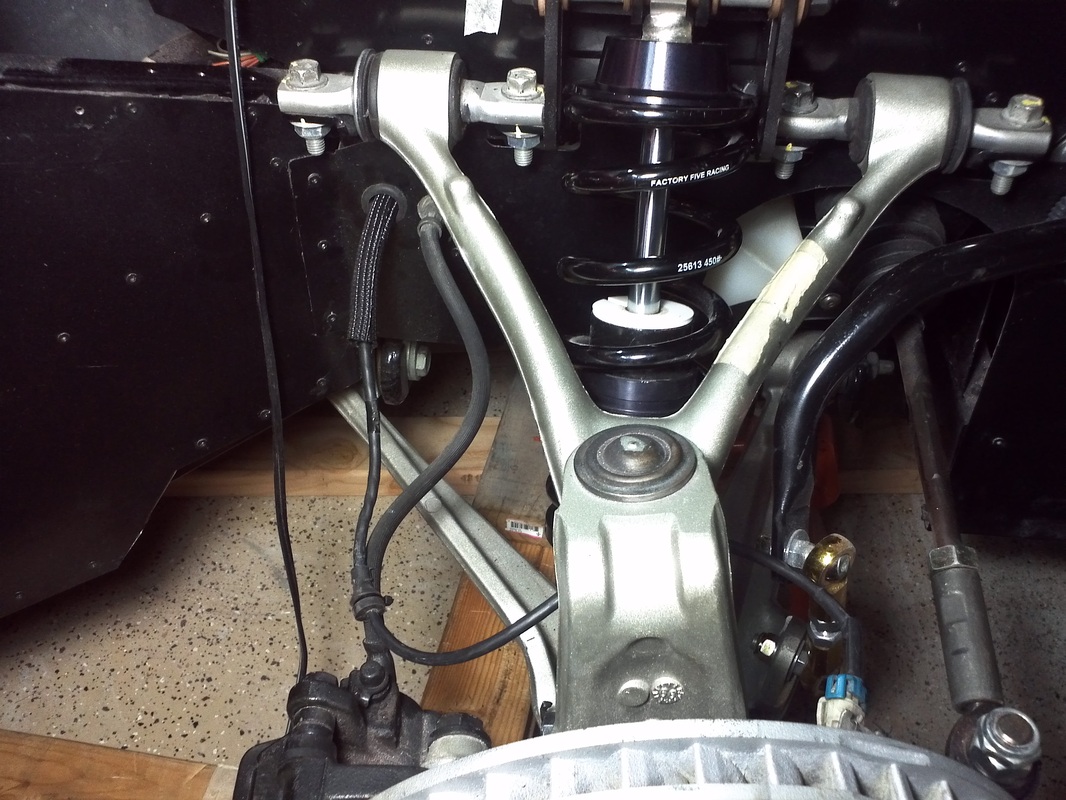
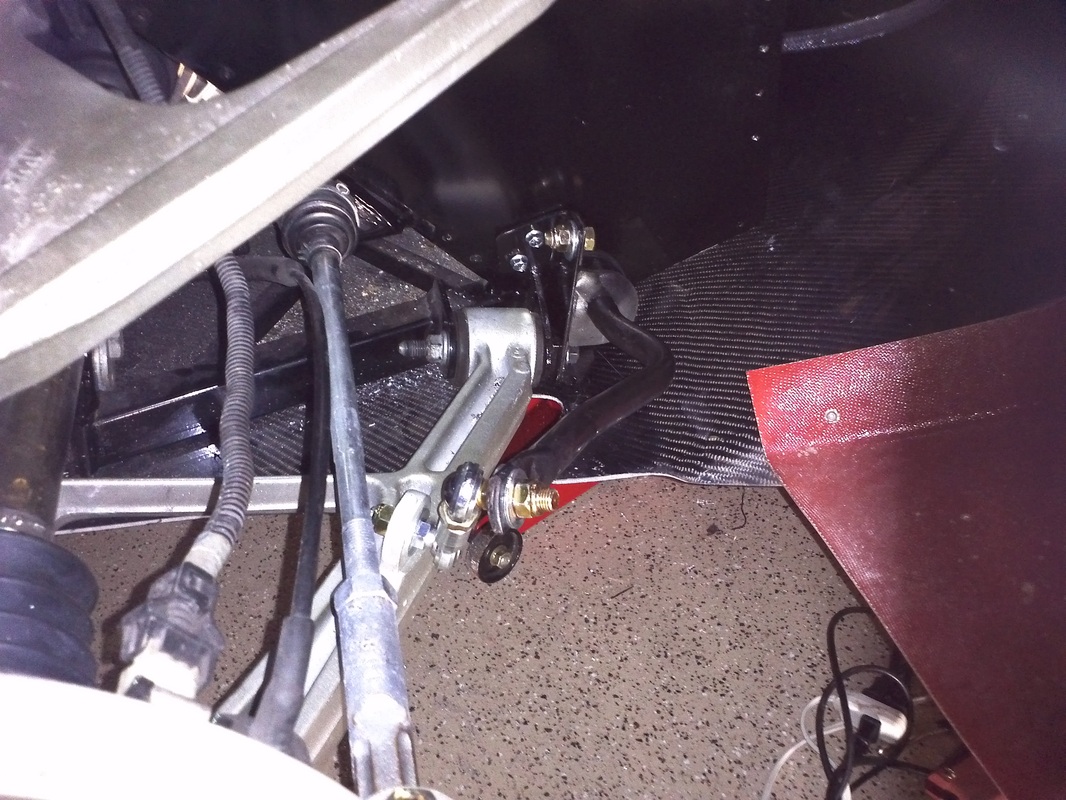
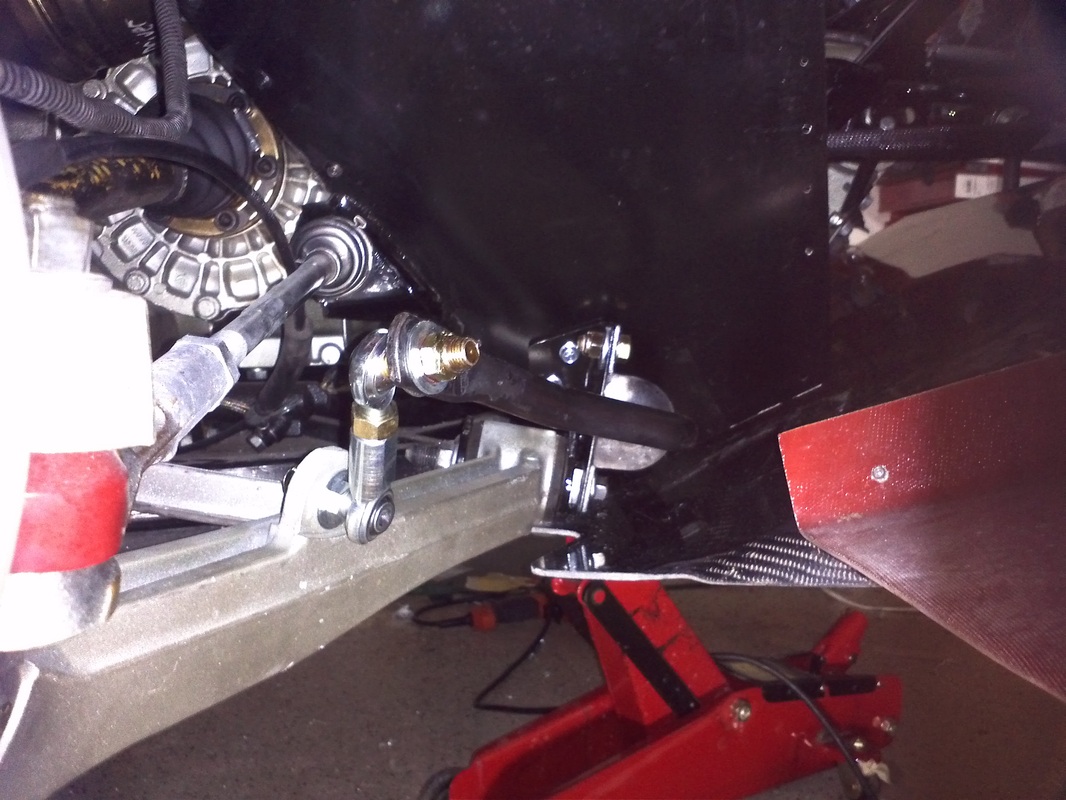
We are installing them in as they were on the corvette. On the corvette the bushing bracket is attached through the lower rear suspension bolt and the upper is attached to the suspension member. To mimic this Mike fabricated an 11ga bracket that attaches with the suspension bolt for the lower position and to the GTM frame. I used the donor bolt because the kits bolt was too short for the lower attachment. I used two heavy duty rivnuts for the bracket’s top attachment to the frame. The bushing’s lower mount is the suspension bolt and the upper is bolted to the bracket. At its closest position the bar is about an 1/8” from the diffuser.
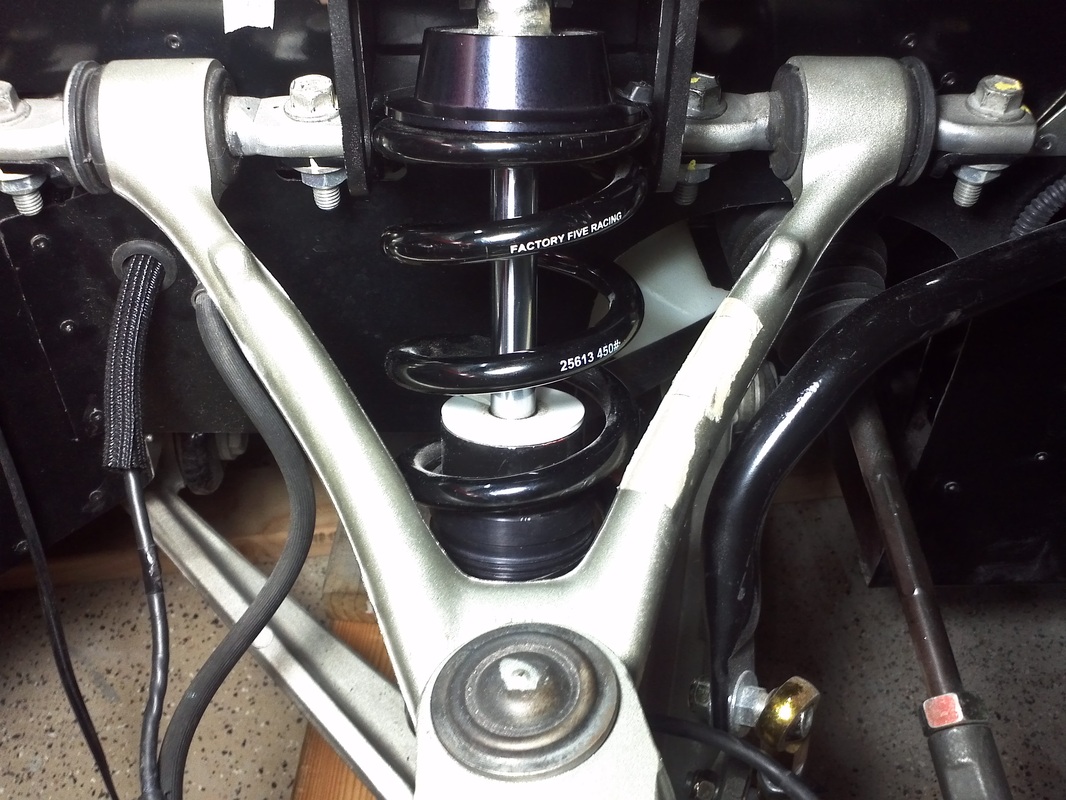
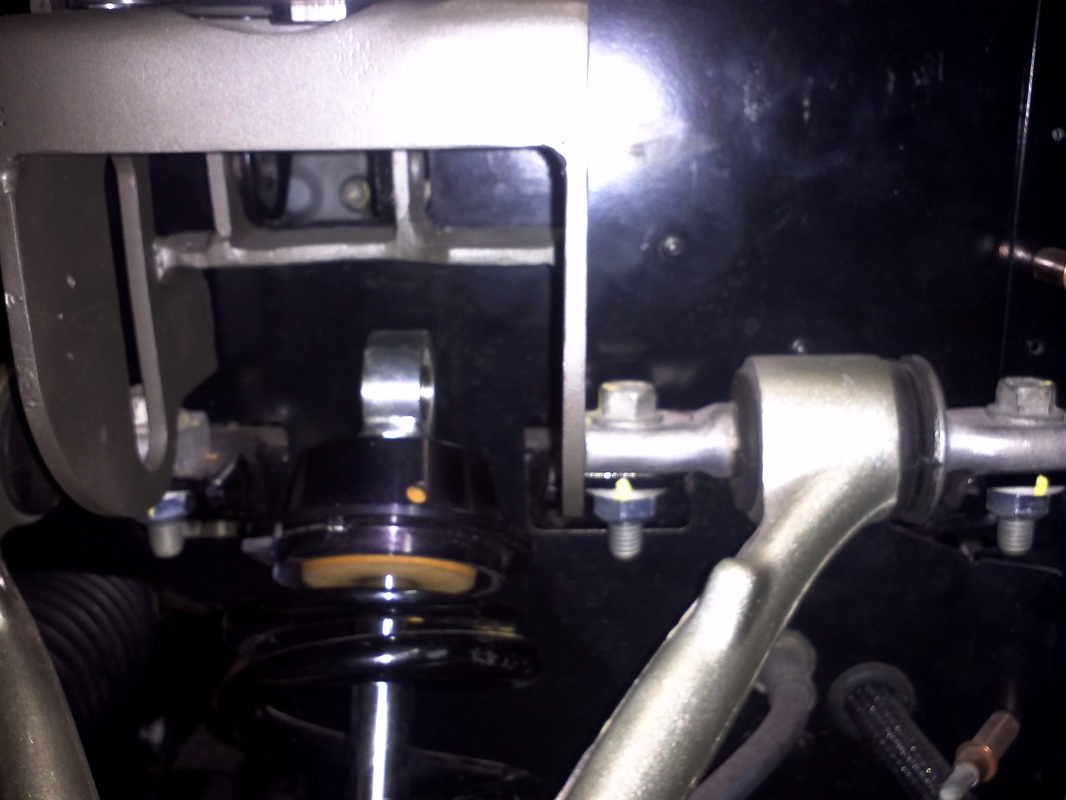
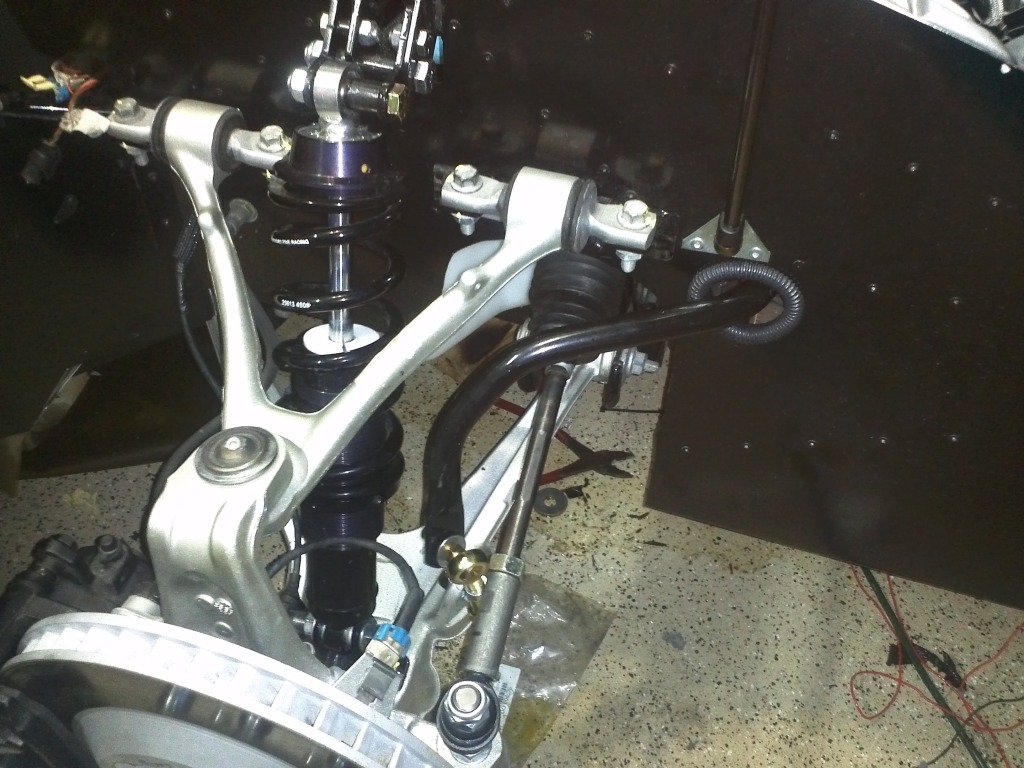
Front Anti-Sway Bar Install


Front Anti-Sway Bar Install Completion

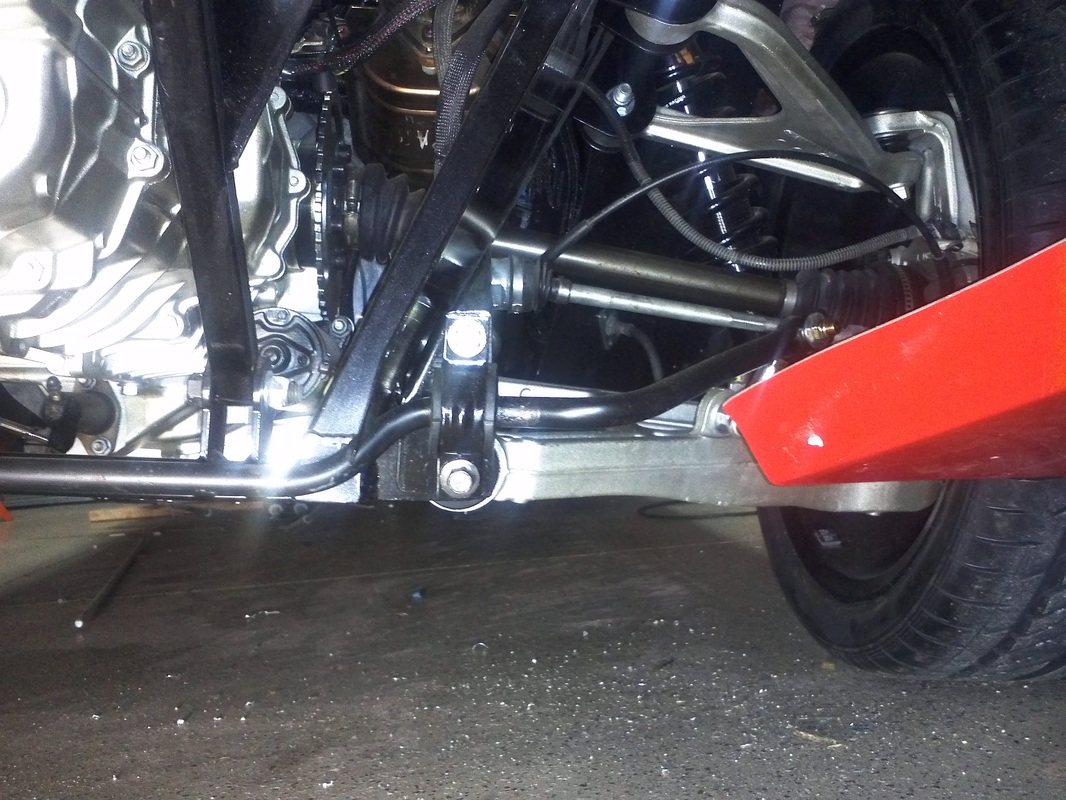
Rear Anti-Sway Bar


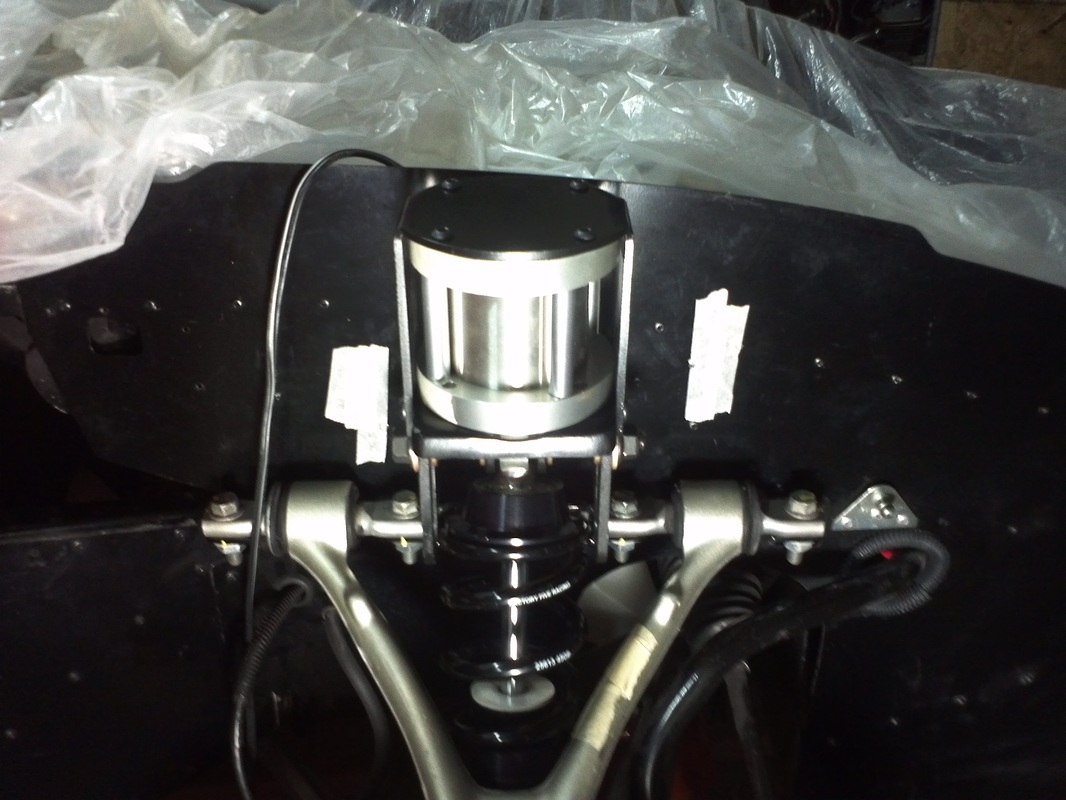
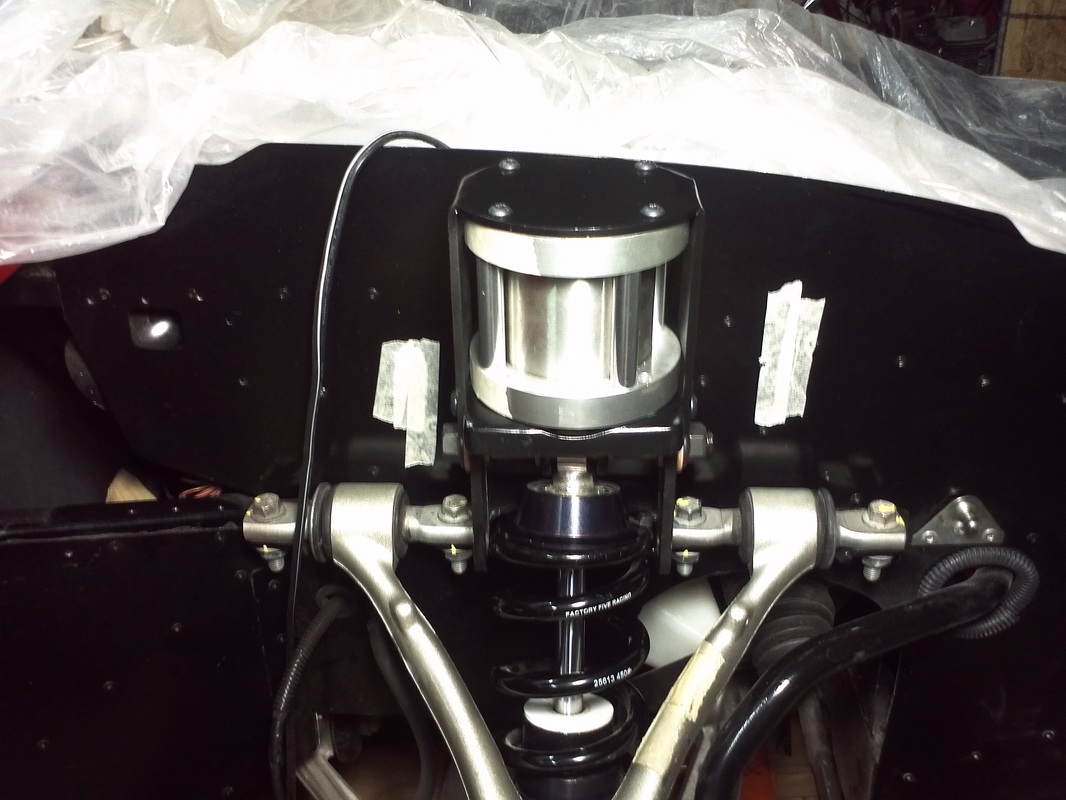
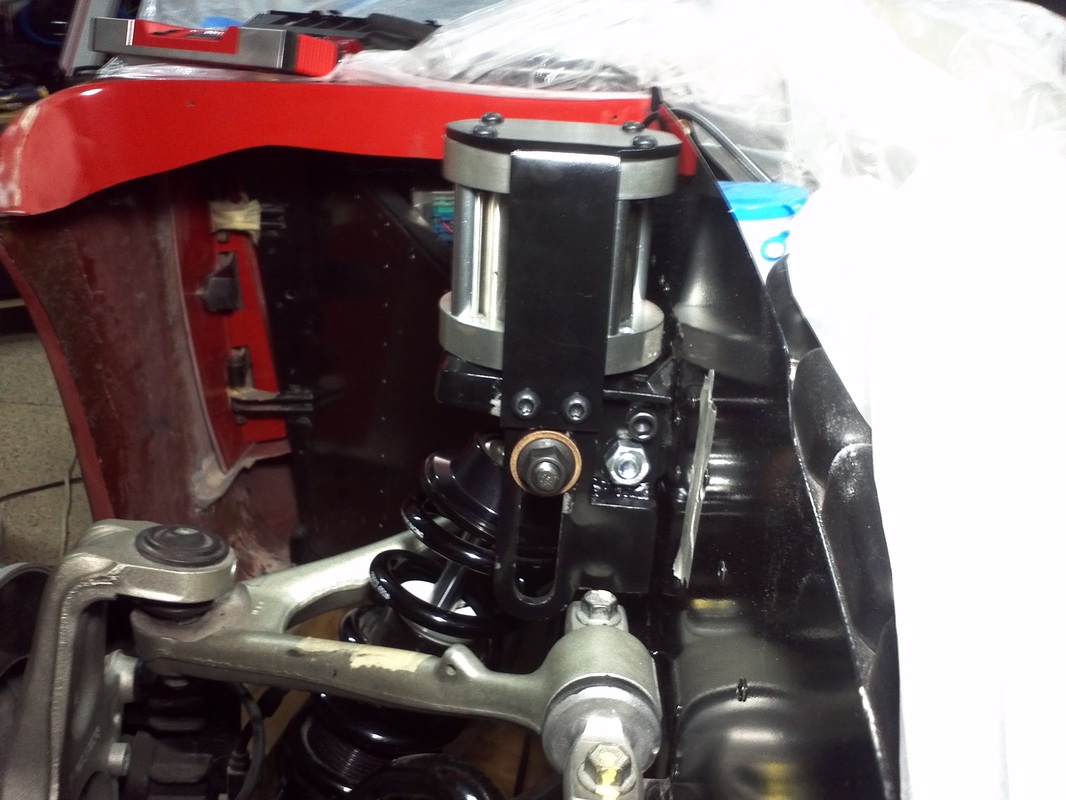
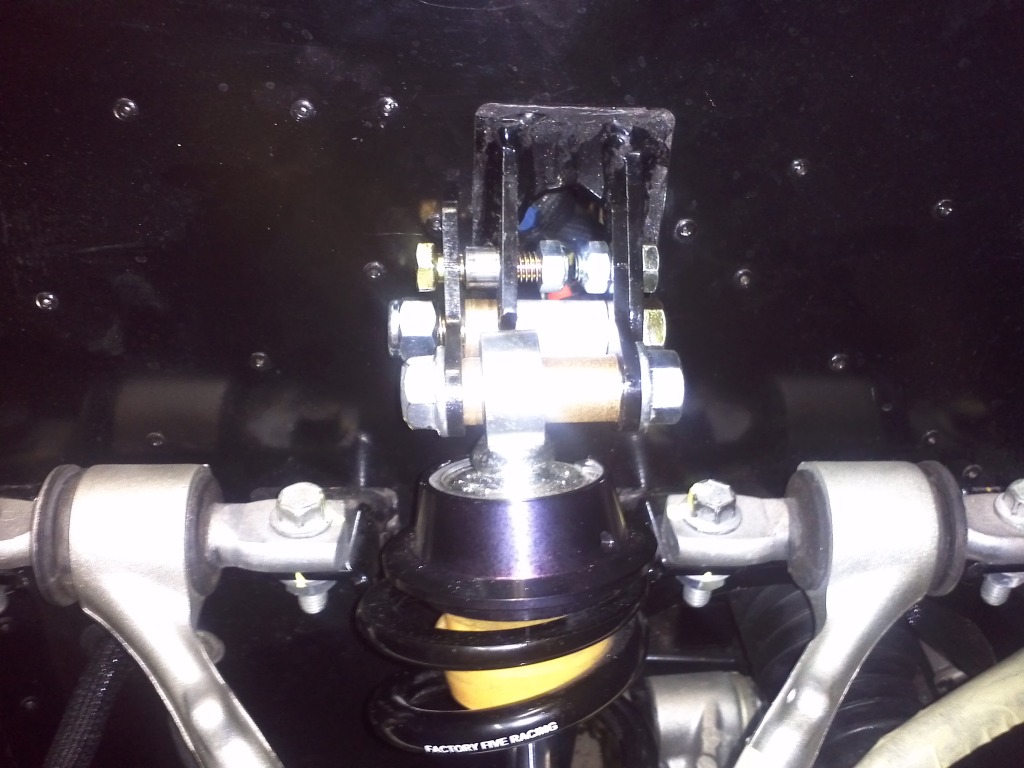
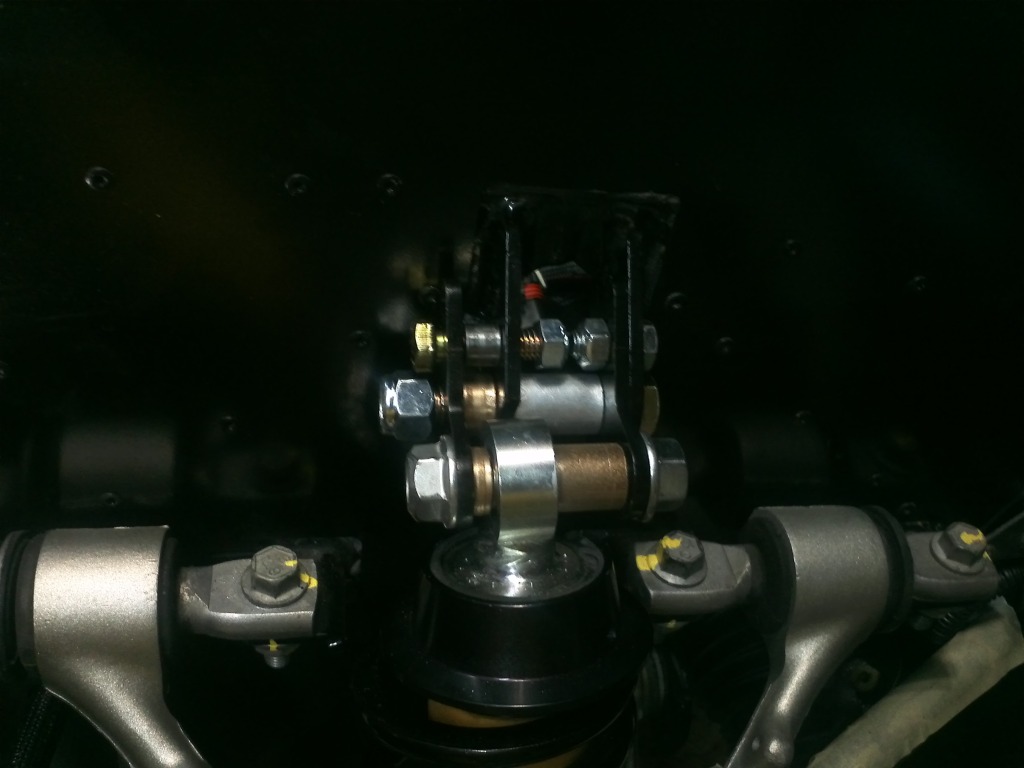
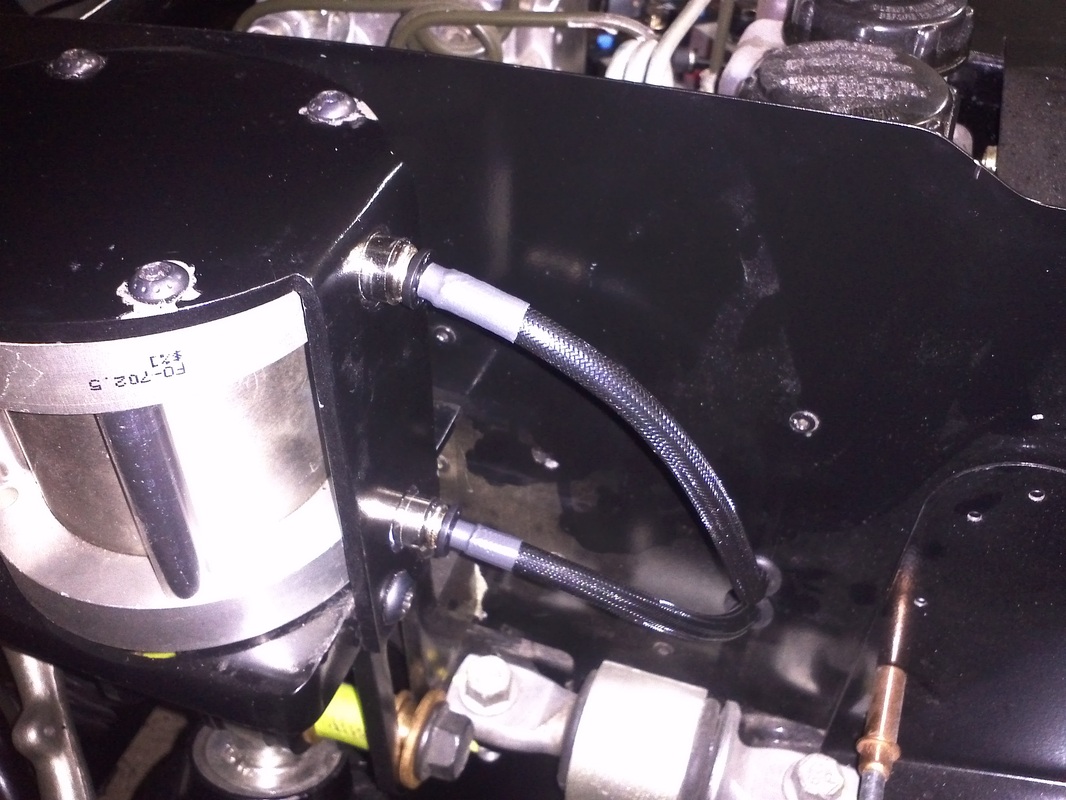
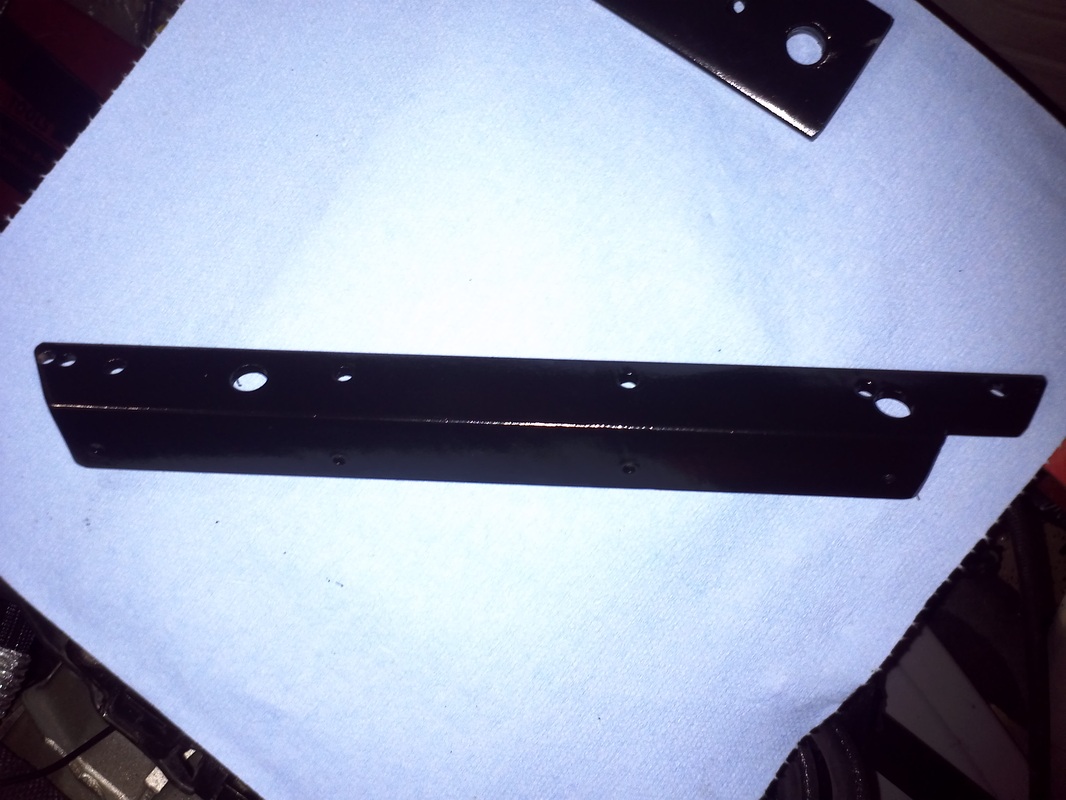
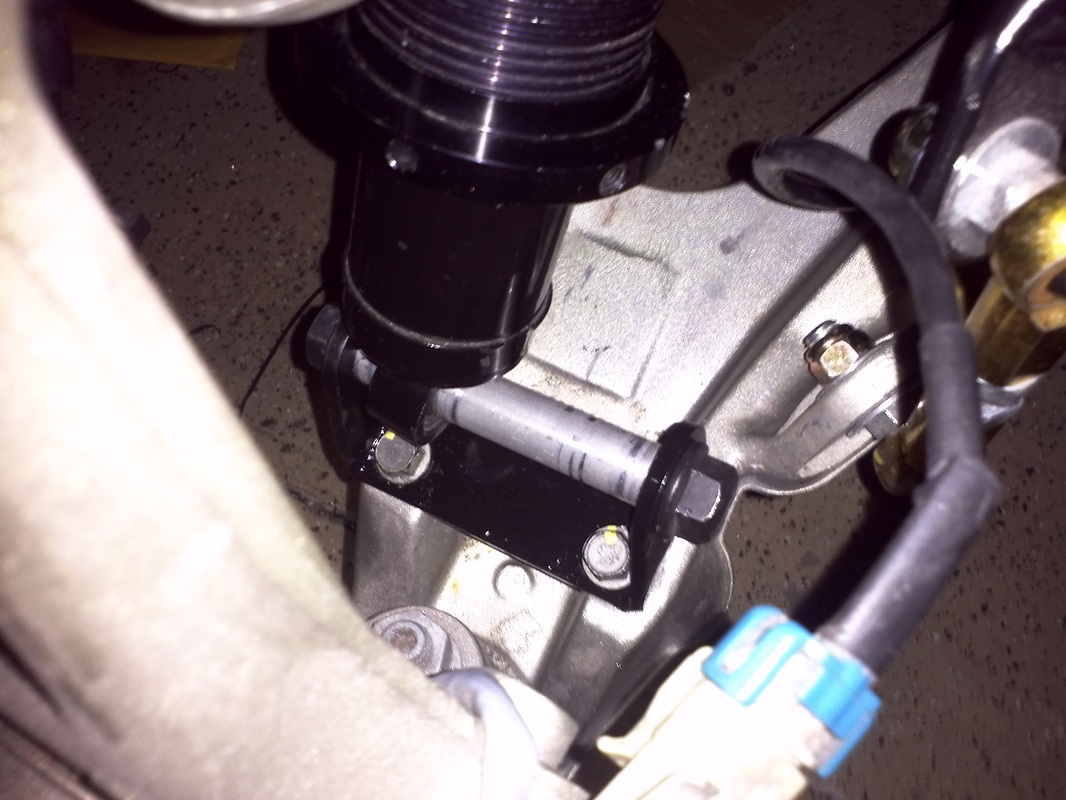
Mikes Front Lift System (Final Bracket)
Mike moved to a two piece design using 1/4" still throughout. The bottom section mounts to the upper shock mount brackets with a 1/2" bolt and a set of 3/8" socket head cap bolts.
Front Shock Mount Fix