Blower Motor and Hose
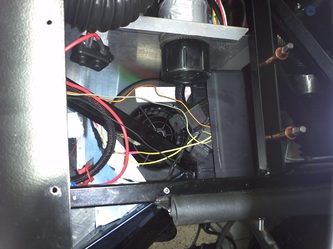
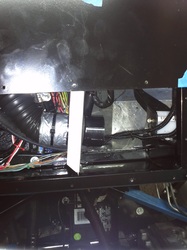
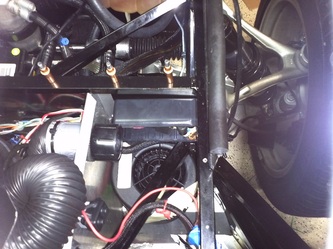
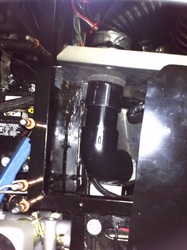
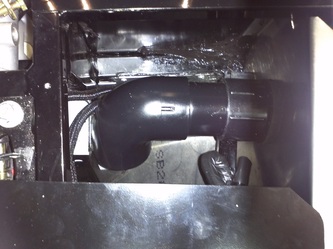
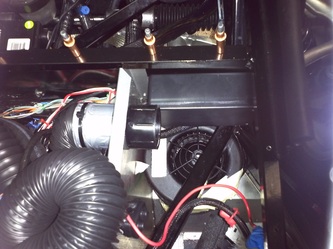
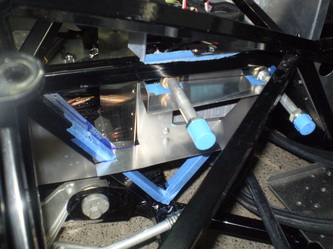
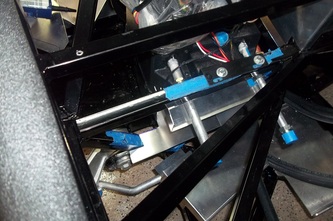
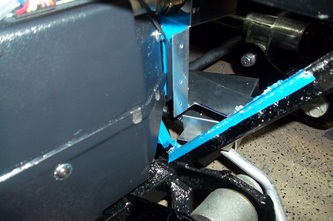
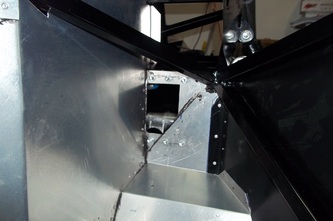
After having the relocation plenum powder coated I installed and sealed it with silicone. I then secured the blower motor using a 10-32 mechine screws mated to the holes I previously tapped. I attached the top four vent and two defroster hose and secured them with wire ties. The floor vent ports are on the rear. Because the hose is the same size as the port the HVAc kit includes two adapters. First a short 4-5" run of the lager hose is attached to the port and the adpater is than connected allowing the smaller hose to be connected. My HVAC kit did not include vents for the floor run. I have seen other uilds use the same vents as used for the defroster, another set of the vents included for the dash and custom venting. I didn't like the idea of seeing the floor vent. I don't recall seeing the floor vent in any of my current of previously owned vehicles. With that I decided to do something different for the GTM, but very production like. Most floor vents air flow hit the top of the foor/ankle area. Either directly from the top of from a side offset. With that I routed my floor hoses up and above the HVAC unit. I then installed 2.5" PVC through the HVAC unit side aluminum panel walls with a smooth 90 degree turn down toward the lower leg area in the footboxes. I tweaked the direction with the AC running and the result is a production car like floor vent air flow.
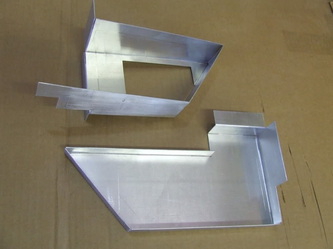
AC Plenum (Blower Motor Relocation Kit) VRaptor Speedworks
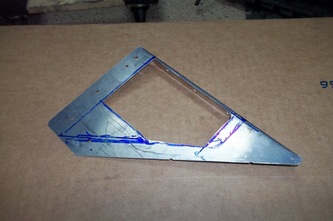
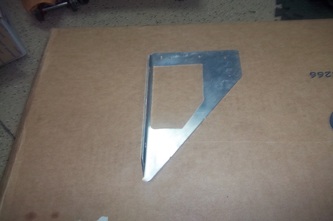
Shane Vacek sells custom make parts for the GTM. This was the first Item I purchased from Shane. It arrived well packaged and extremely professionally done. This will be used to move the position of the AC/Heat blower motor from under the hood, where it would pull in possible dust/dirt and outside temp air, to the upper passenger foot well. The new location will pull/recirculate air from inside the GTM. This should allow for more efficient heating and cooling.
Plenum Install
I finally have moved to completing the Passenger foot box. The evaporator is installed during this part of the build. I followed the instructions for getting the evaporator in place and had no issues. It was easily placed into the forward tunnel. After getting it in place I could only see the two passenger side screws where the fan attaches. I moved the front of the evaporator toward the passenger side of the car to expose the upper driver's side screw. You need these three screws for the fan relocation plenum. After getting the evaporator in the position I need and test fitting the inner part of the plenum I installed the two rivnuts and bolted the evaporator to the chassis. I then drilled a new hole in the rear bracke and attached it to the evaporator and then rivited it to the chassis.
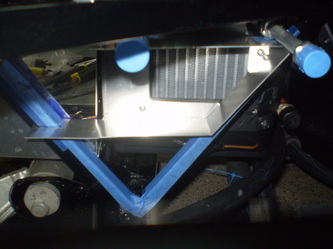
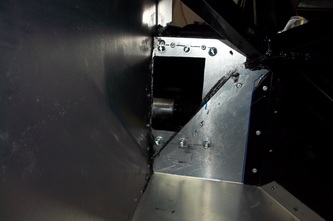
Now to the plenum. I placed tape on the back, set it inplace and tapped on it in the three corners where the holes will be drilled. This left an indent in the tape giving me the marks for drilling the holes. I then fitted and drilled and cleco'd the passenger foot box panels to test the fit of every thing. Then I removed and permently reinstalled the foot box. I have removed the plenum for powder coating on my next run.
Now to the plenum. I placed tape on the back, set it inplace and tapped on it in the three corners where the holes will be drilled. This left an indent in the tape giving me the marks for drilling the holes. I then fitted and drilled and cleco'd the passenger foot box panels to test the fit of every thing. Then I removed and permently reinstalled the foot box. I have removed the plenum for powder coating on my next run.
