Hood Close out Flange Addition


Hood Gap,
LH Hood
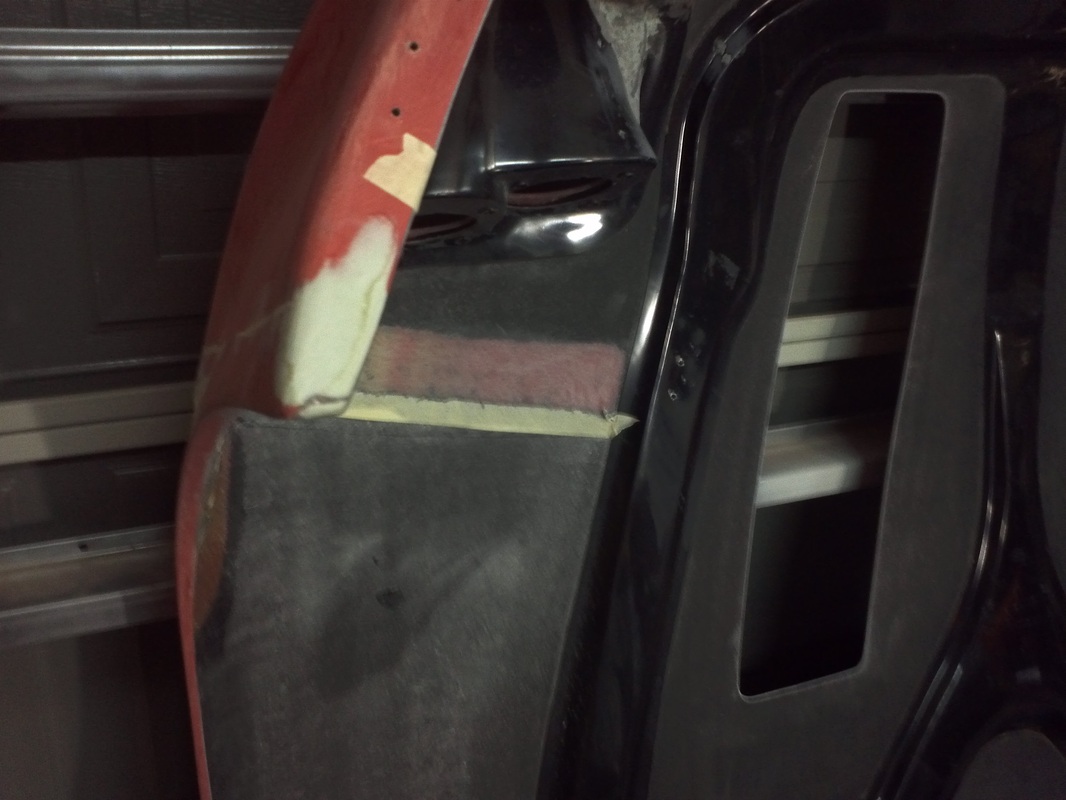
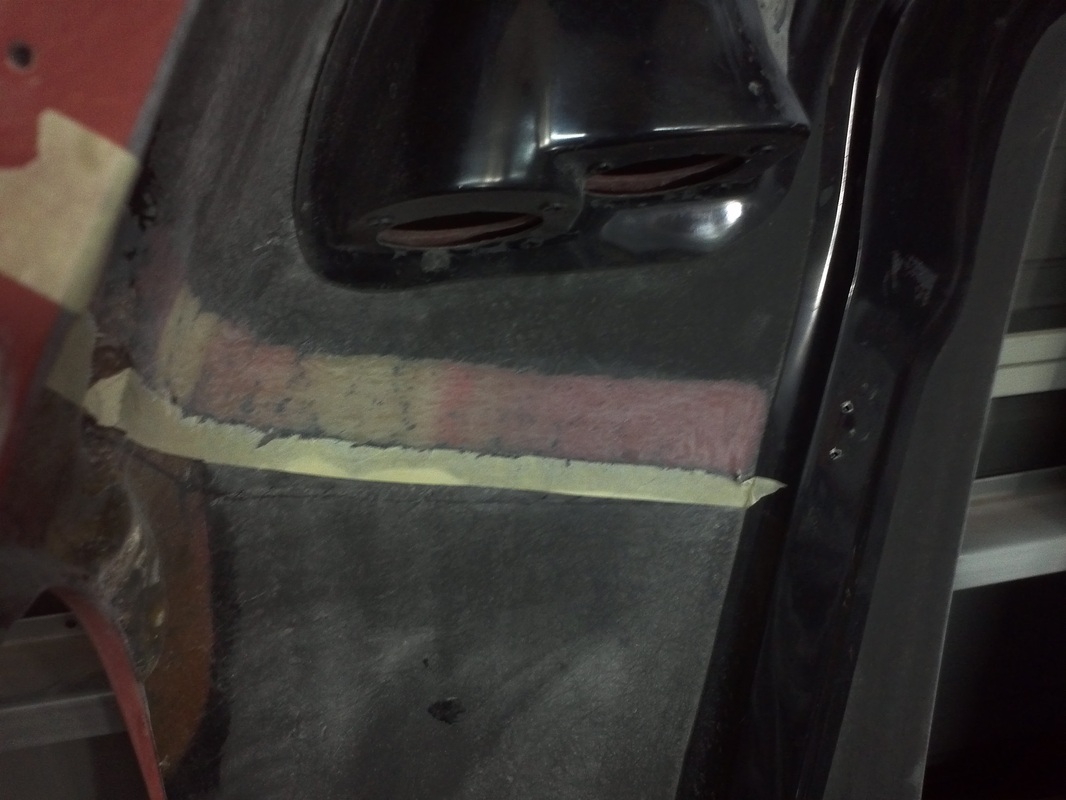
With the latch area gap at 1/8" (for now) I started working on the hood's body work. I masked off the headlight. I cleaned/prepped the area followed by blocking. I used my rotary tool to create a slight bevel along the line of the mold flashing. I used the gelcoat as the initial guide coat. Then I mixed and added a thin coat of Rage along the beveled area. I then sprayed on guide coat, let it dry and then blocked the entire area.

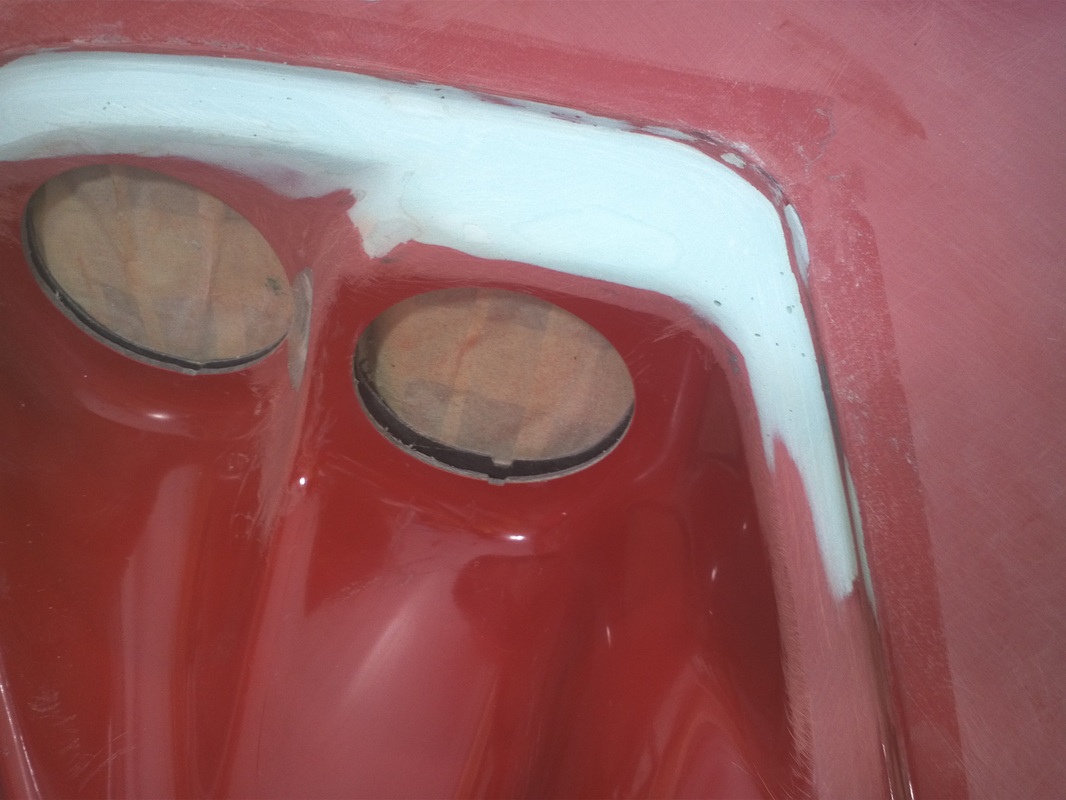
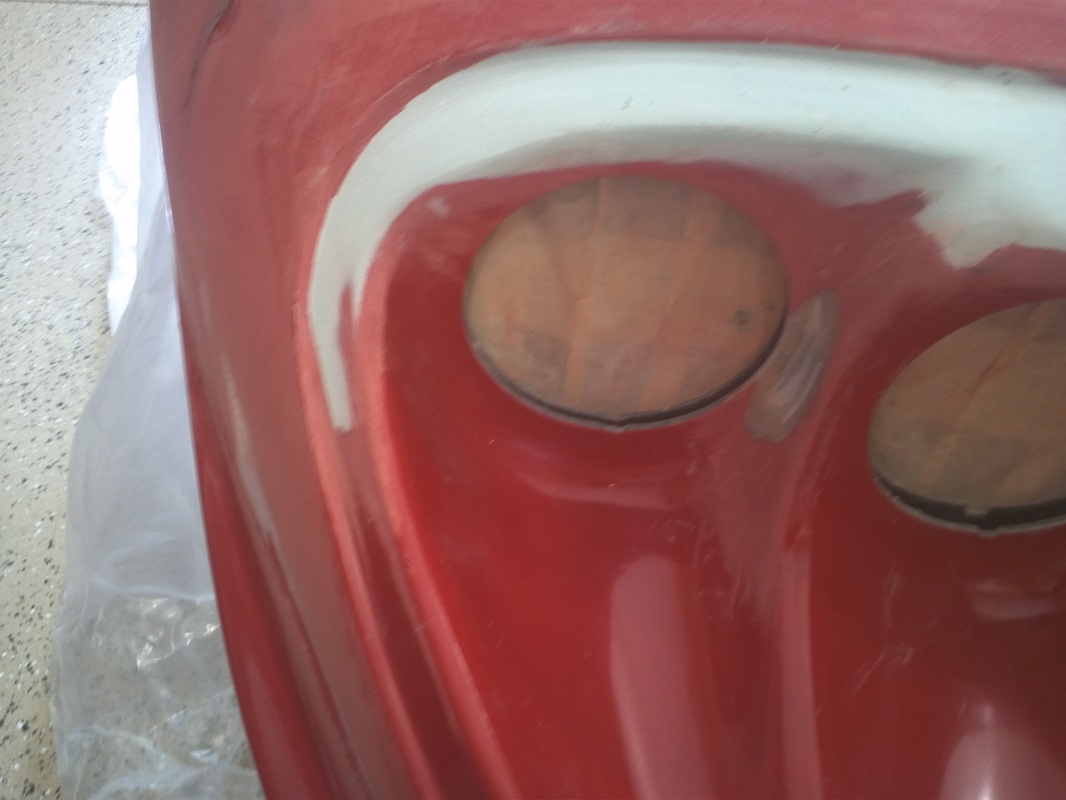
Hood Now Ready for Polyester Filler
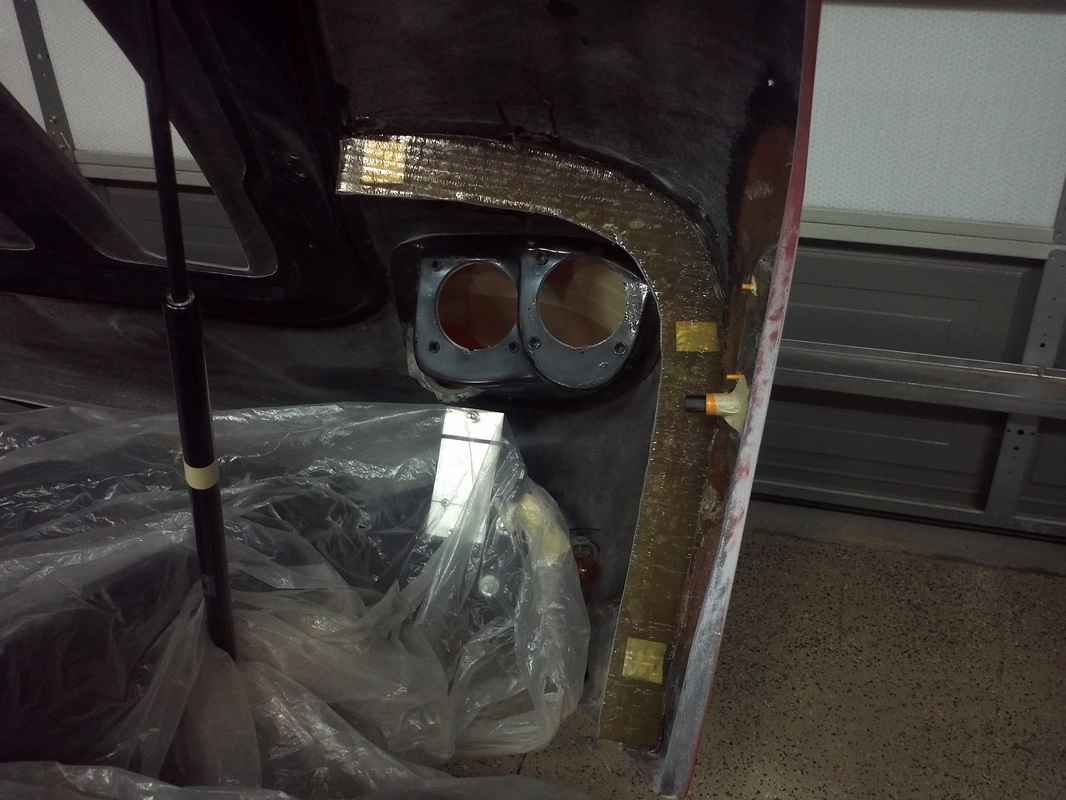
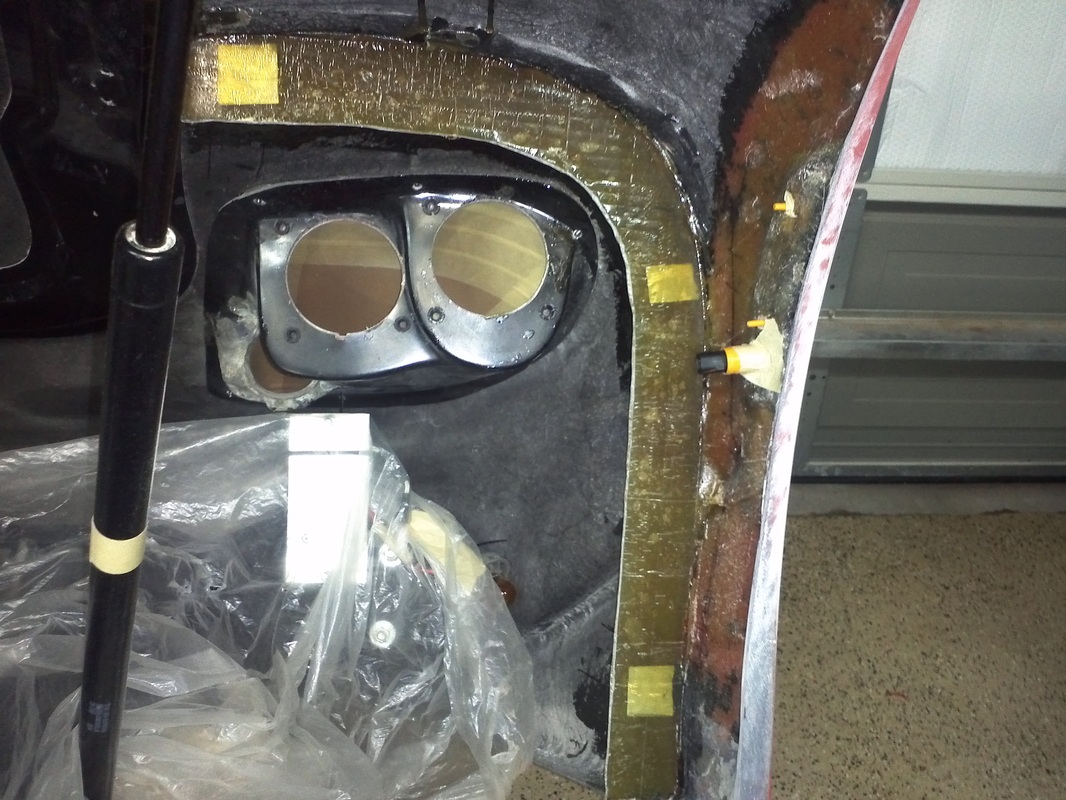
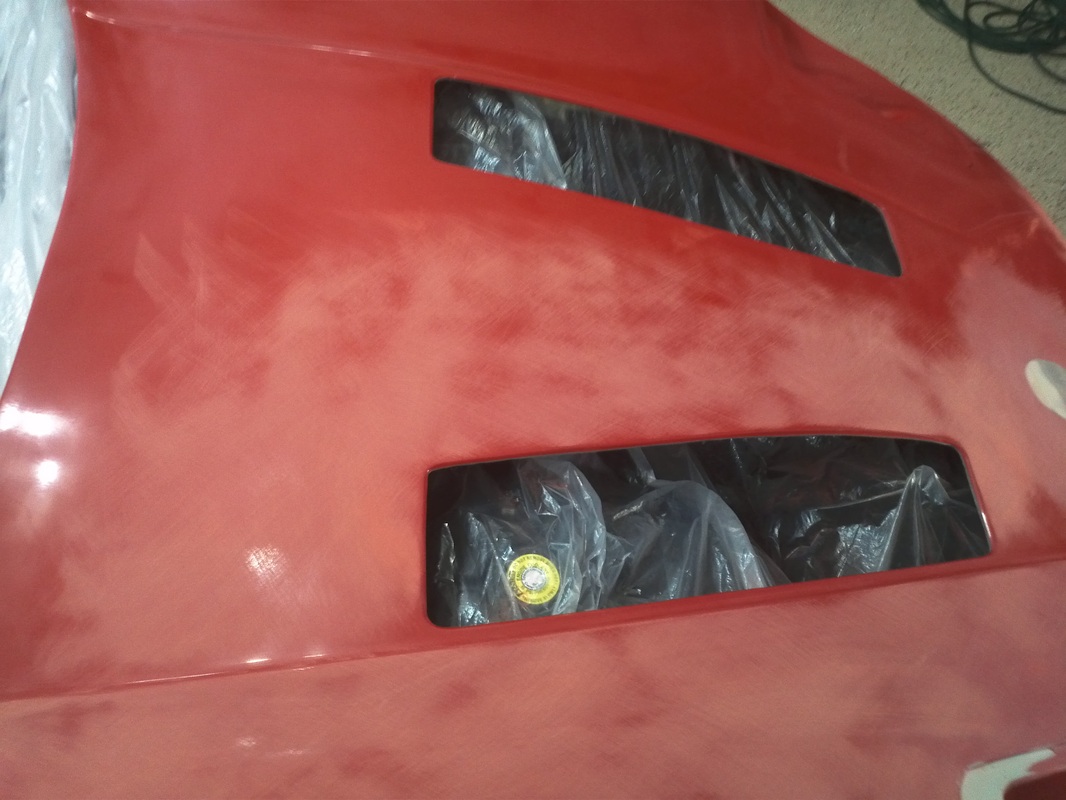
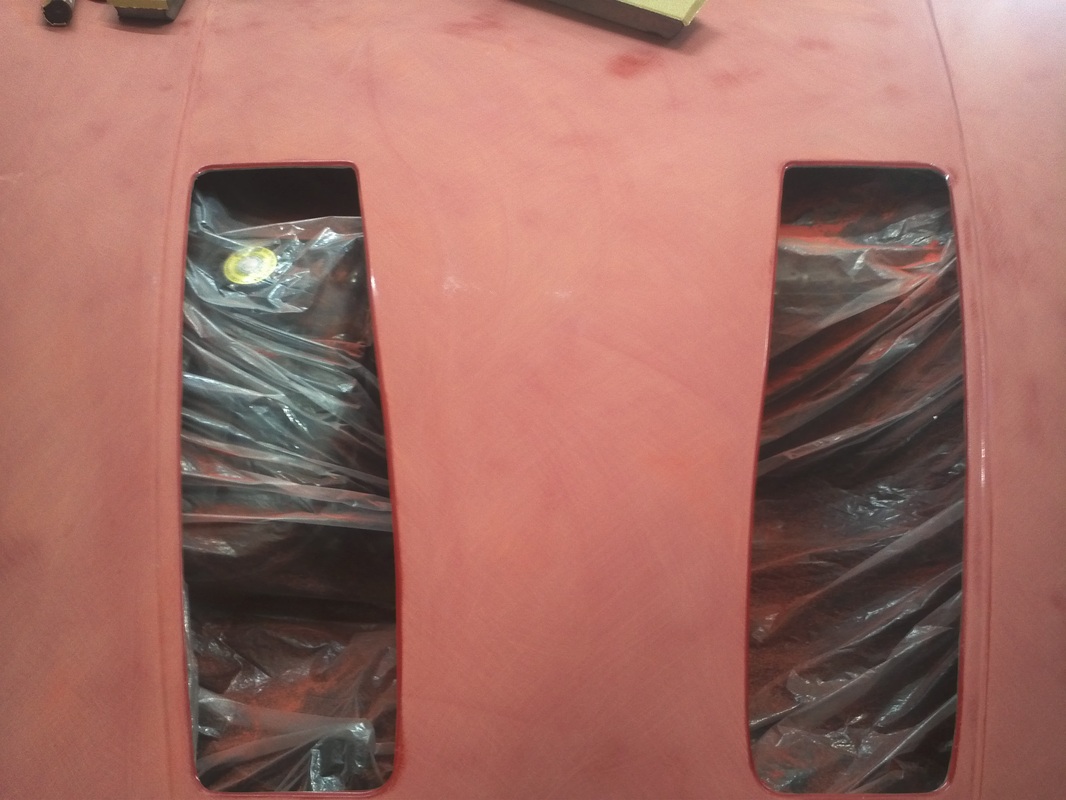
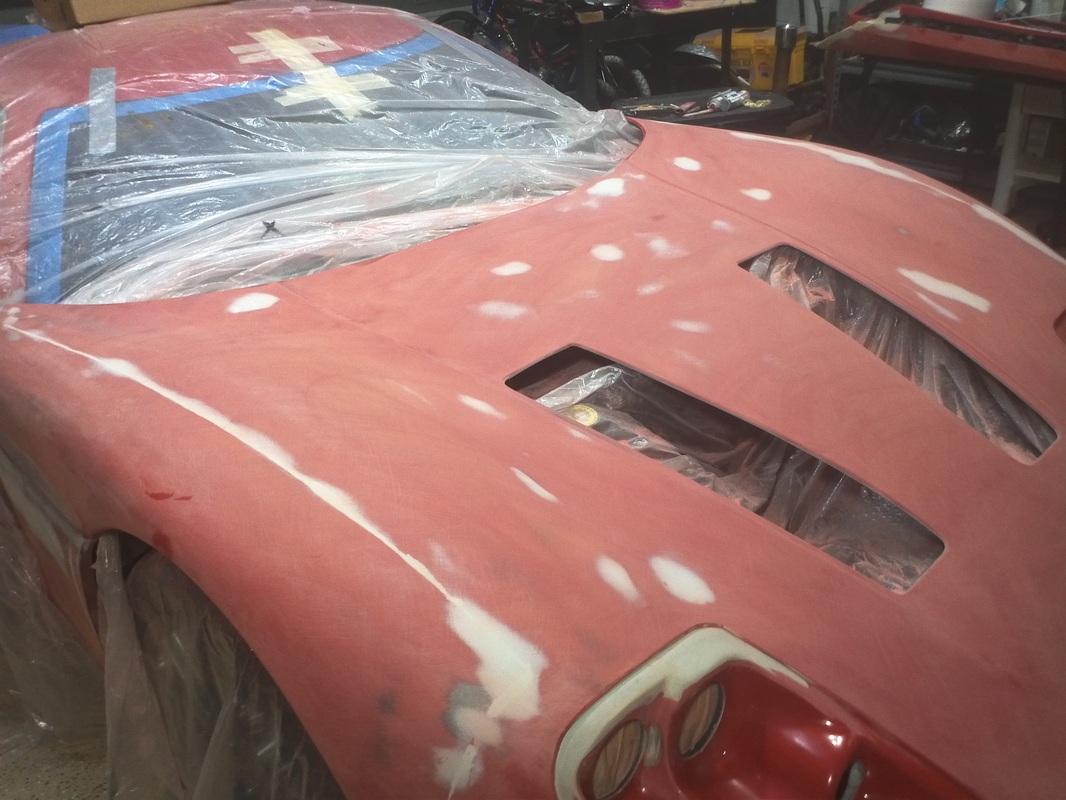
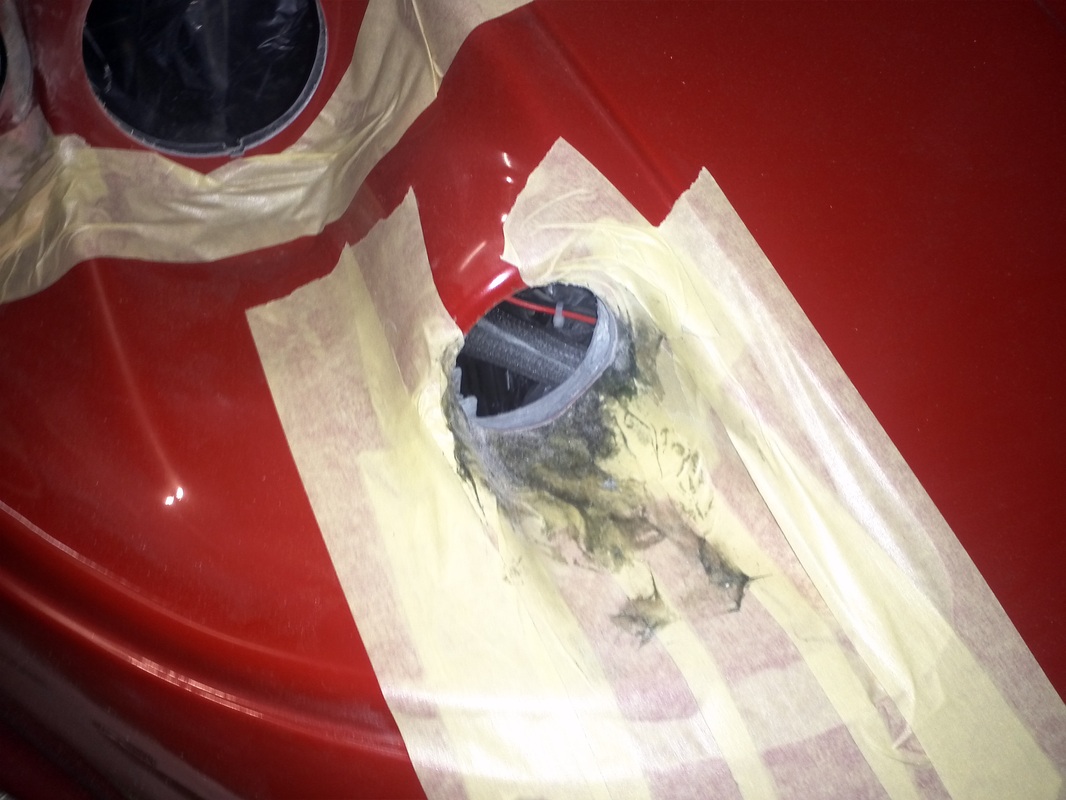
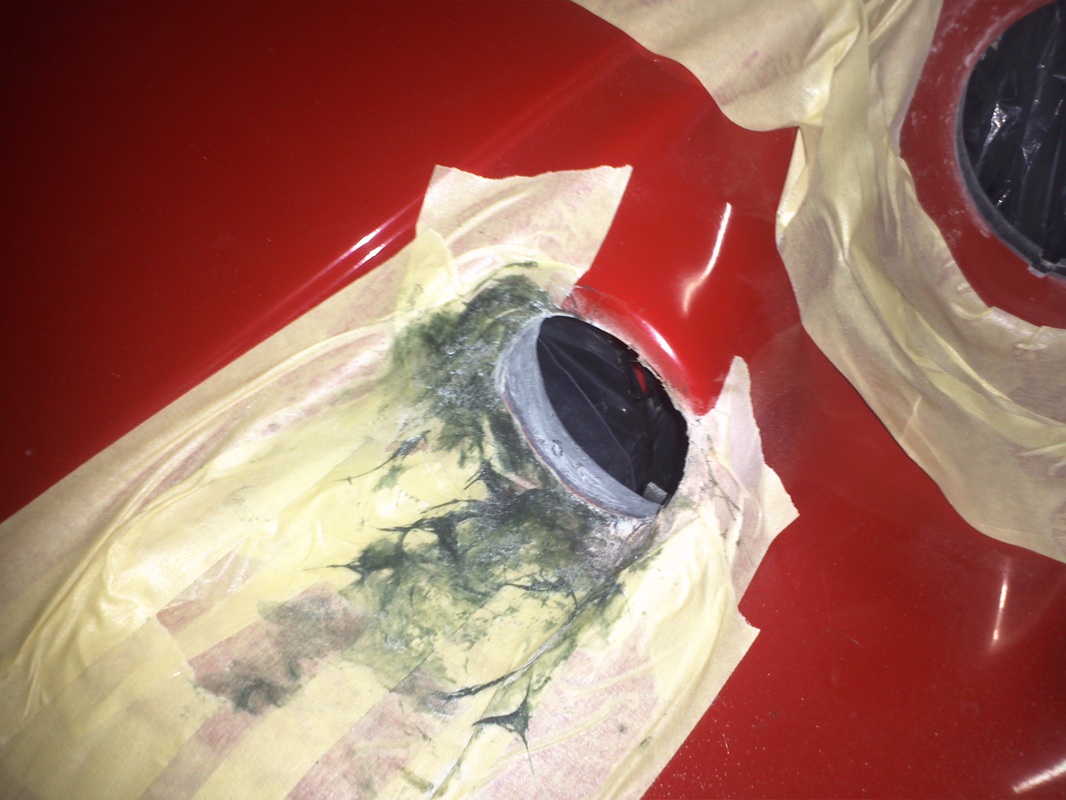
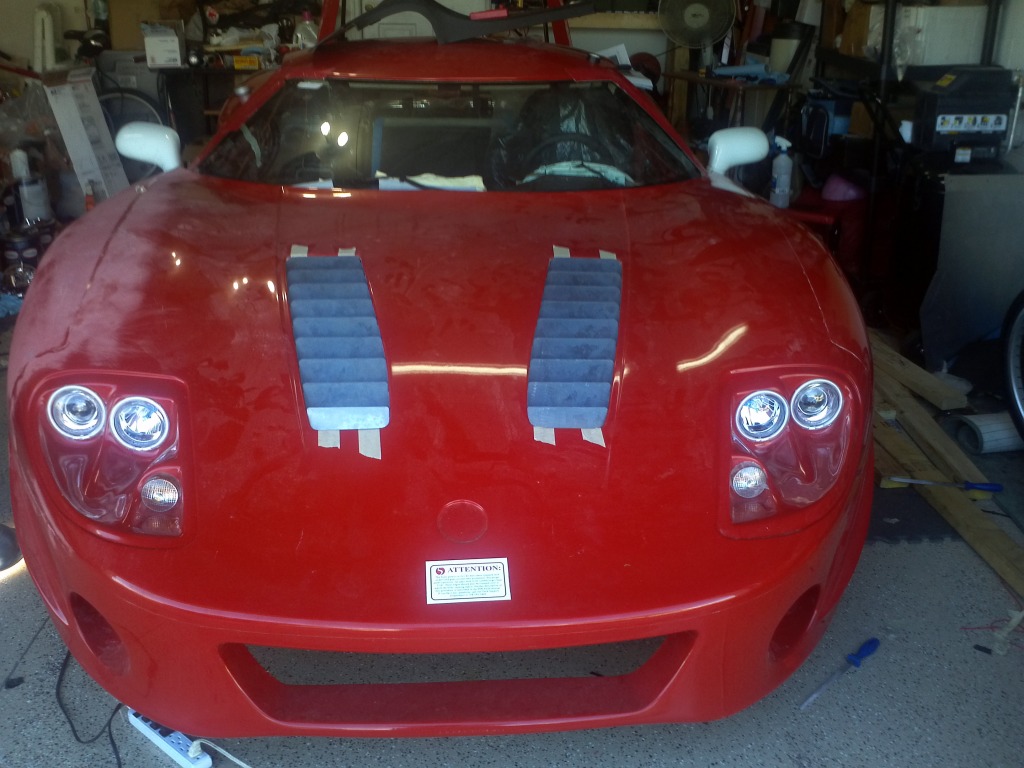
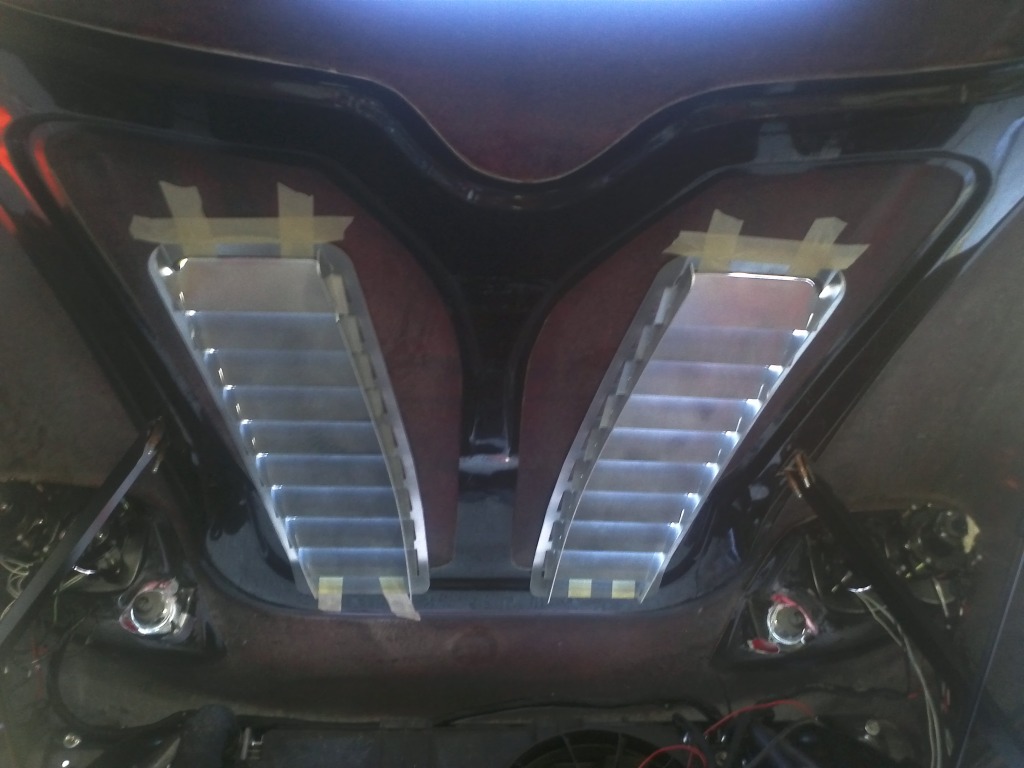
With the hood cleaned with wax & grease remover and then alcohol, I proceeded to first address the radiator air exits. I was able to assist Shane of VRaptorSpeedWorks in his design of his Gen2 GTM hood louvers. The louvers are designed to sit just inside the rolled edge of the recess that is moulded into the Gen2 hood for the Kit supplied fiberglass louvers. The horizontal portions were trimmed for the initial fitting so I only need to continue the factory rolled edge to the underside of the hood.
I applied the same procedure used above on the remainder of the hood. There were some low spots and a few high spots. I only need to address the aft edge (will be able to address it once the hood is removed for primer and raptor liner.
I applied the same procedure used above on the remainder of the hood. There were some low spots and a few high spots. I only need to address the aft edge (will be able to address it once the hood is removed for primer and raptor liner.
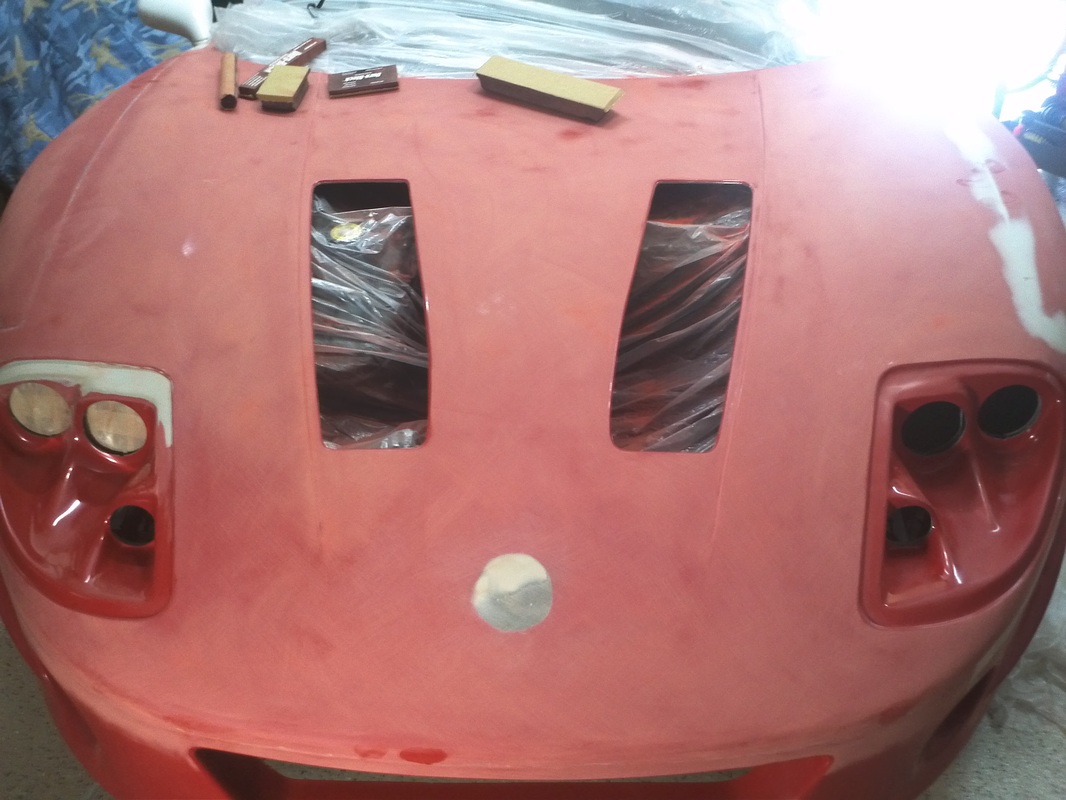
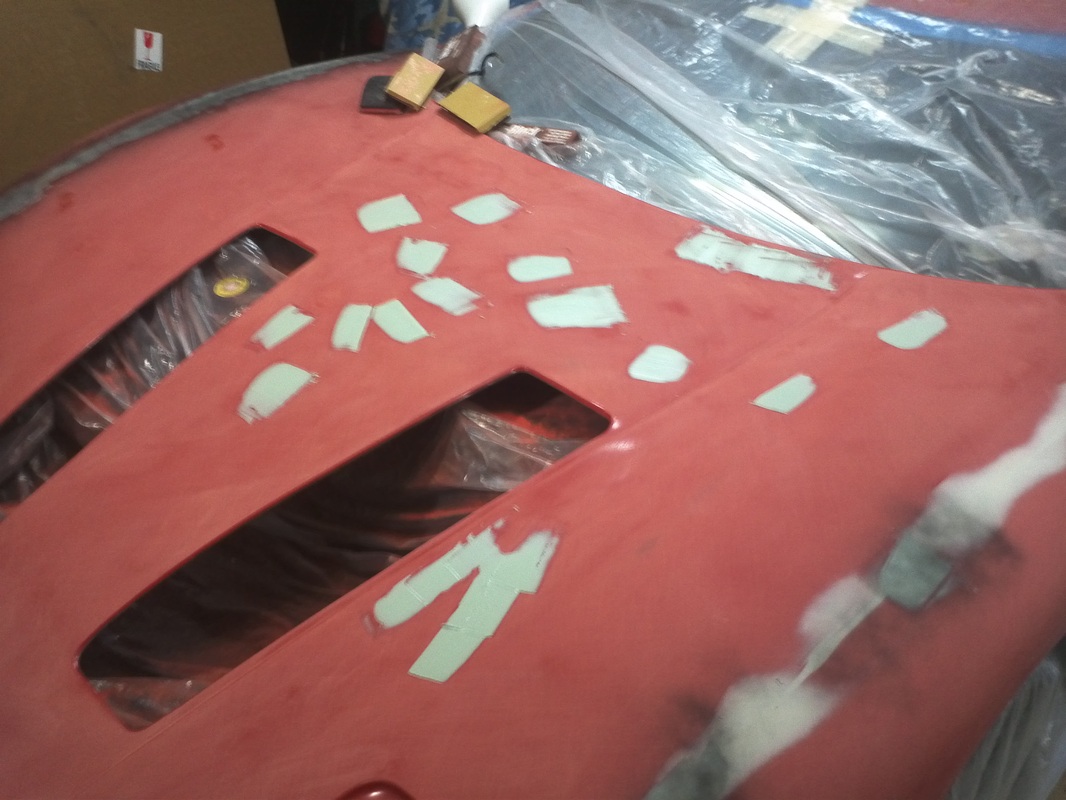

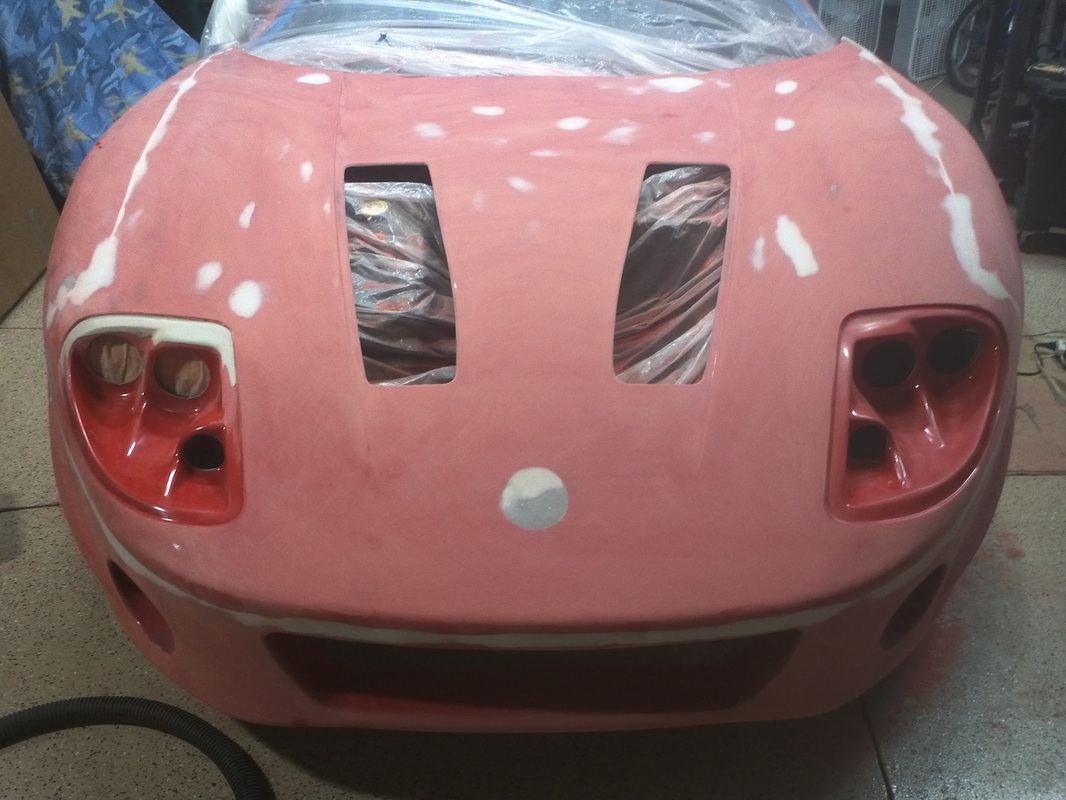

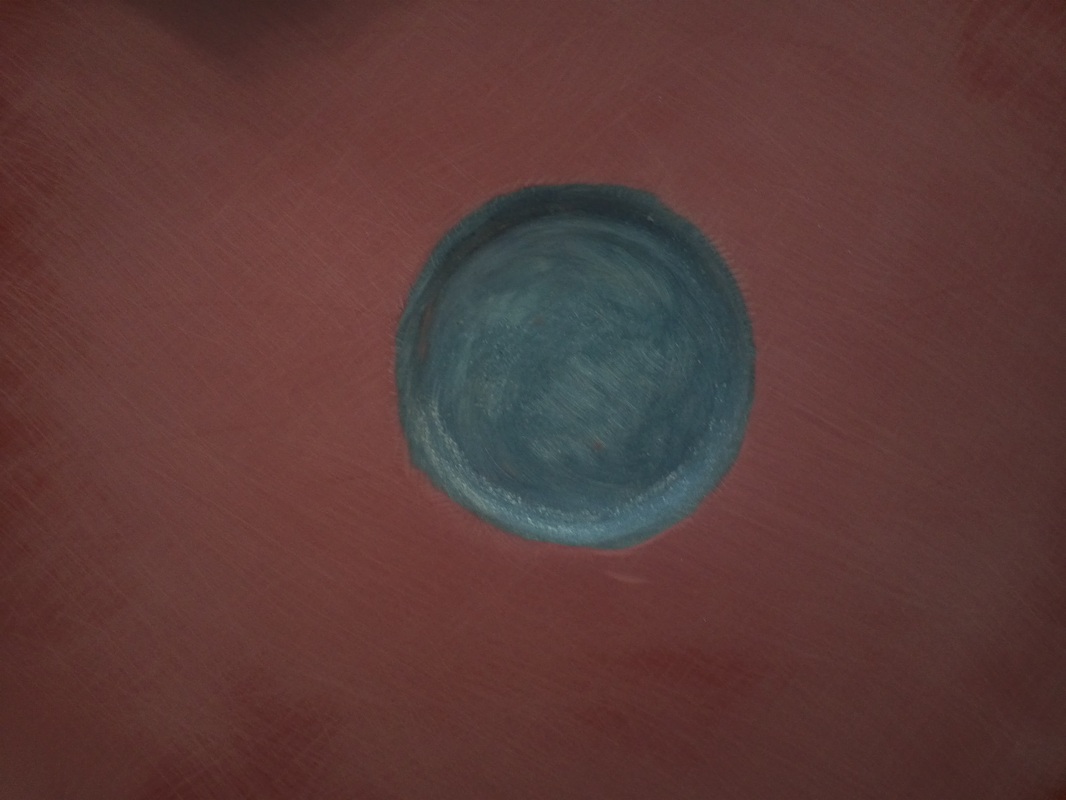
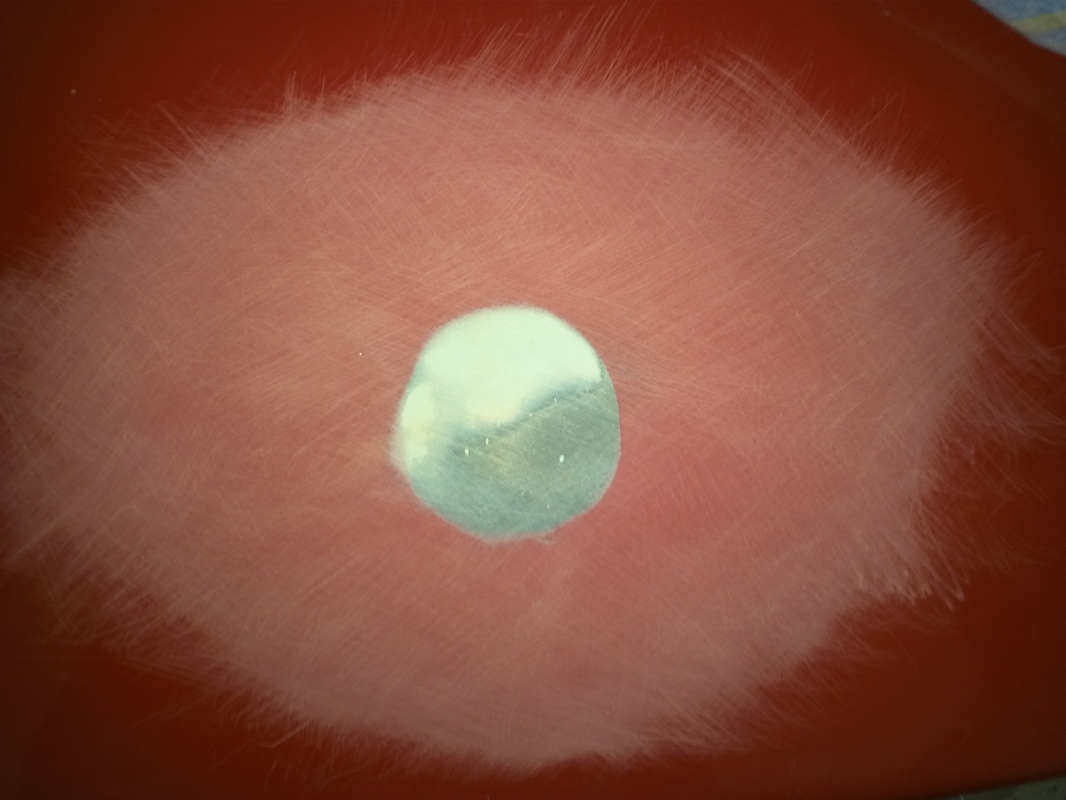
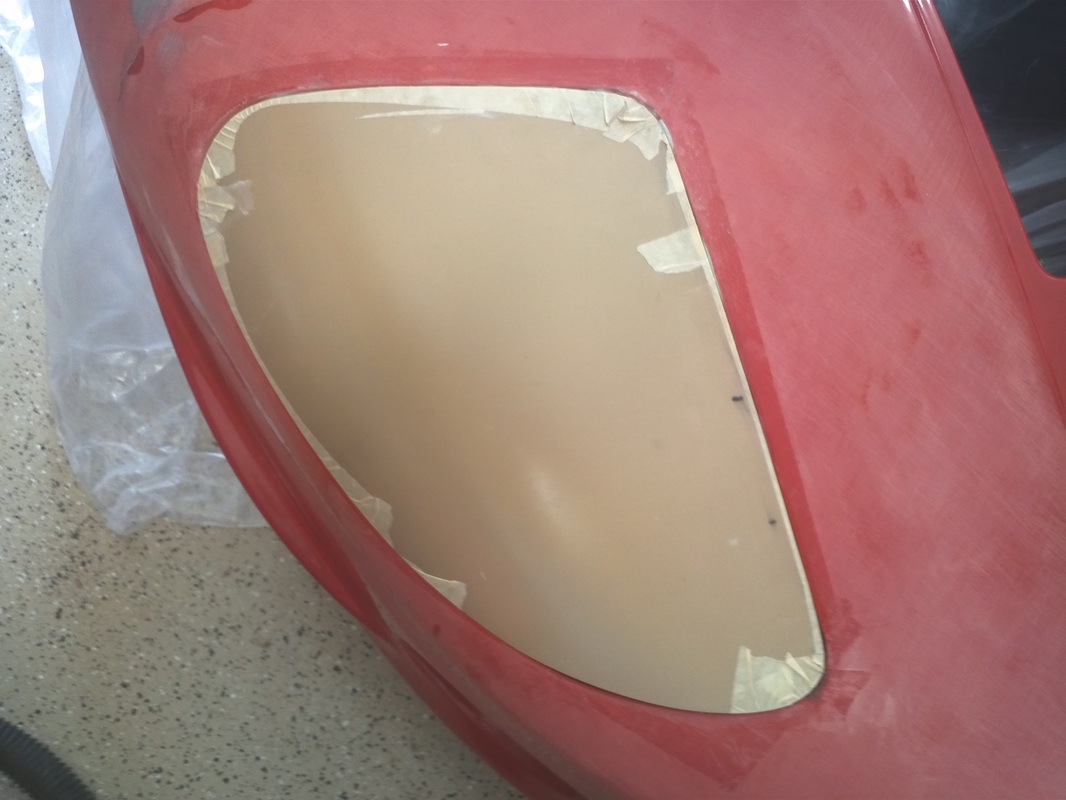
Filling the Emblem Recess.
Filling the hood emblem recess was very straight forward. I cleaned and prepped the area, removing all of the gel coat in the recess and blocking the surrounding area. I filled the recess with fg then Rage.
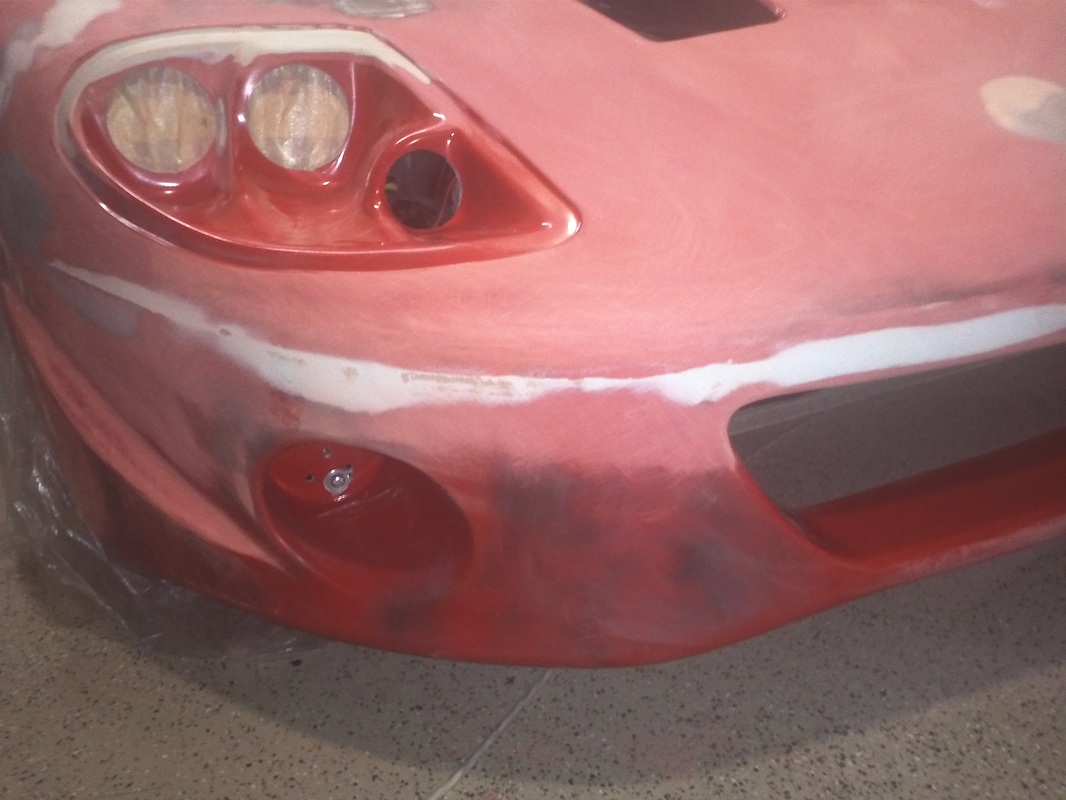
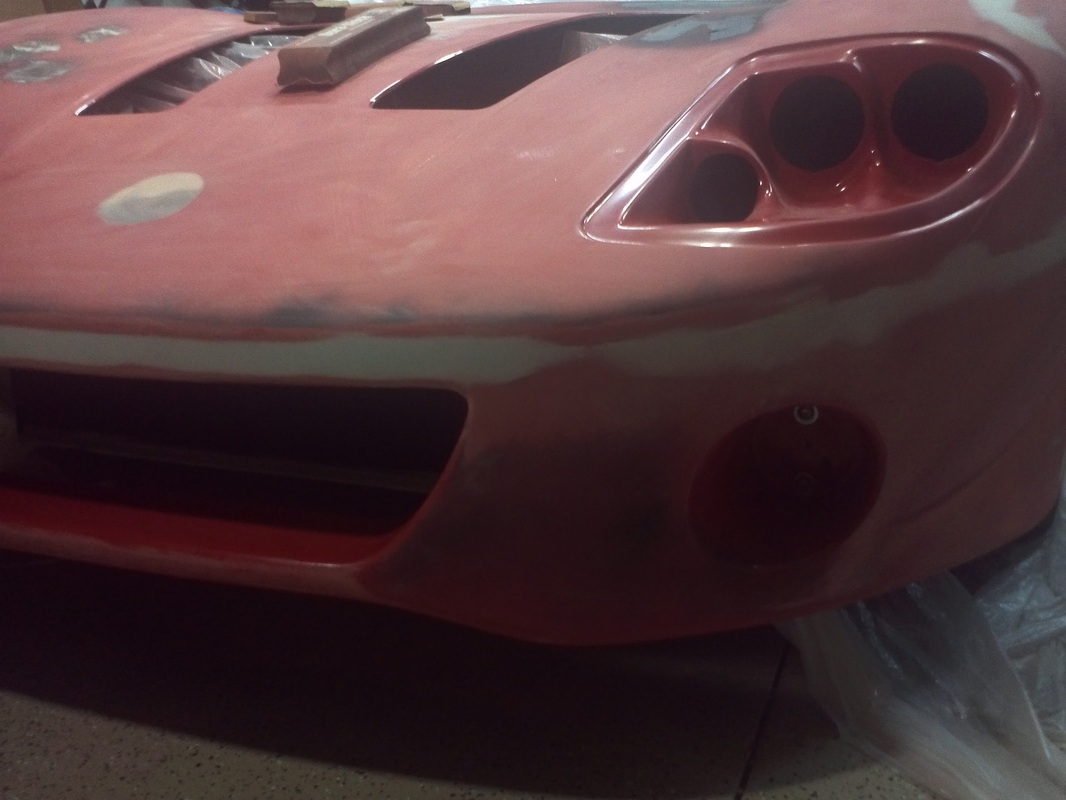
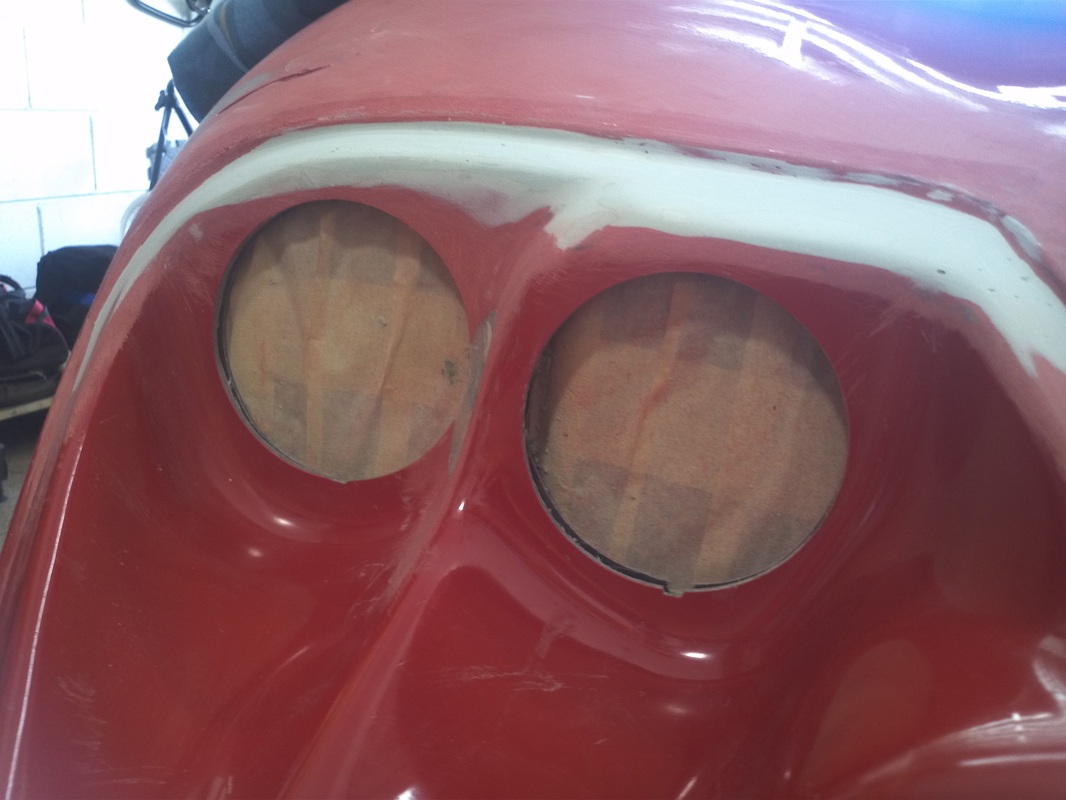
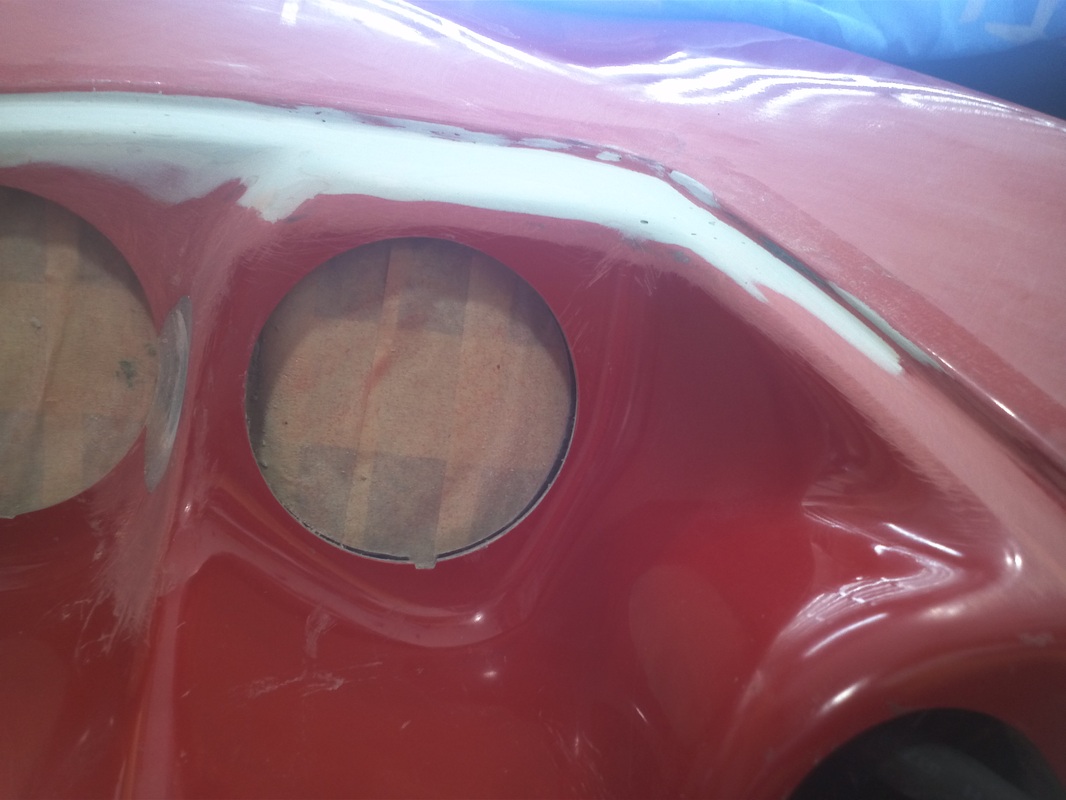
RH Headlight Bucket Rework
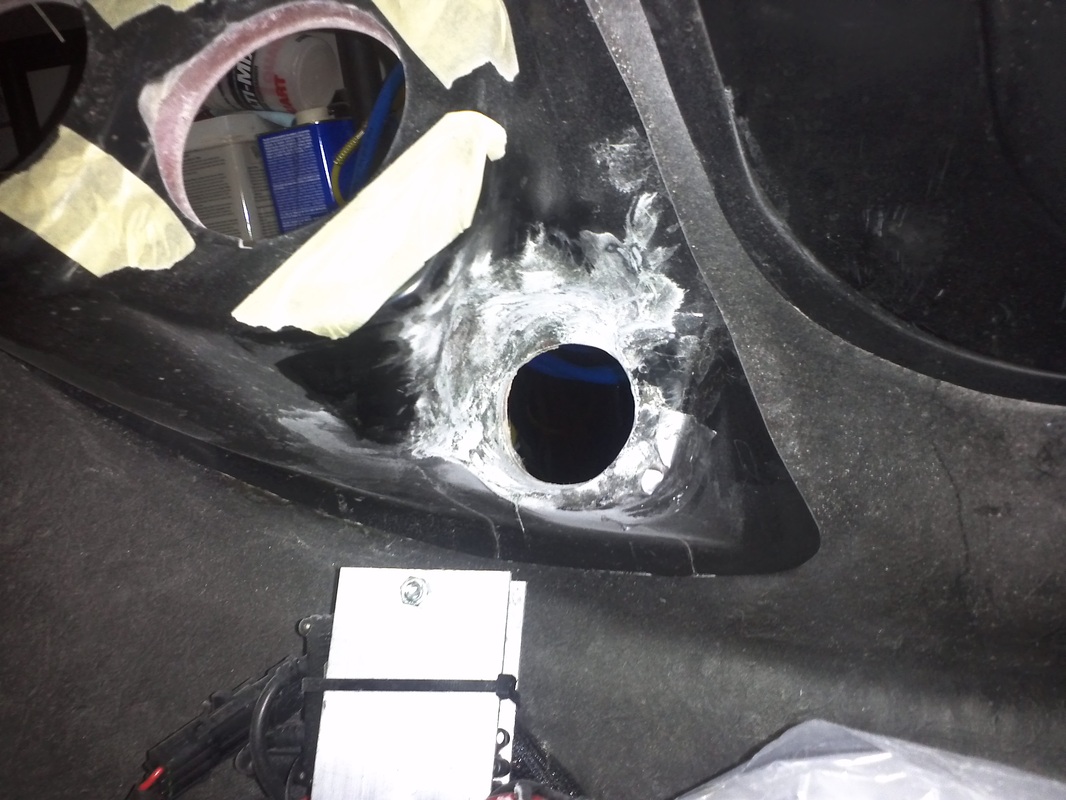
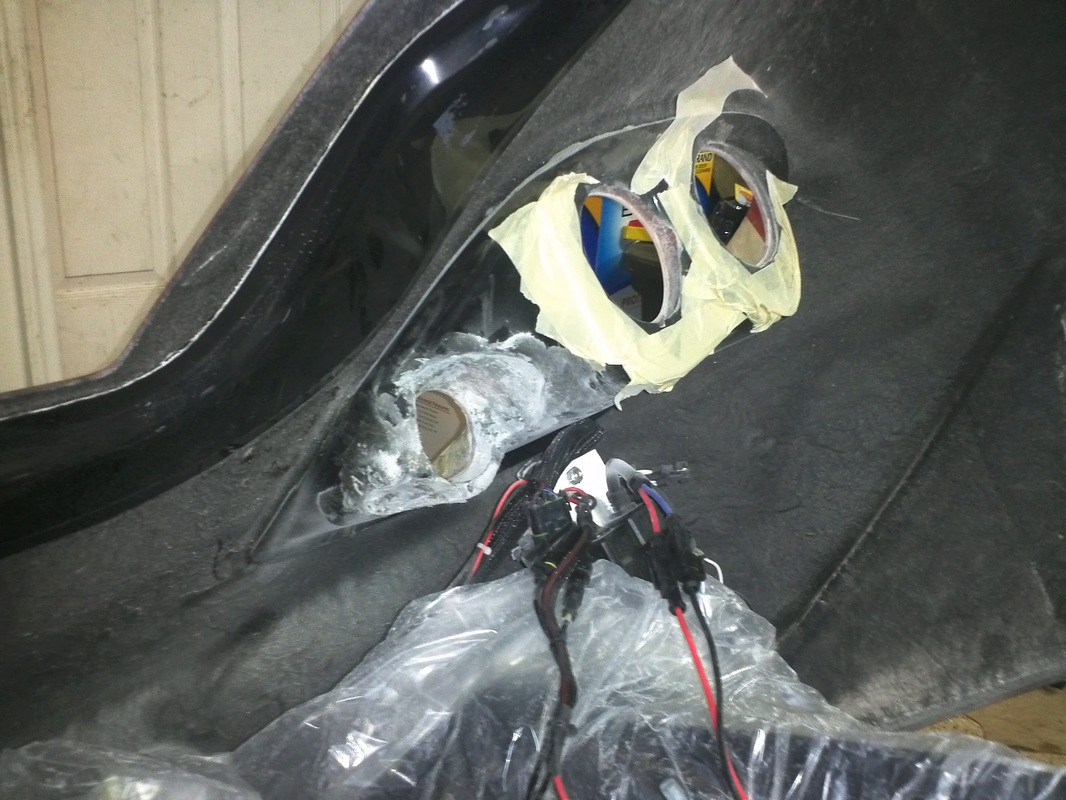
While fitting my headlight lens cover I discovered that the RH headlight bucket's aft mounting surface was too recessed. This caused the cover to sit well below the surface and made the cover fit poorly. I used the cover as a mold and added Rage after cleaning and prepping the surface. After doing this the cover fit very well.
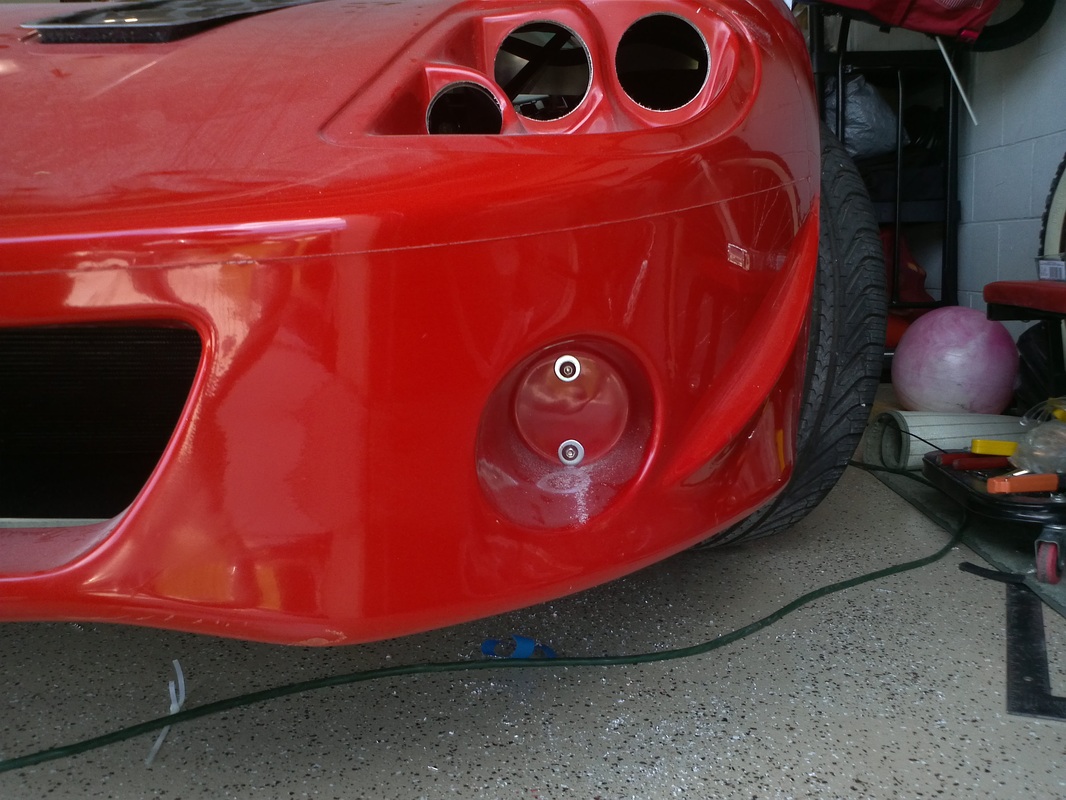
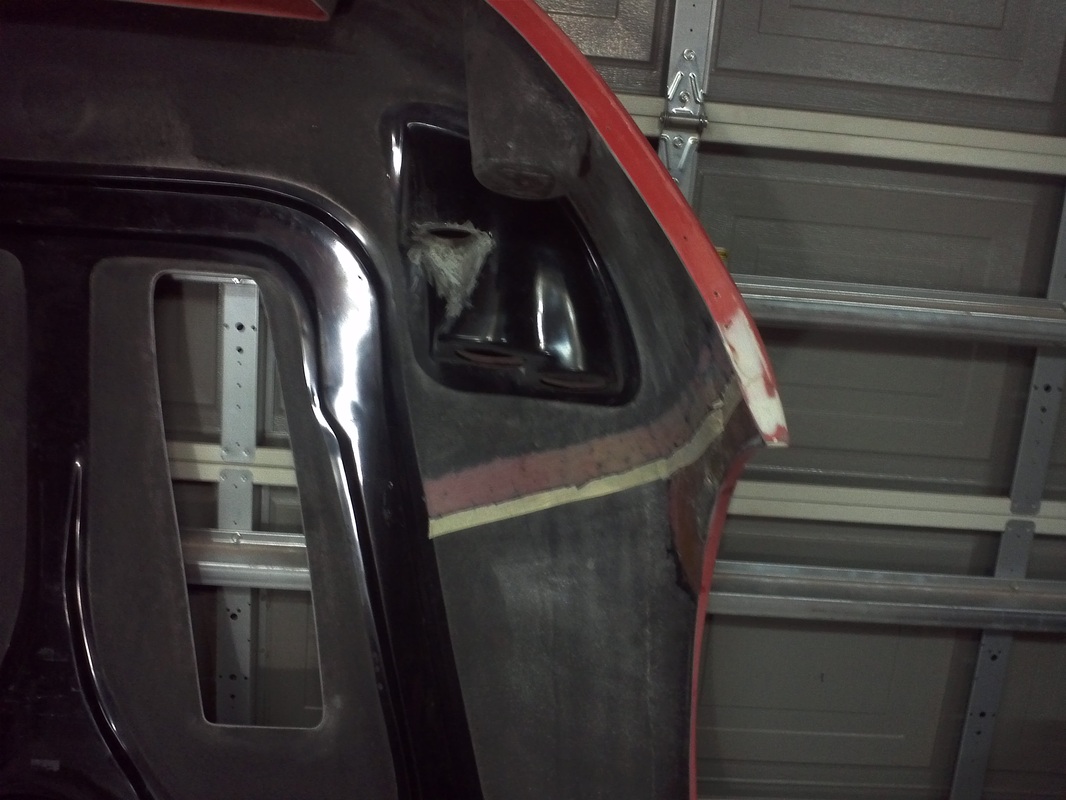
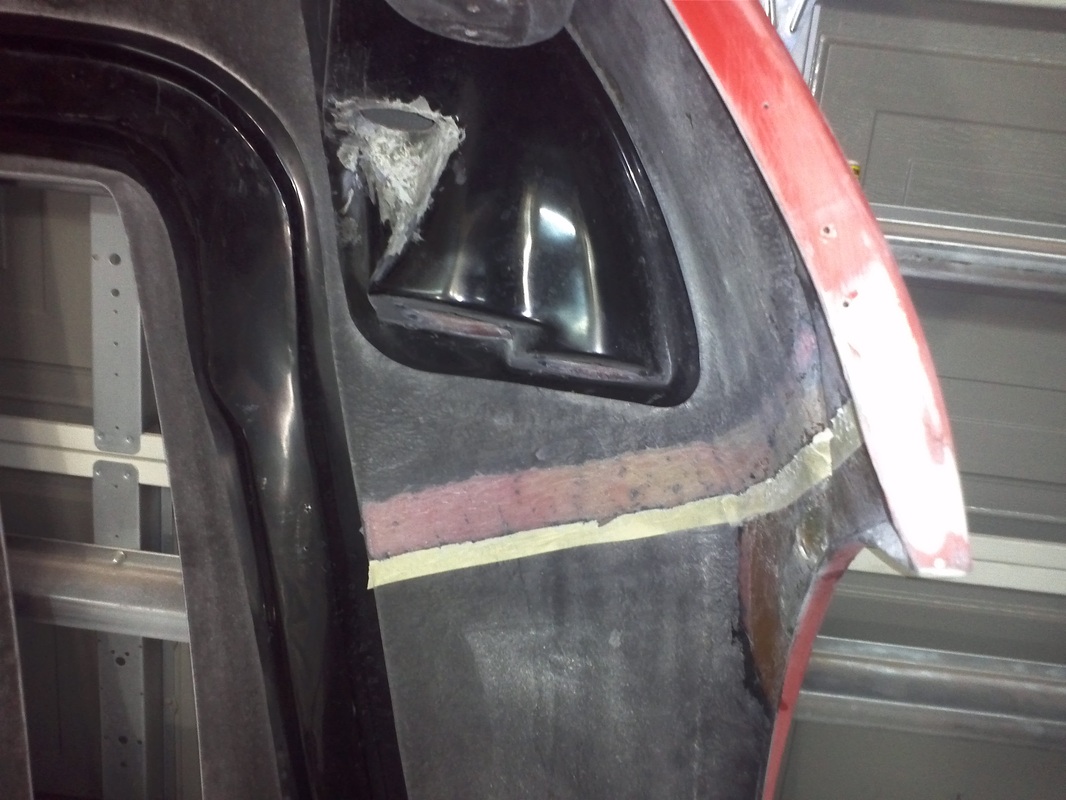
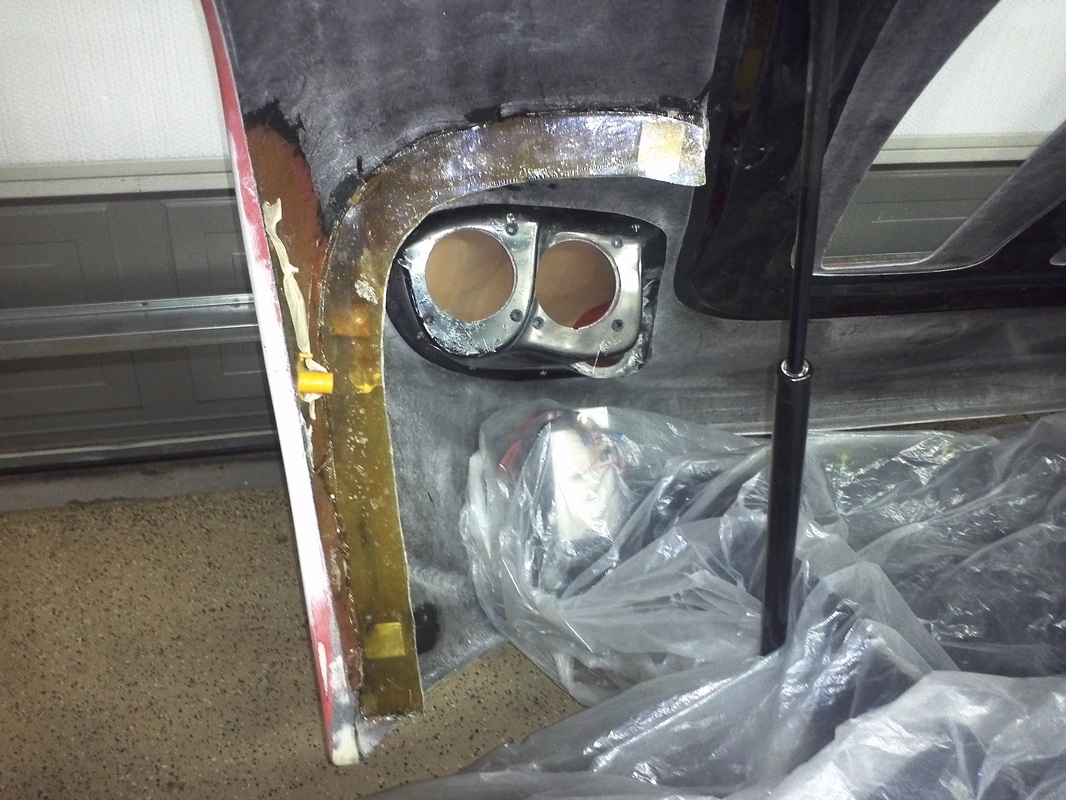
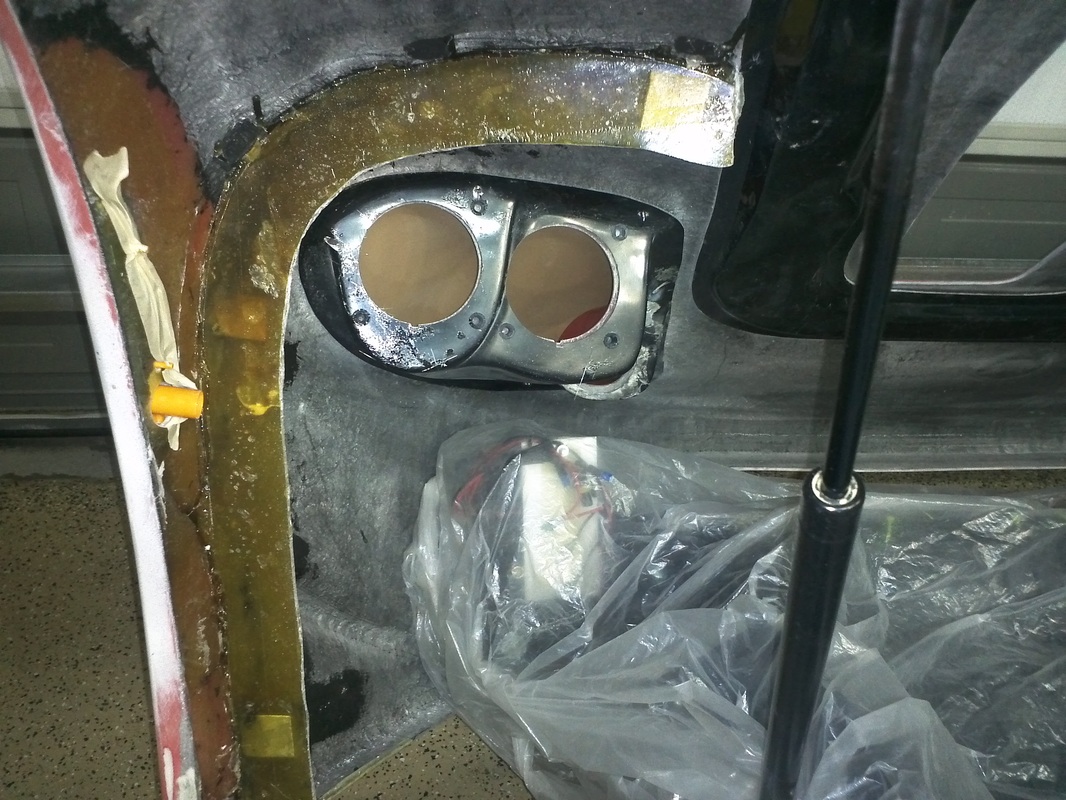
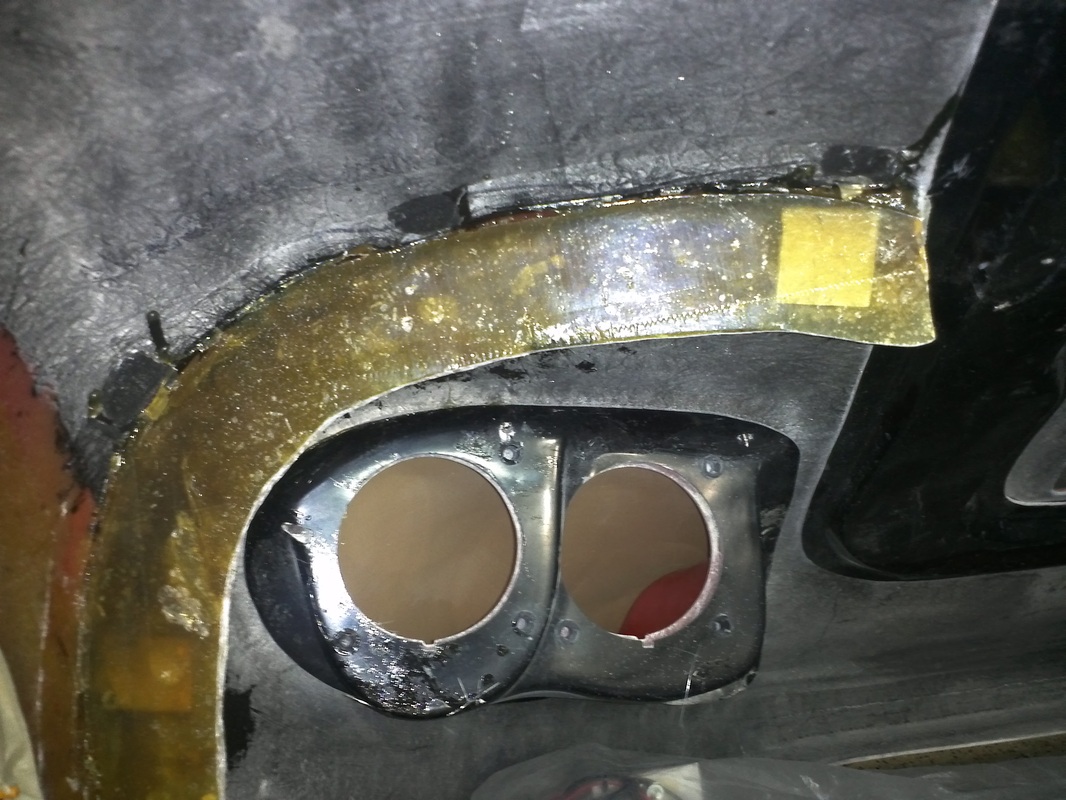
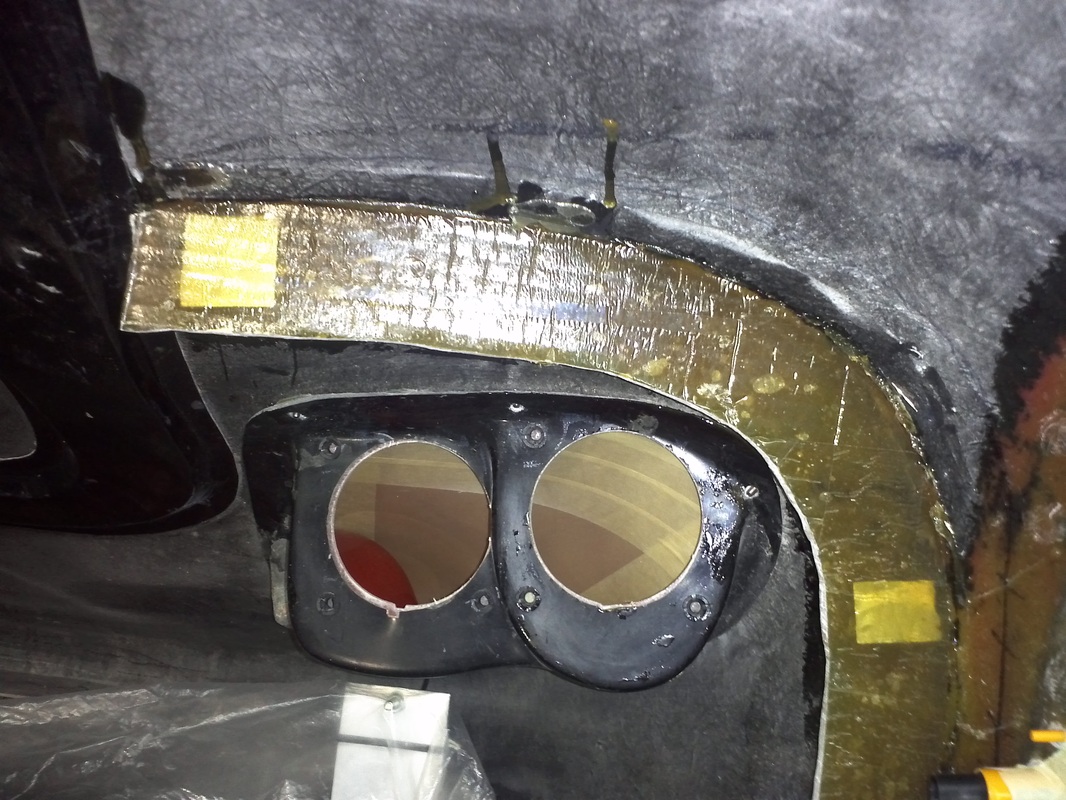
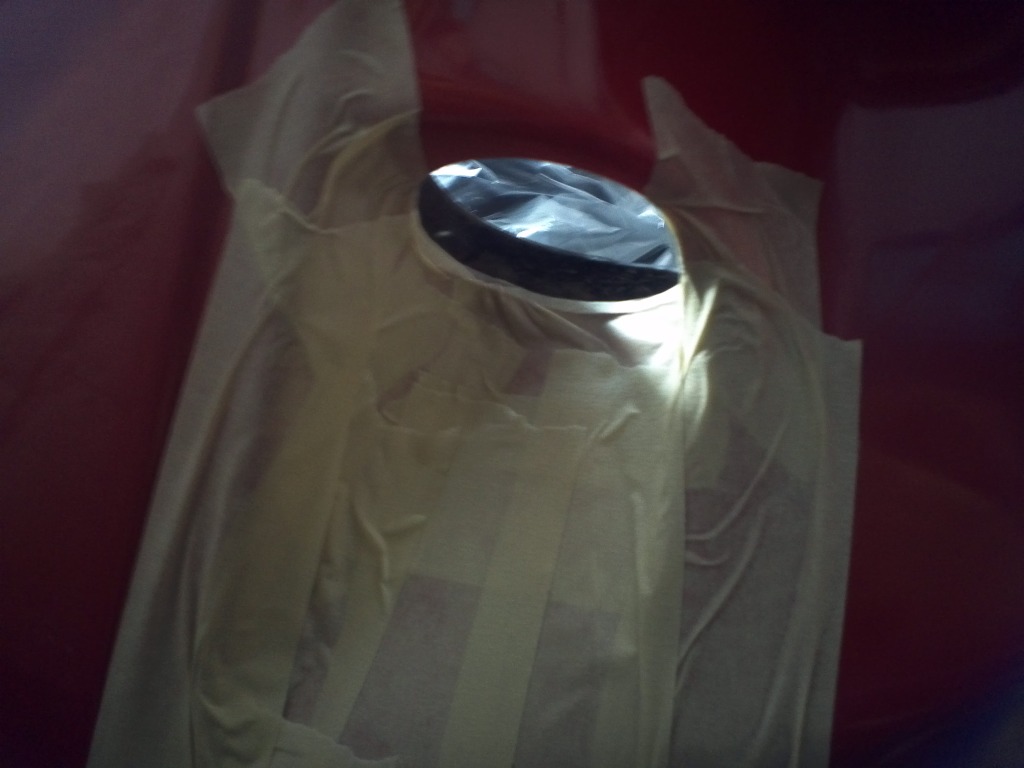
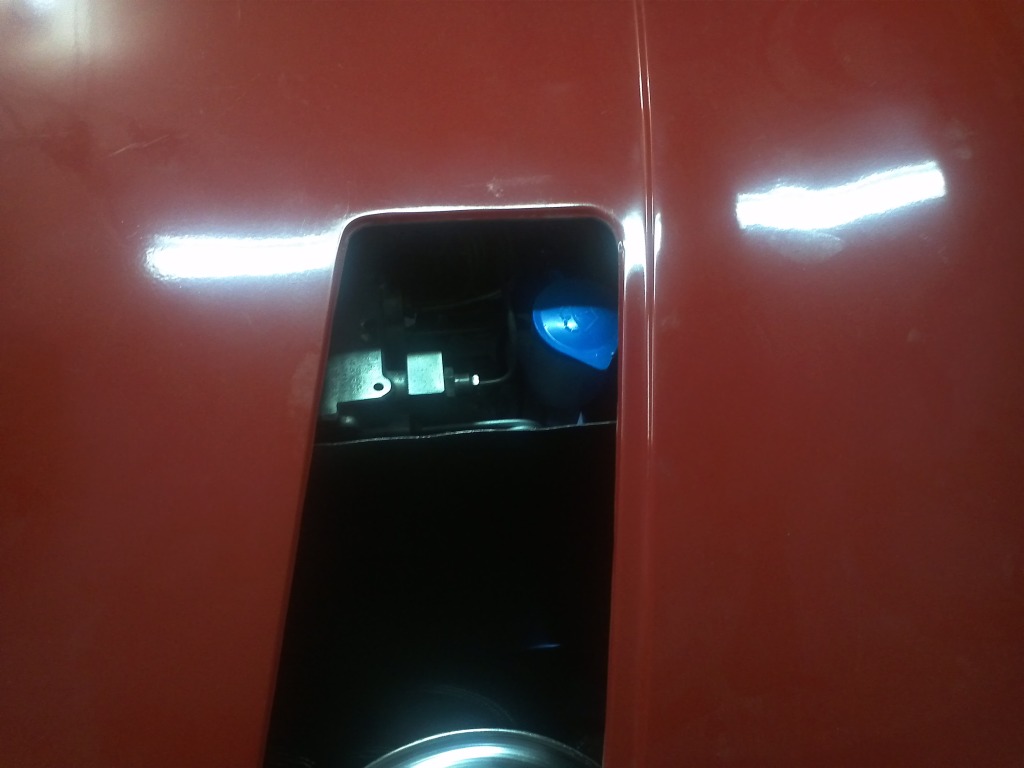
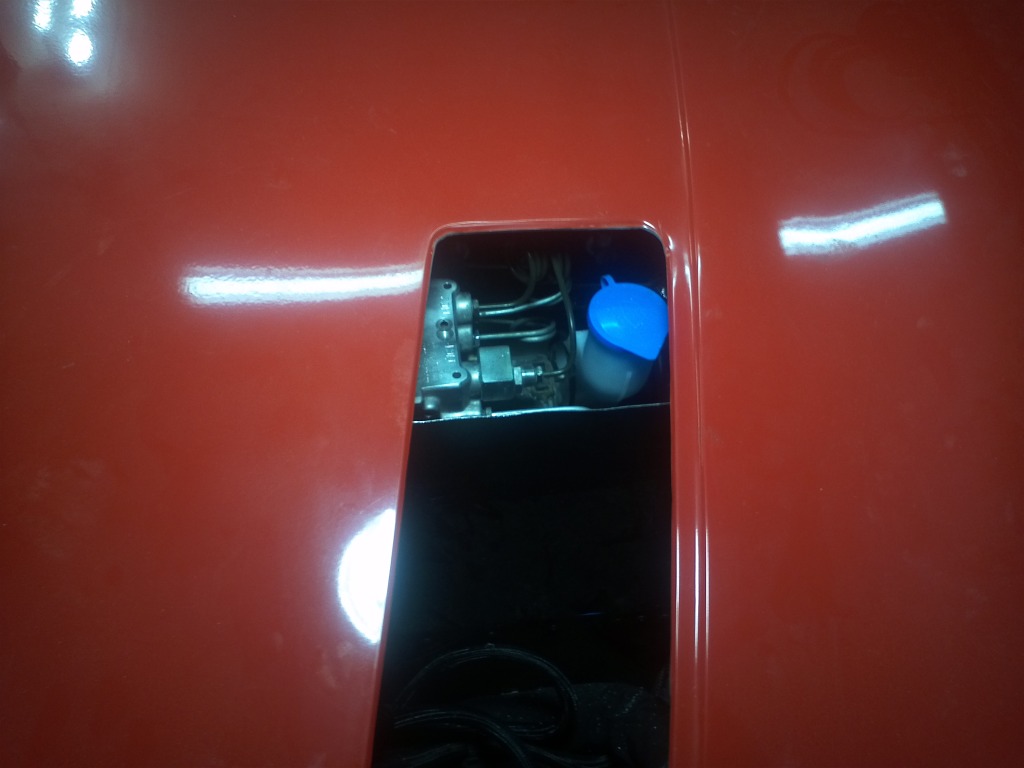
Parking light/turn signal headlight bucket work.


I found a few hours this afternoon to work on the louver
mock up. I cut the scribed holes with my jigsaw and squared the edges with
80grit. The louvers have been sitting on a garage shelf for over a year now so
I cleaned them up with 400grit and alcohol. I then made the initial louver
bends and sat them into the opening. I taped, drilled and then cleco'd them in
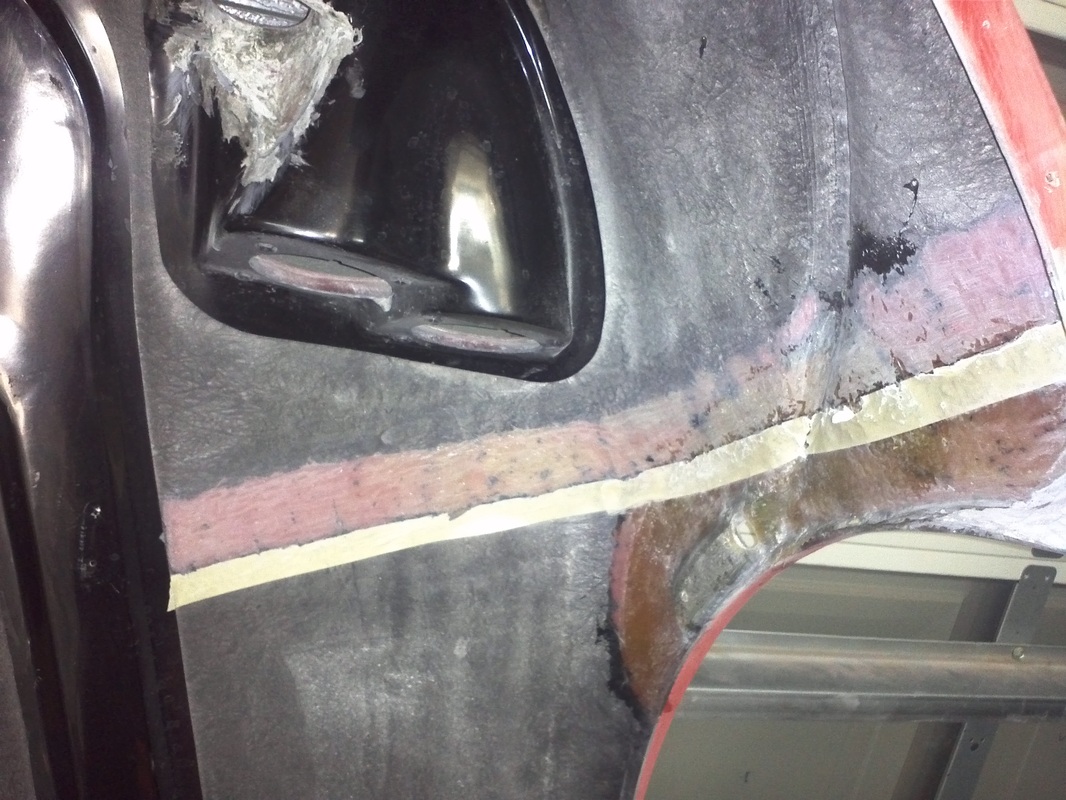
few places and drilled all of the 1/8" holes. In order to ensure the
strakes, which I’m not sure if I will run or not, were installed square to the louver
I drilled their holes with the louvers out of the diffuser. I positioned each
strake and clamped it in place. Then I grilled the two exterior holes and
cleco'd them together. Then I drilled the remaining holes. I then cleco'd the
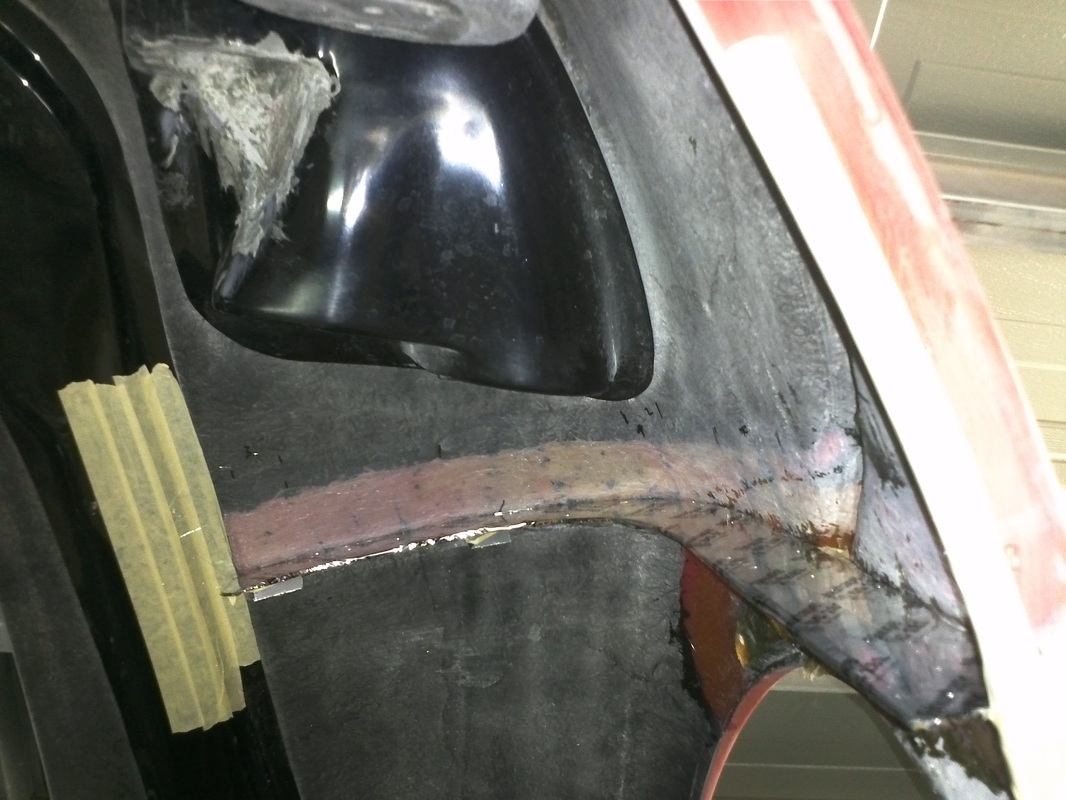
parts onto the diffuser. The strake bends are not square and need to be squared
prior to powder coating. I will mount the diffuser and make the final louver
bend adjustments. Then the parts will come off so I can prep them for my next
powder coat run.
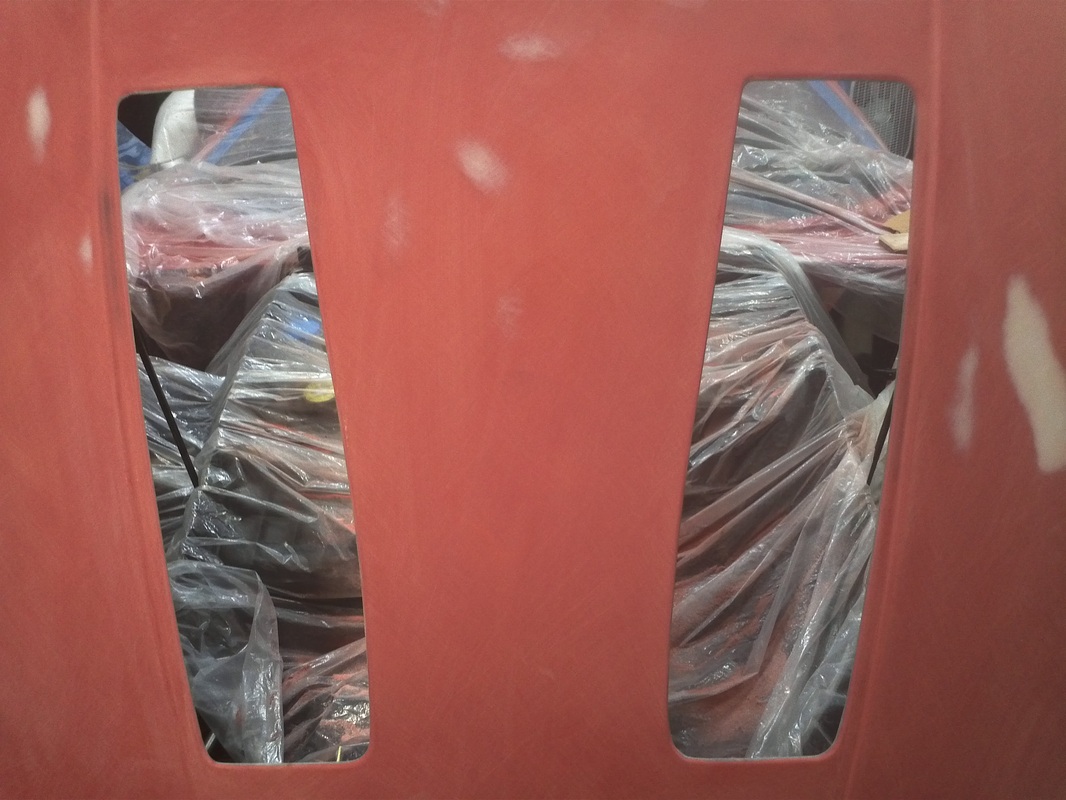
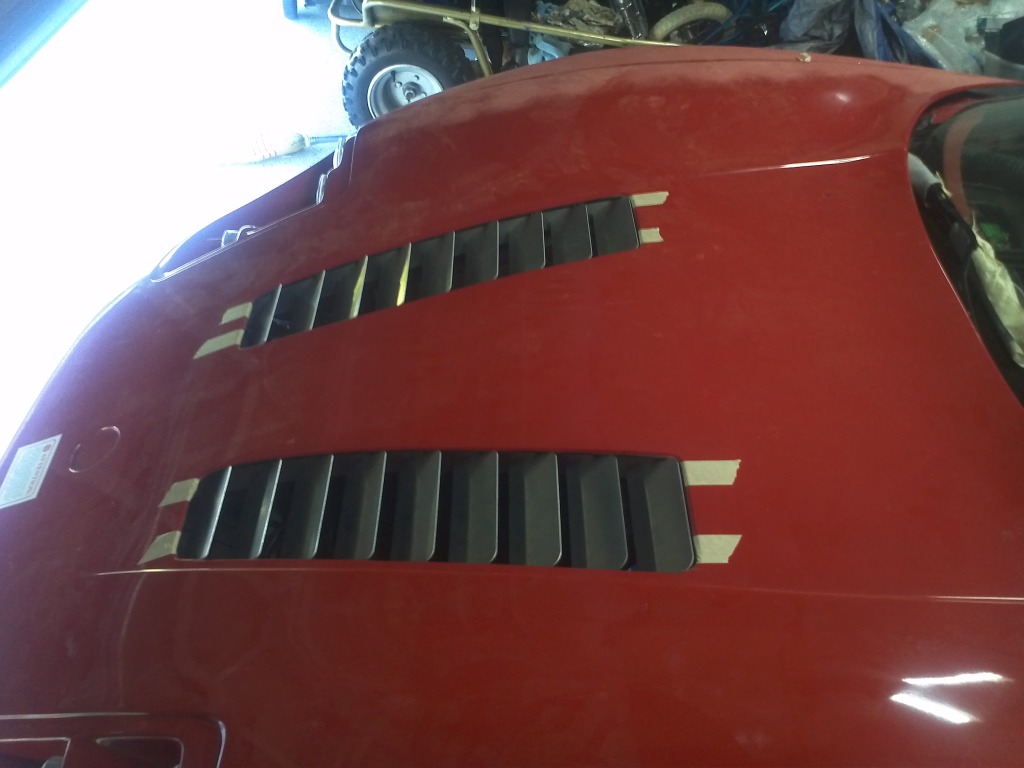
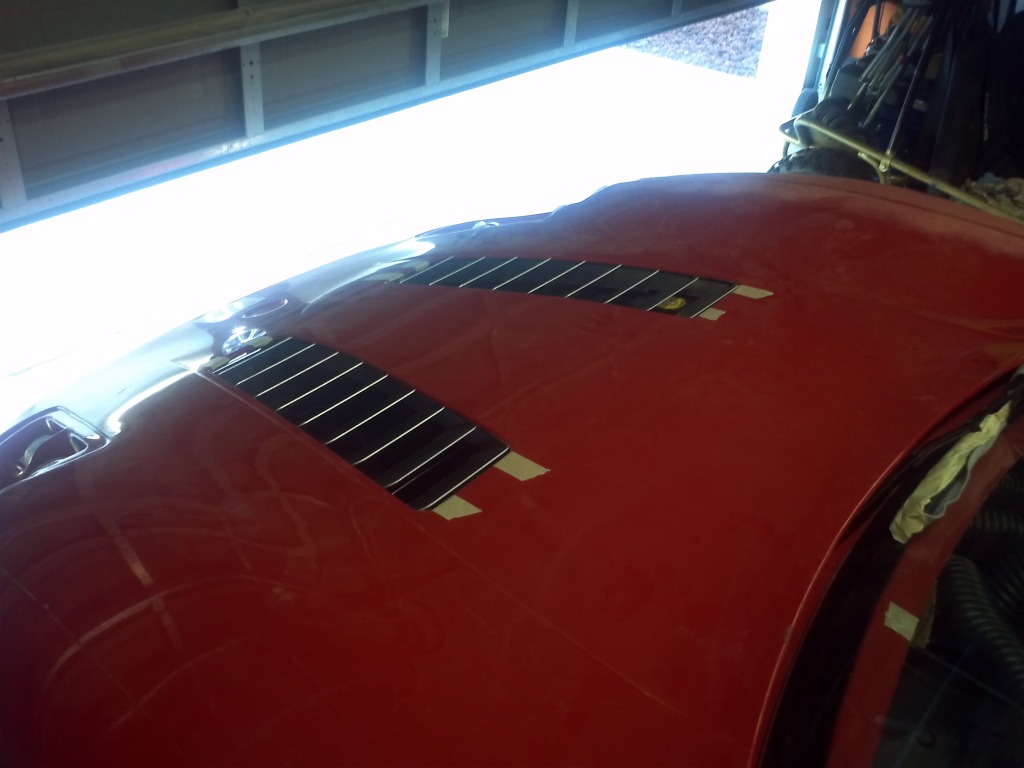
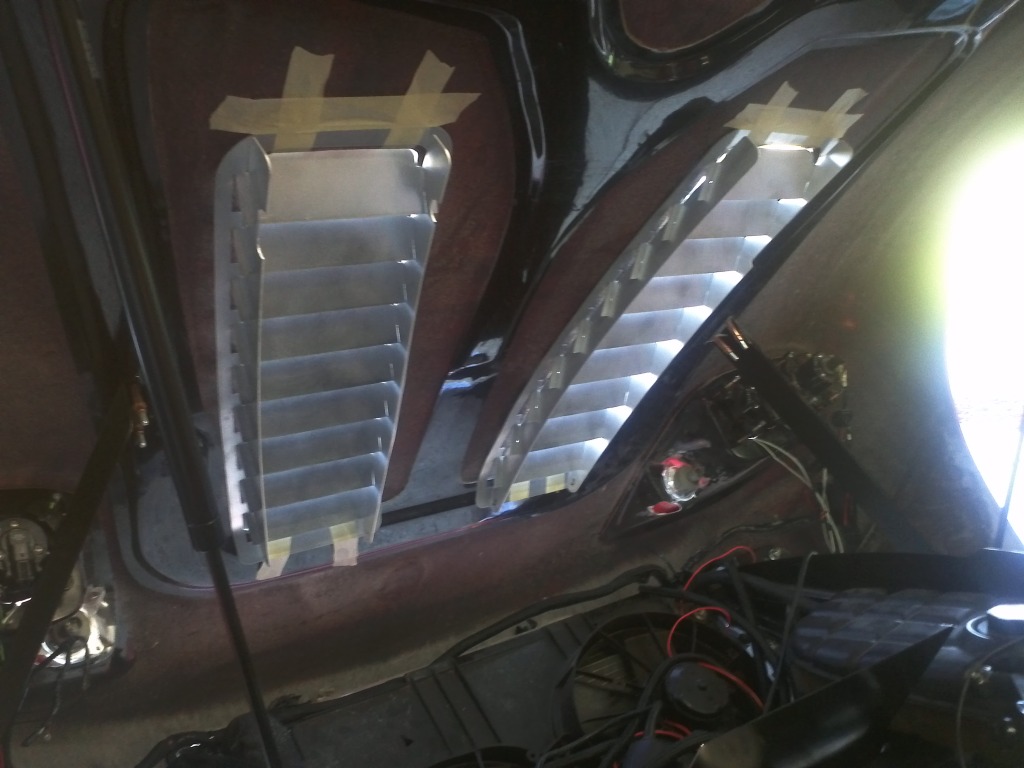
Hood Louver Mock-Up
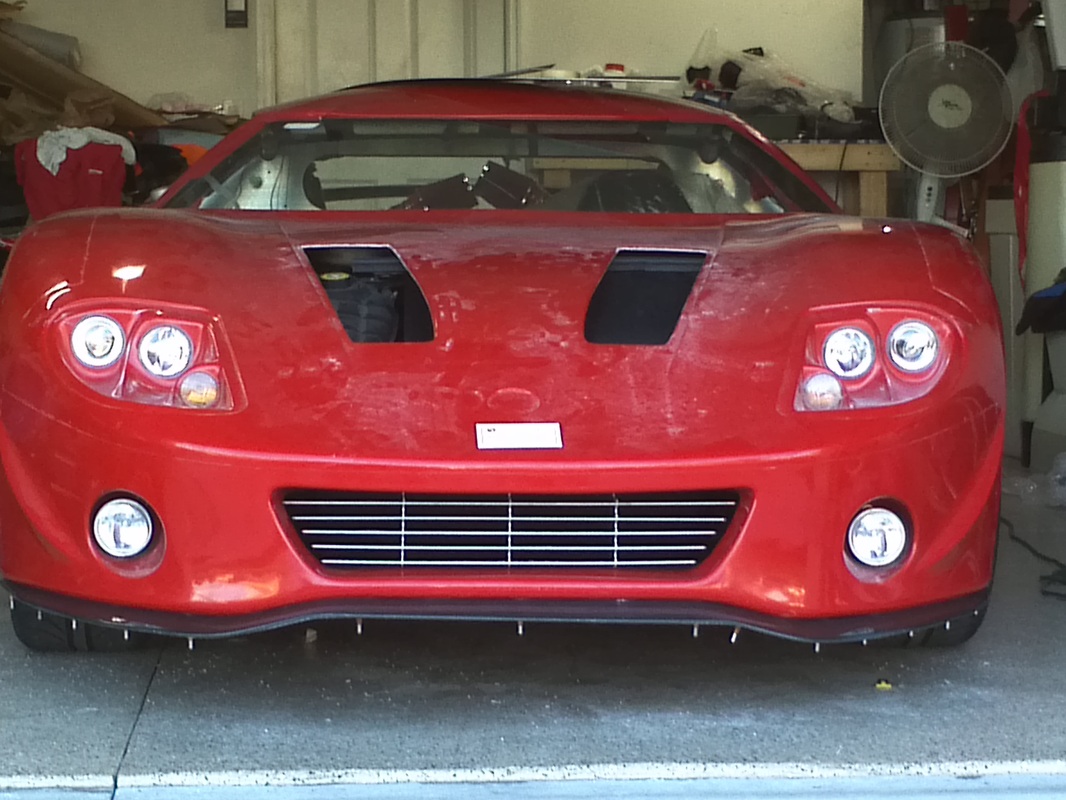
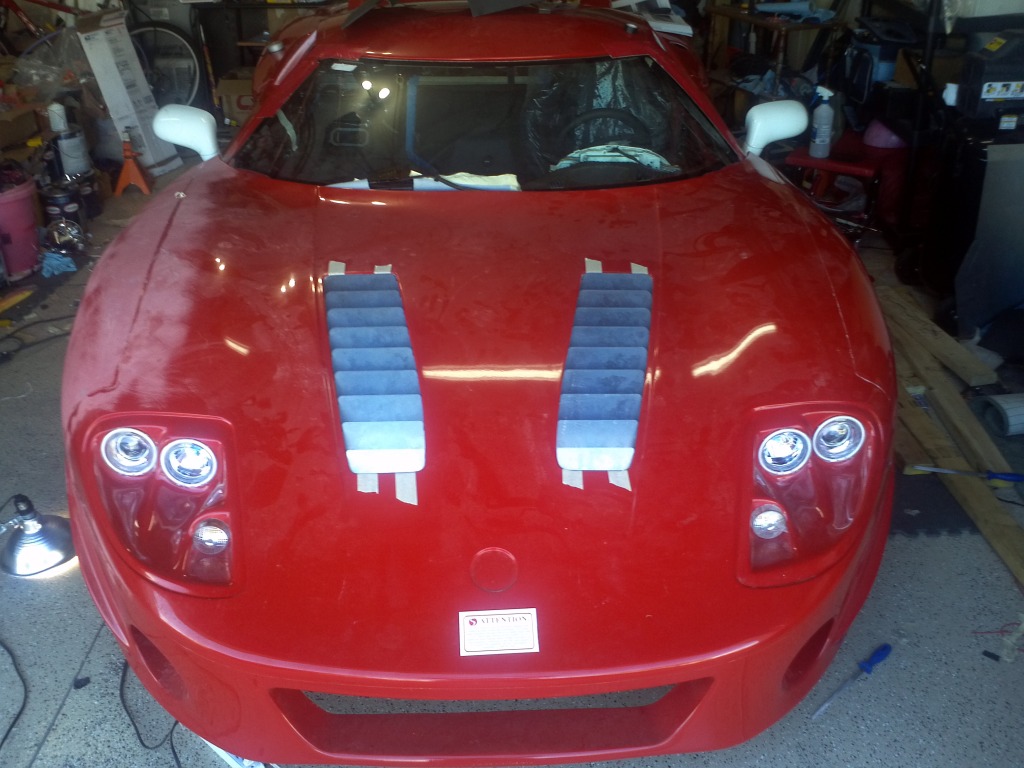
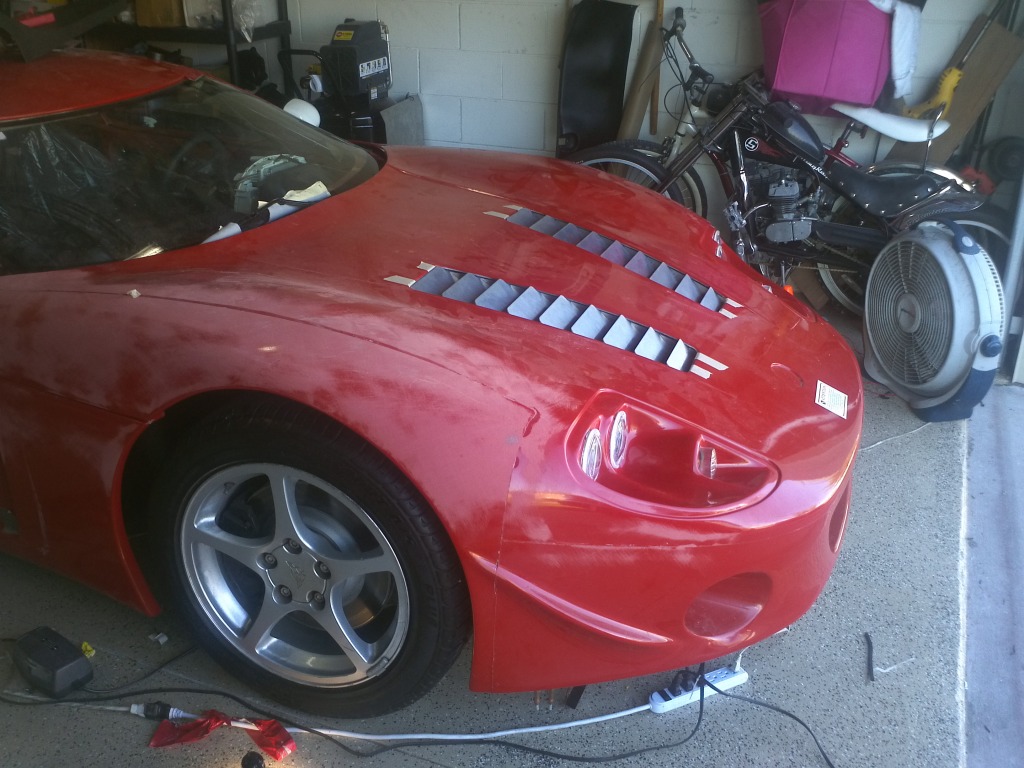
These are the first set of Gen2 Hood Louvers sold and made by Shane of VRaptor SpeedWorks. These are desined to fit the Gen2 Hood after it is trimmed along the inner flange of the hood opens. Shane and worked together (My Gen2 GTM became the Guinea Pig ) for the louver's fitment. SO the majority of the work was completed during the prototype's fitment.
The hood needs to be trimmed along the flange and a 2"x8" section needs to be cut from the aft radiator aluminum. I think the finished result was well worth the effort. It will look even better in paint. These will be epoxied in during final assembly.
The hood needs to be trimmed along the flange and a 2"x8" section needs to be cut from the aft radiator aluminum. I think the finished result was well worth the effort. It will look even better in paint. These will be epoxied in during final assembly.


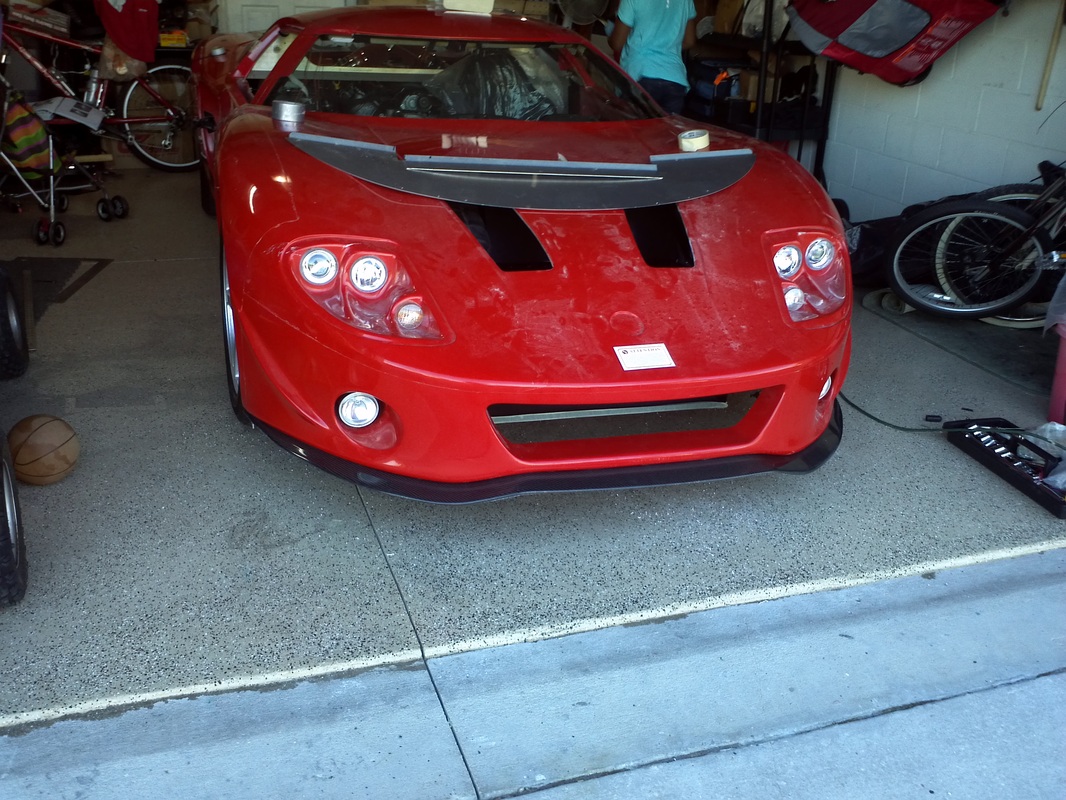
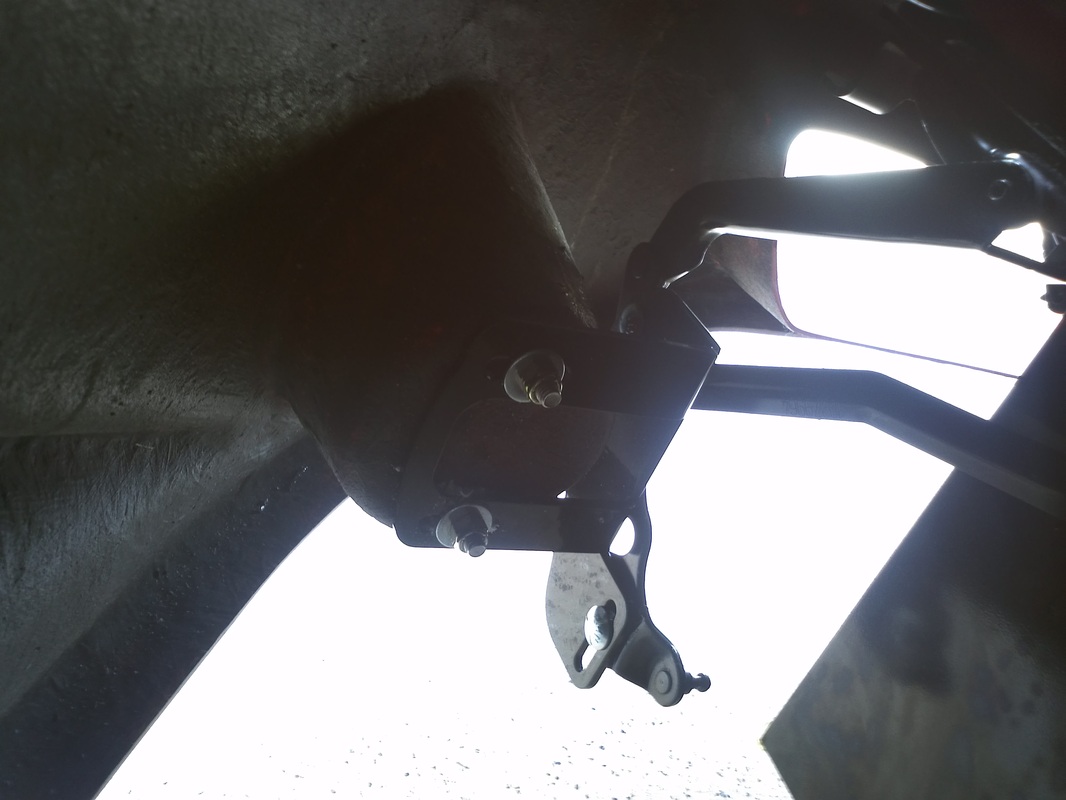
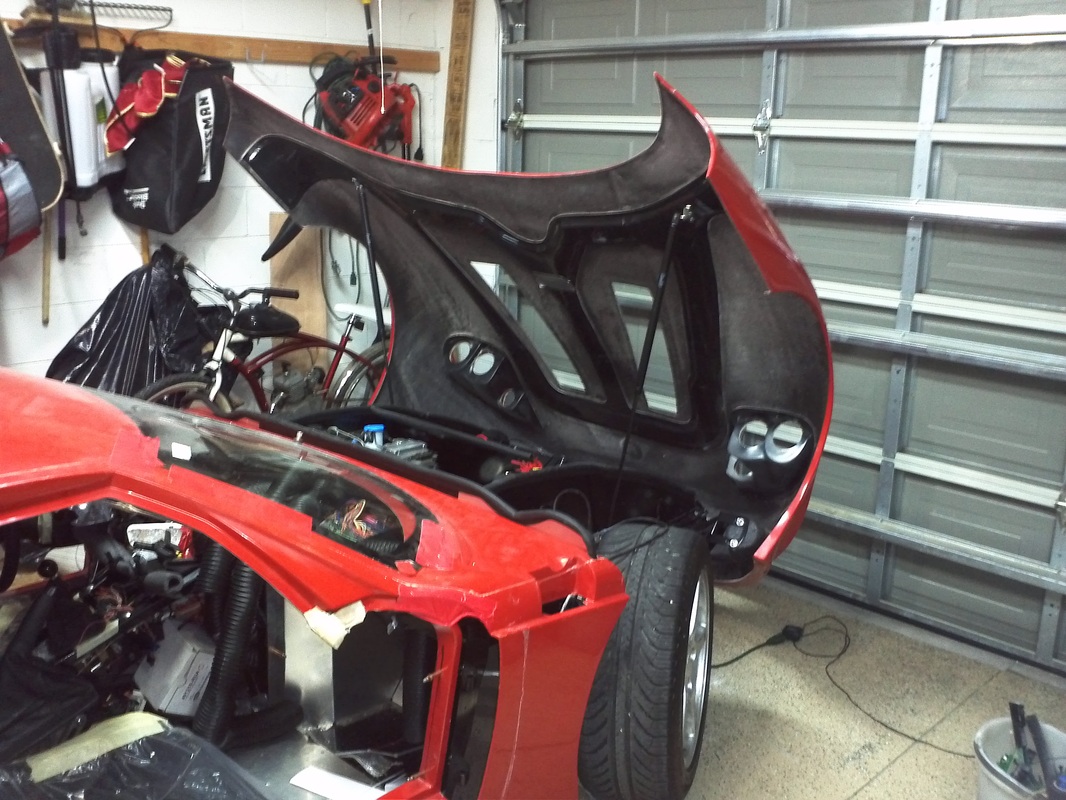
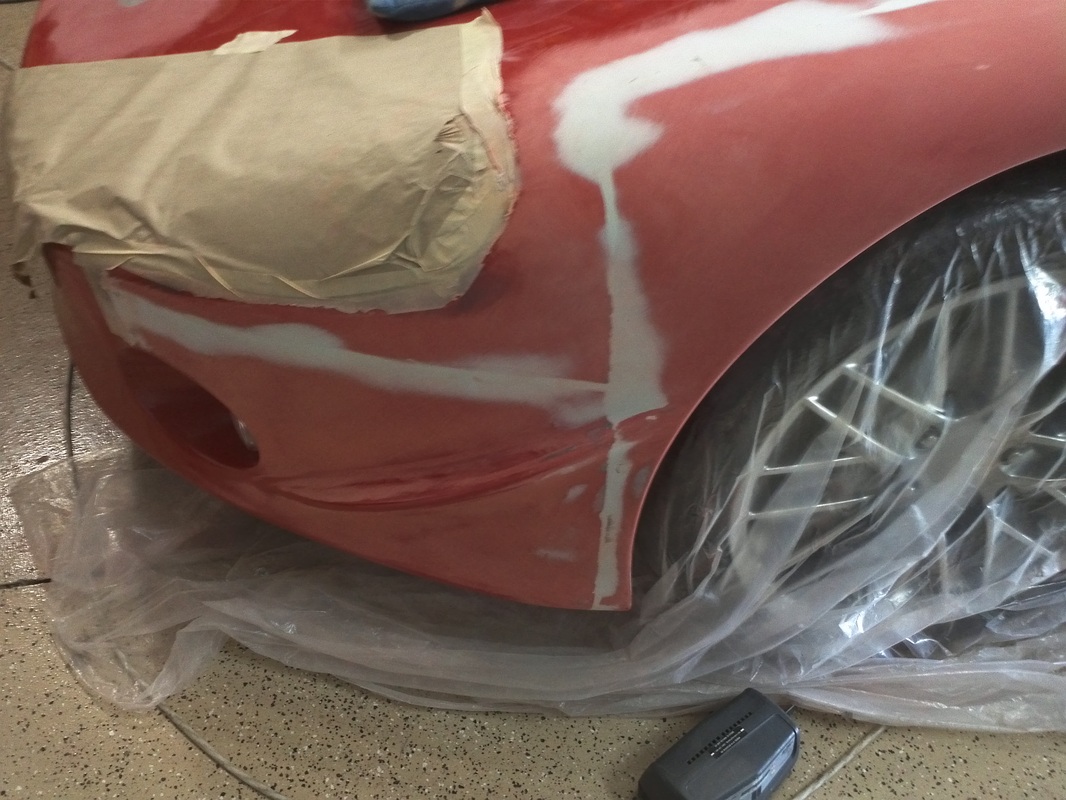
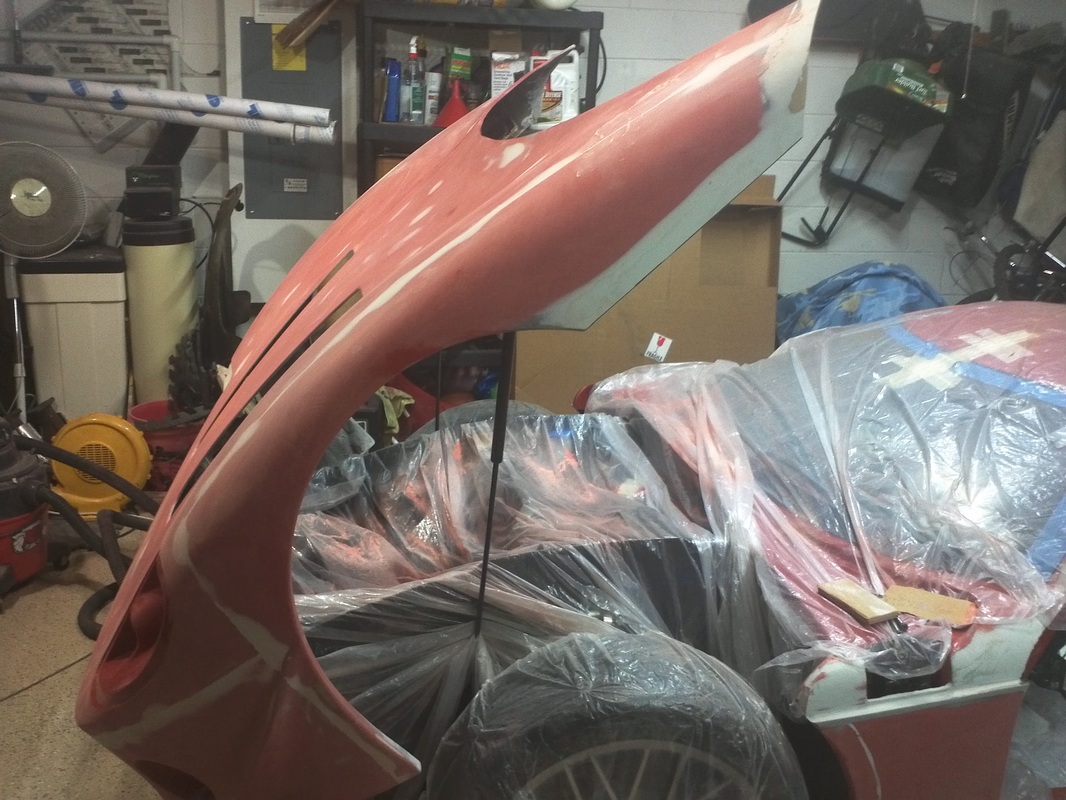
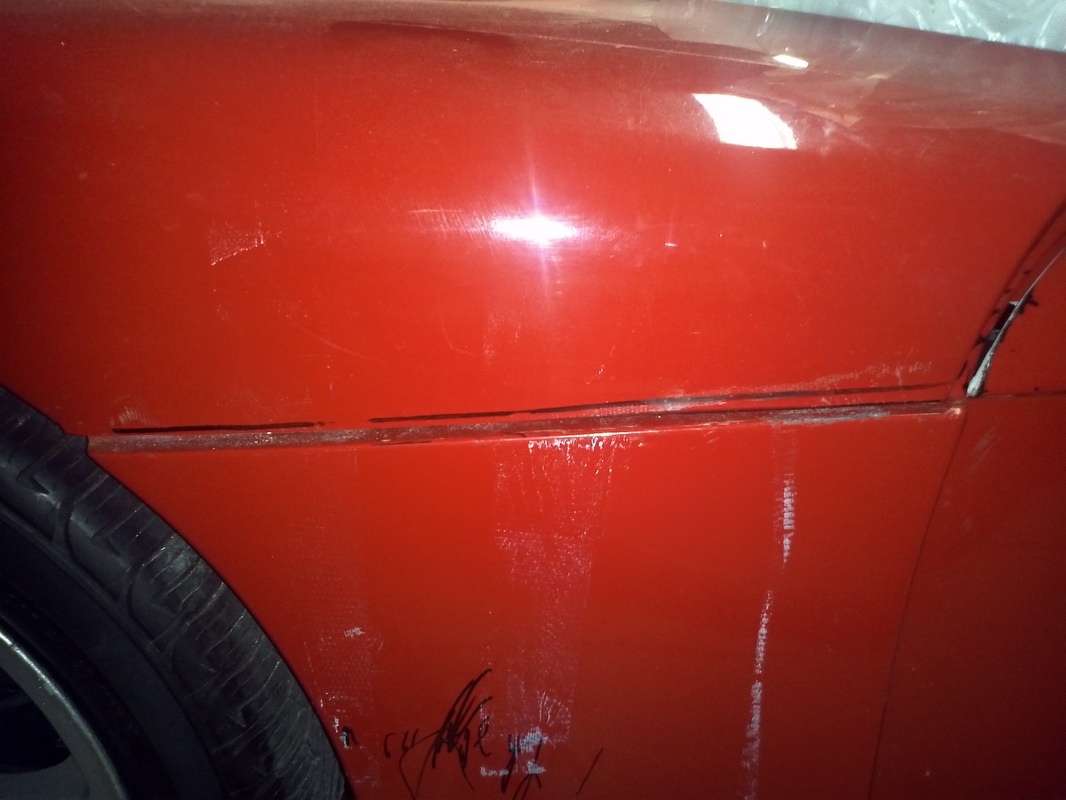
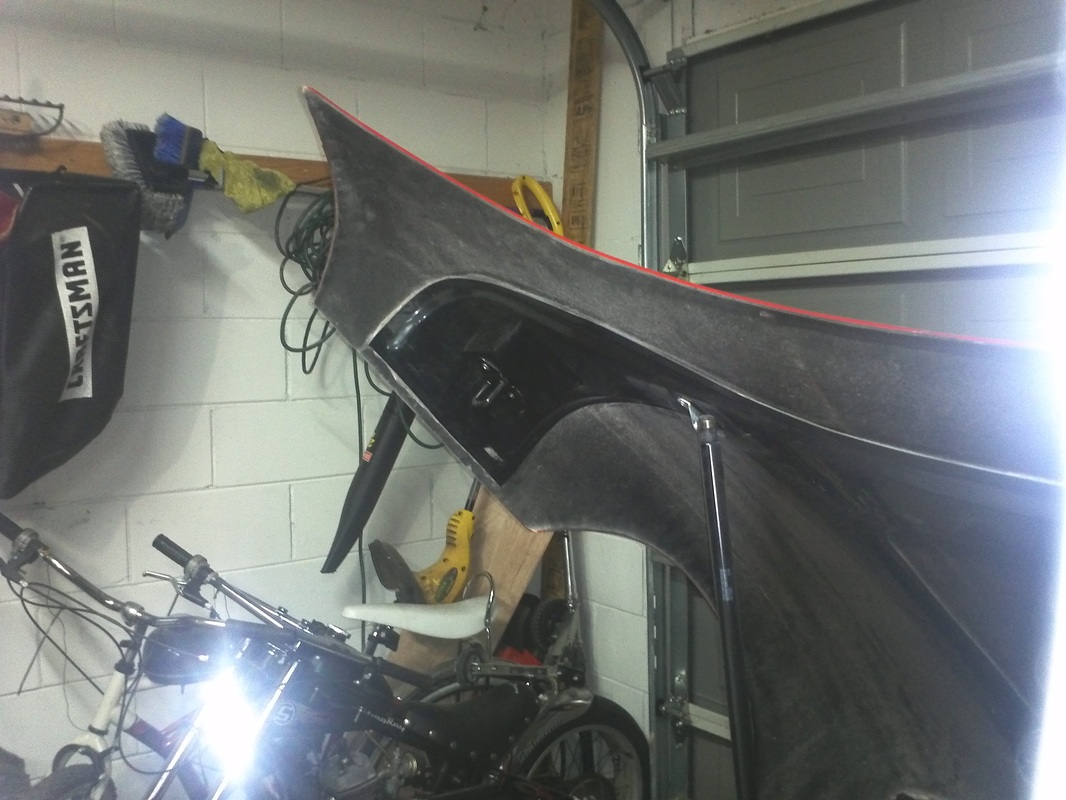
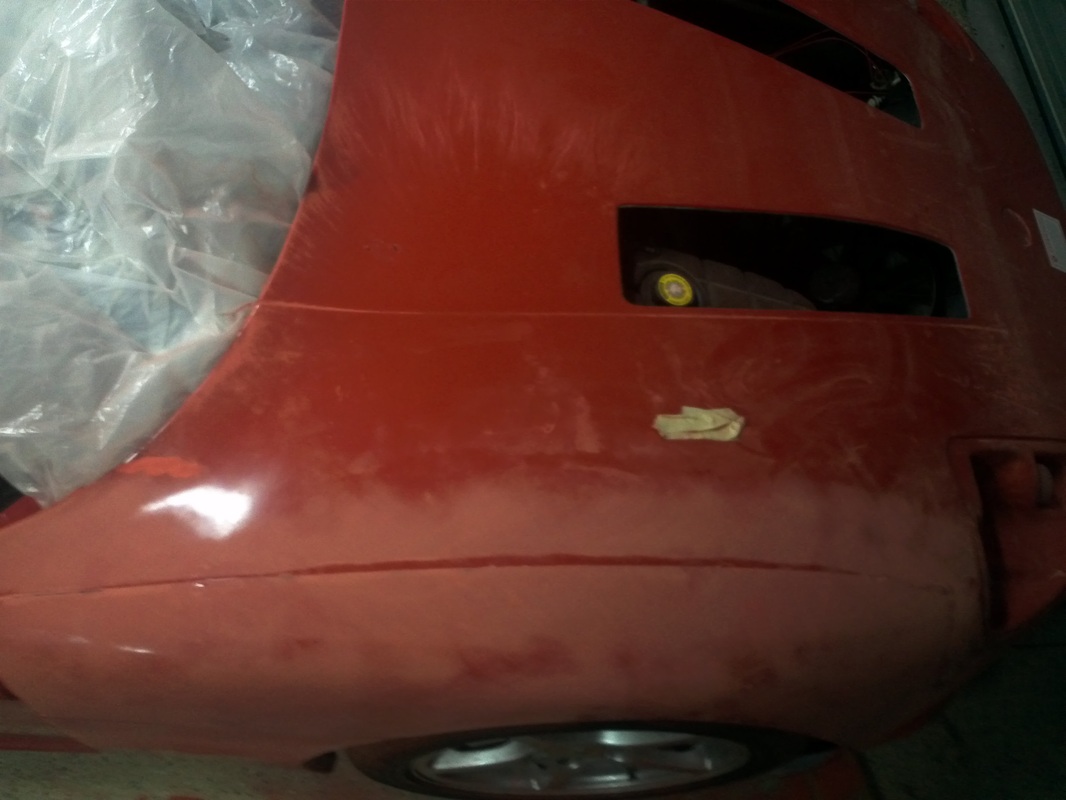
Hood alignment, latches with Shane's Stainless Paint Savers and front wheel openings
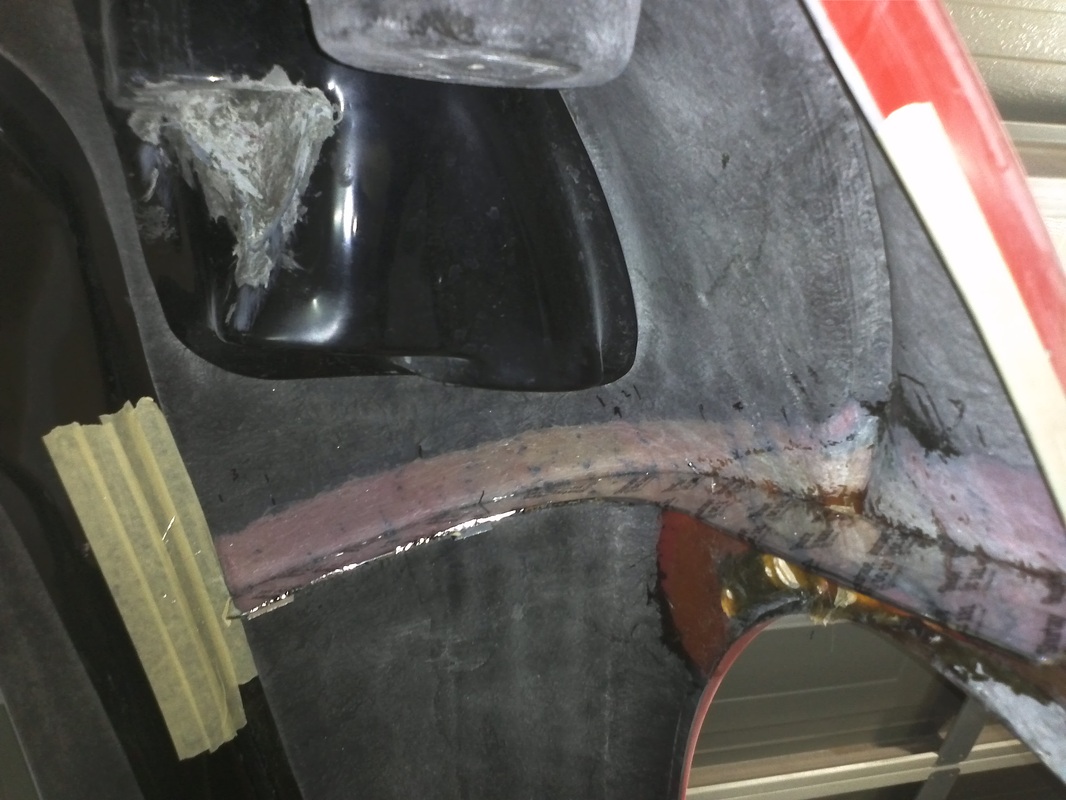
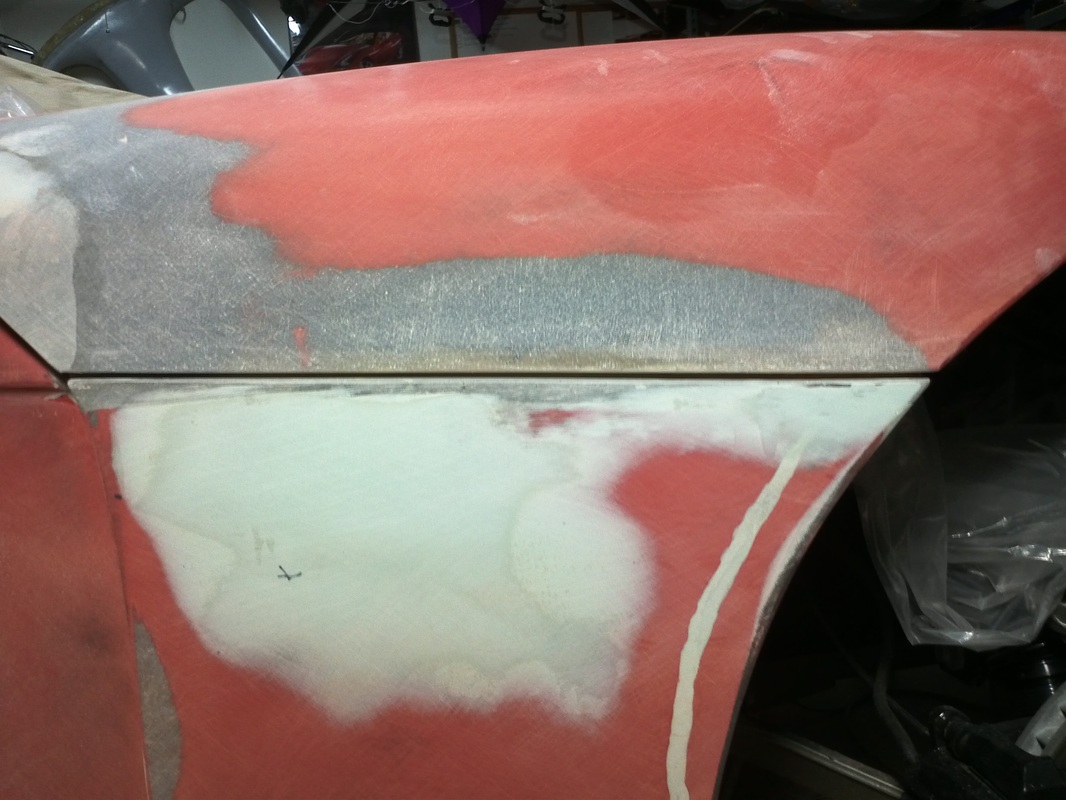
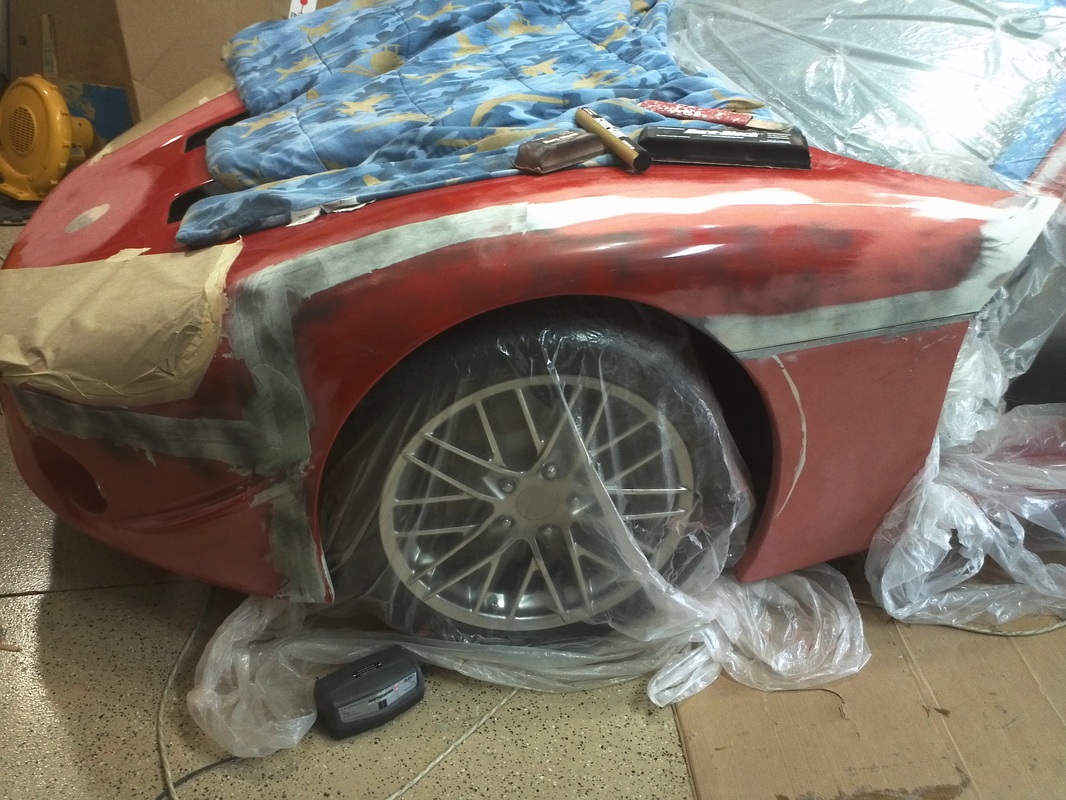
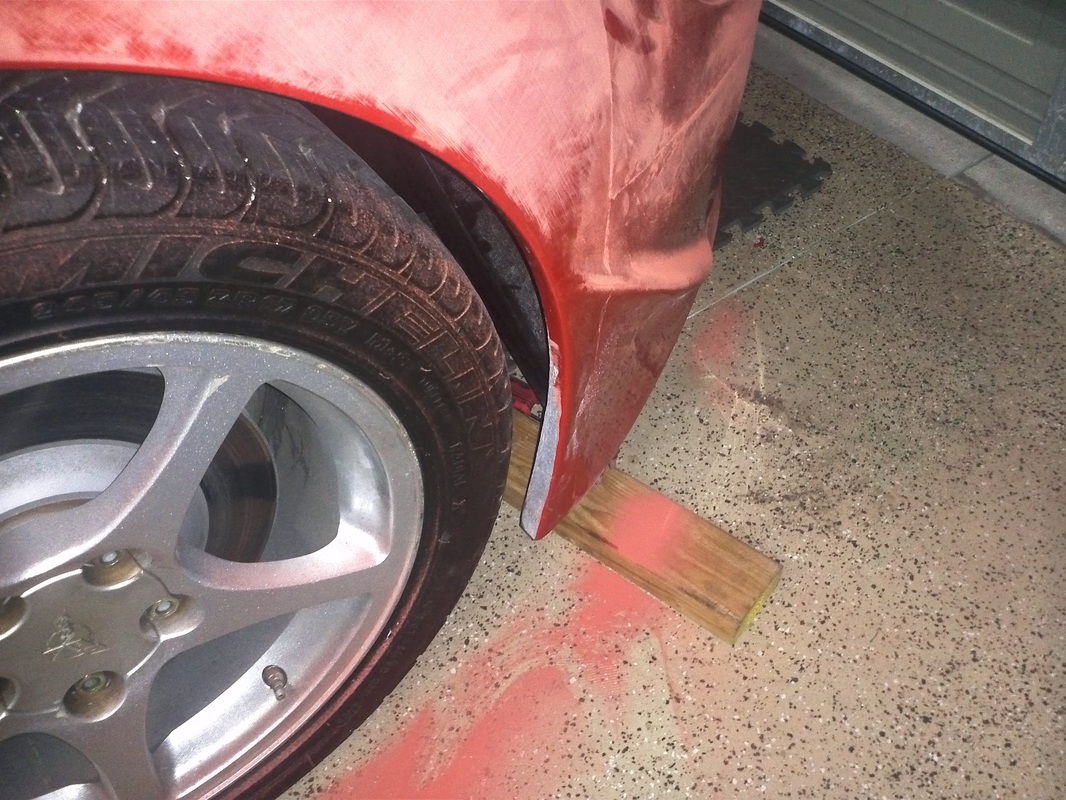
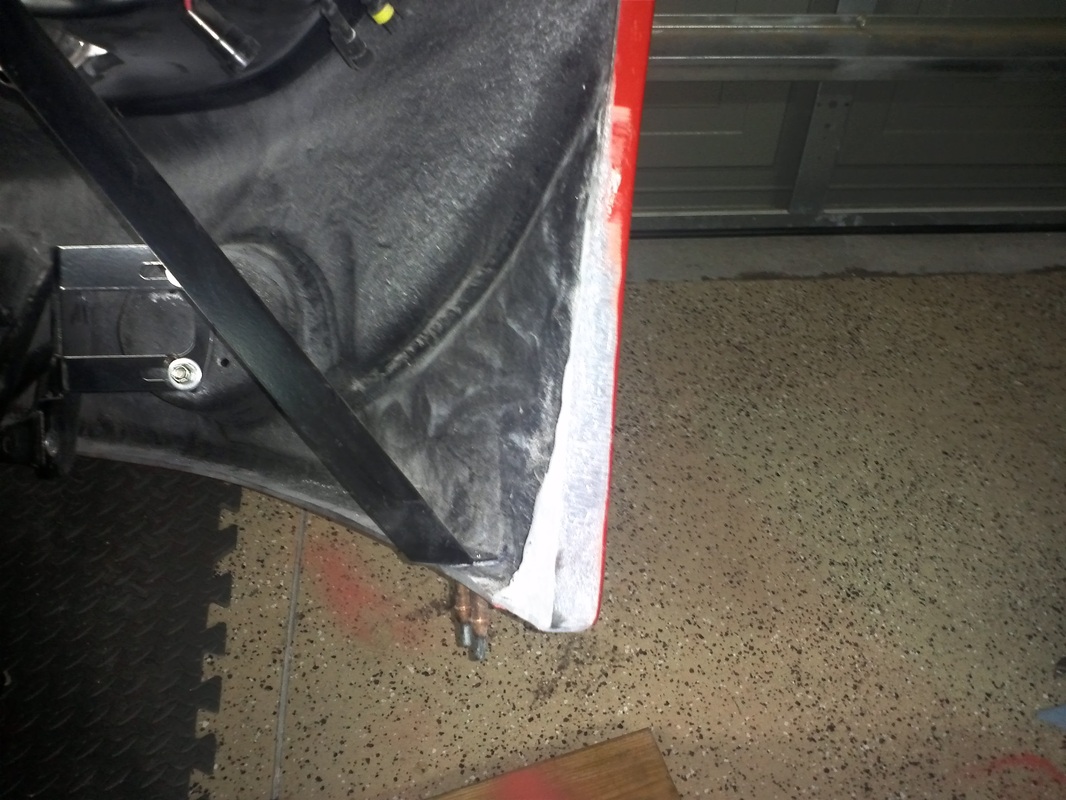
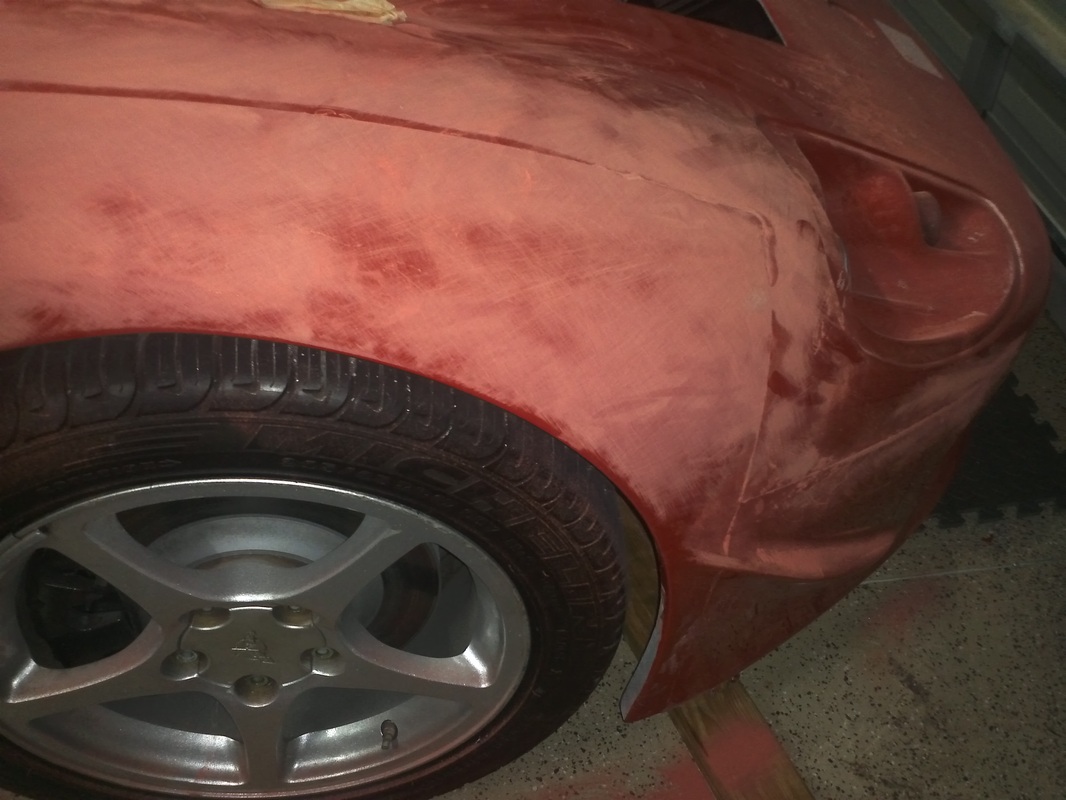
I proceeded to install the latches on the hood. The first thing required here was to ensure the hood was aligned and exactly where I wanted it. In order to do this I put the hood in the closed position and loosened the nuts of the bolts that hold the hinge to the chassis. I then moved to the latch area. This area is very rough and does not mate with the body as is. On one hand it would appear that the hood was cut short from the mold in this area. Then on the other hand you could say that it just needs more material. What I do know is that this area requires body work. I aligned the hood so that the arches of the wheel opening of the hood and main body lined up. This leaves the aft portion of the hood short by about a 1/4' or so on each side. I feel it will be easier to work the aft area than to rework the wheel opening. Like with a lot of projects a solution to one issue sometimes creates the next problem. In order to align the arches the hood had to come aft. This put the lowermost inside corner of the front wheel opening in a position that makes it come in contact with the tire as the hood is opened and closed. My solution here was to reshape the inside corner of the front lowermost point of the opening as it actually gets closer to the tire as it rolls toward the center of the GTM. To gain the clearance I needed I only need to make the inward roll flat so that it is parallel the tires surface. This way the integrity of the arch will not be touched thereby keeping the shape as it. In order to have material to sand, as it was apparent that I would go past what was there, I added some fiberglass reinforced filler to the interior of the wheel arch, let it dry and proceeded to reshape the point.
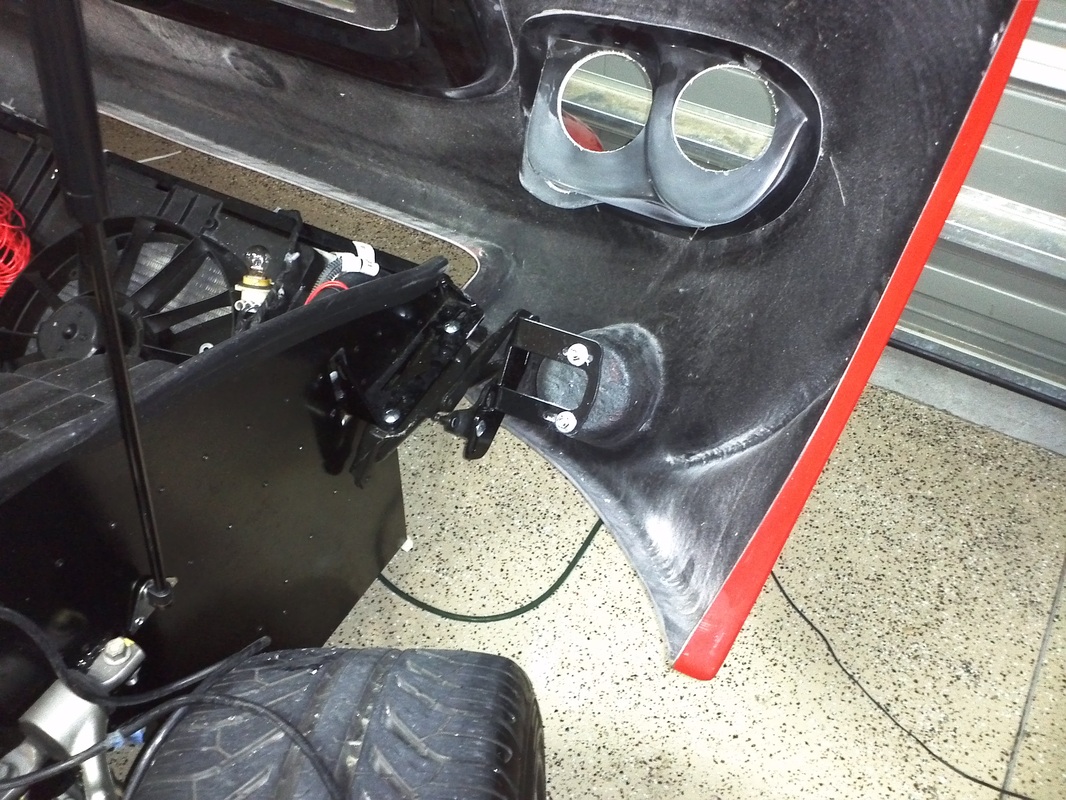
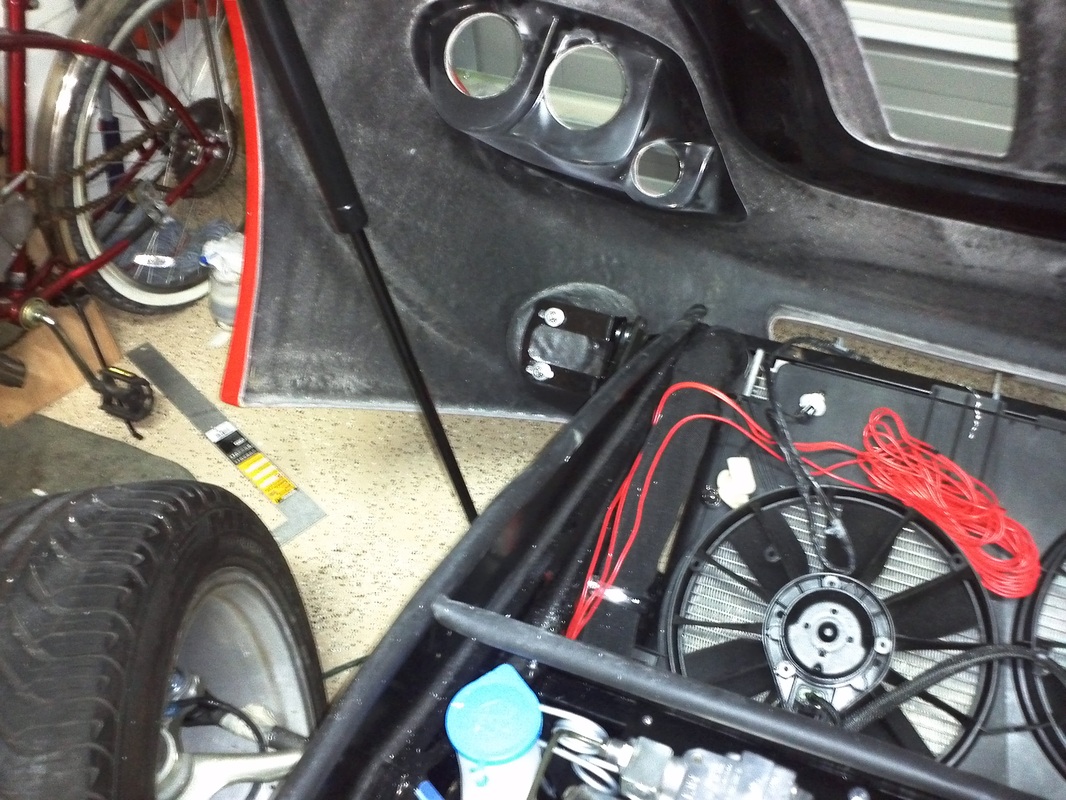
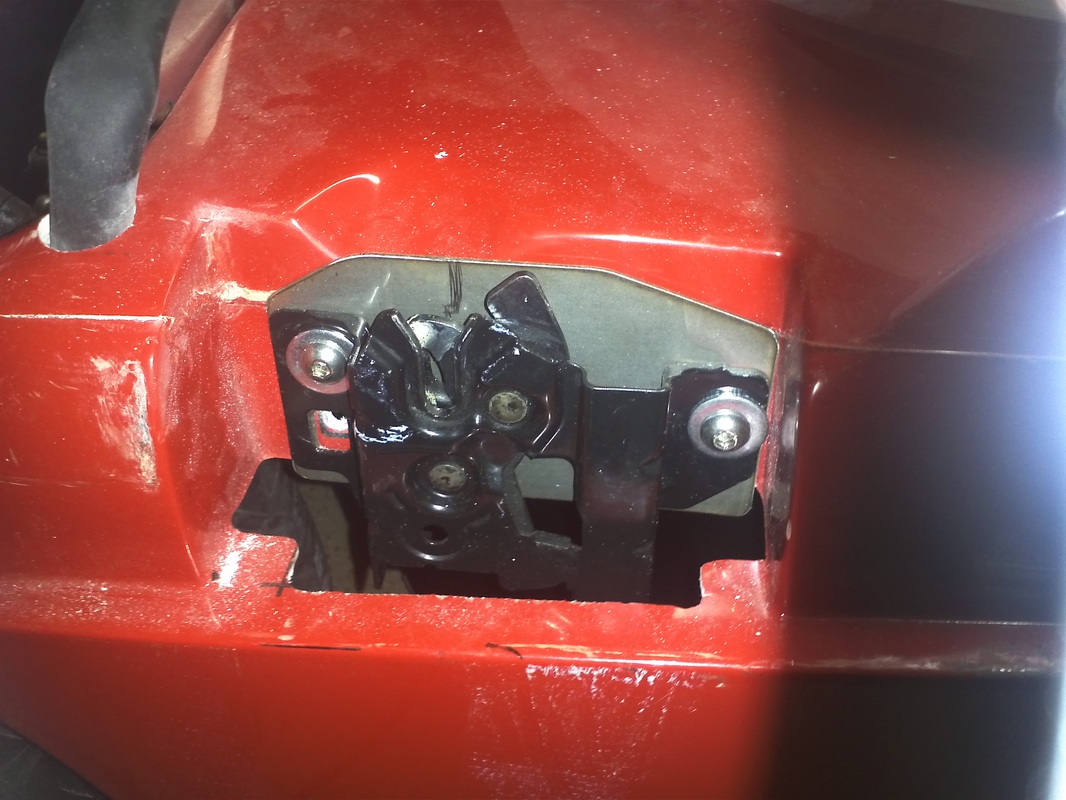
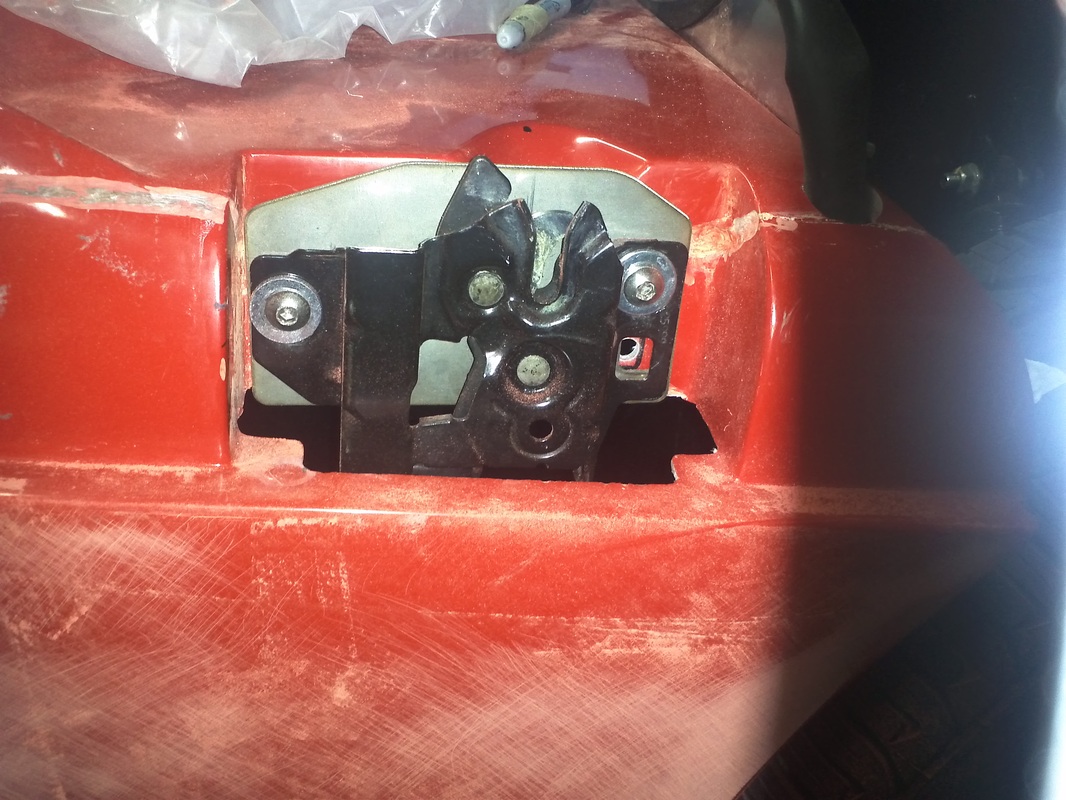
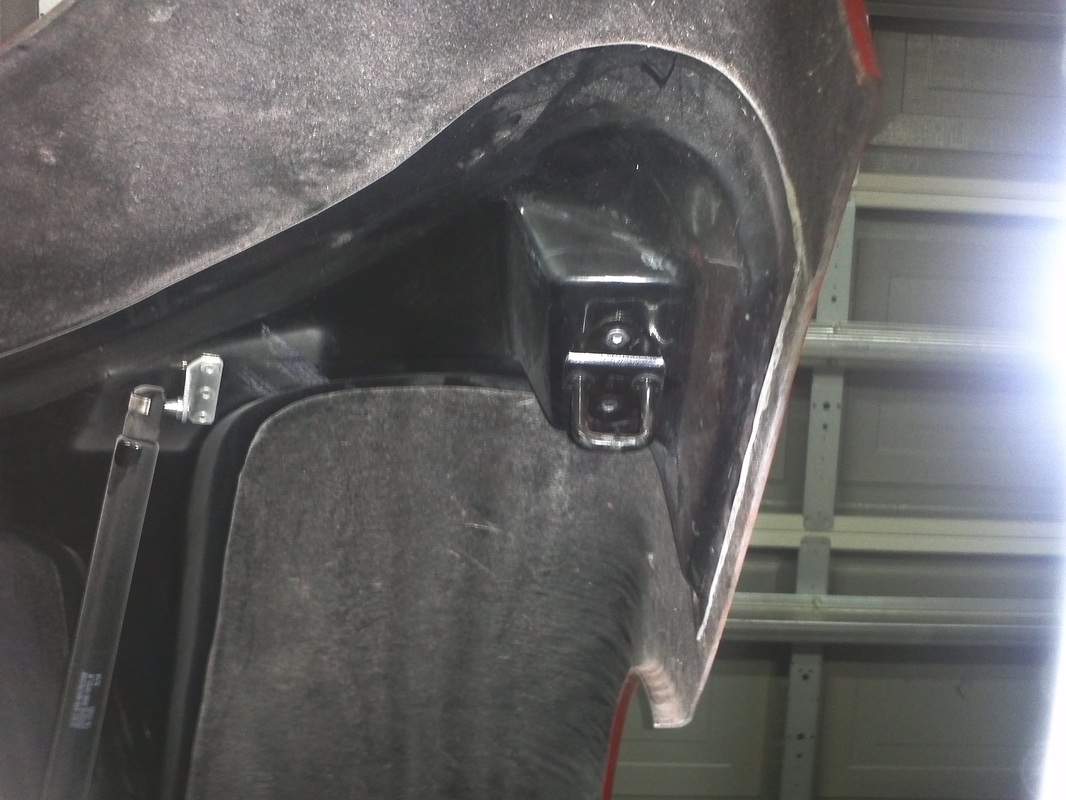
With the clearance issue resolved I then moved back to the latch area. I sanded the hood side just to get a straight line. I measured and checked the alignment, opened the hood and installed the latches along with Shane's Stainless Paint Savers. The Paint Savers actually do a few things. They keep the striker of the paint and line up the hood when closing. I used a piece of duct tape to hold striker upright in the latch. I then closed the hood, taped and checked the alignment. Once I was satisfied with the alignment I used a pick to scribe the forward striker hole. Then I drilled and riveted the striker to the hood and repeated this for the other side.
With the clearance issue resolved I then moved back to the latch area. I sanded the hood side just to get a straight line. I measured and checked the alignment, opened the hood and installed the latches along with Shane's Stainless Paint Savers. The Paint Savers actually do a few things. They keep the striker of the paint and line up the hood when closing. I used a piece of duct tape to hold striker upright in the latch. I then closed the hood, taped and checked the alignment. Once I was satisfied with the alignment I used a pick to scribe the forward striker hole. Then I drilled and riveted the striker to the hood and repeated this for the other side.

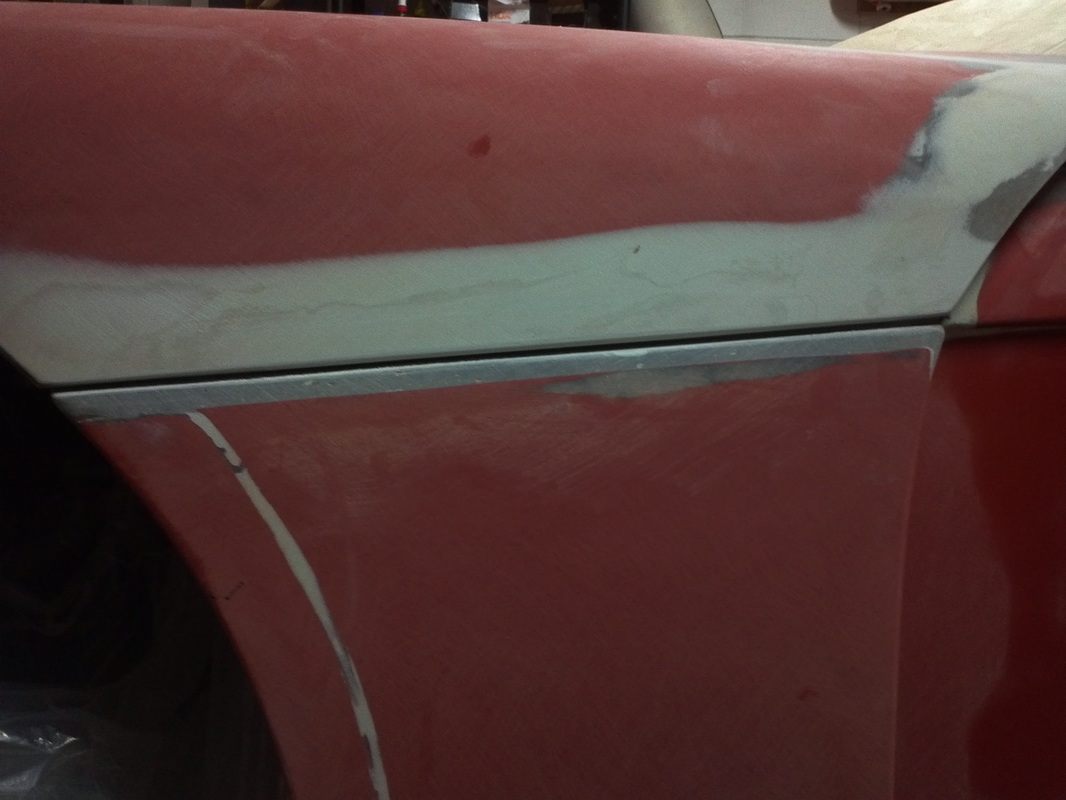
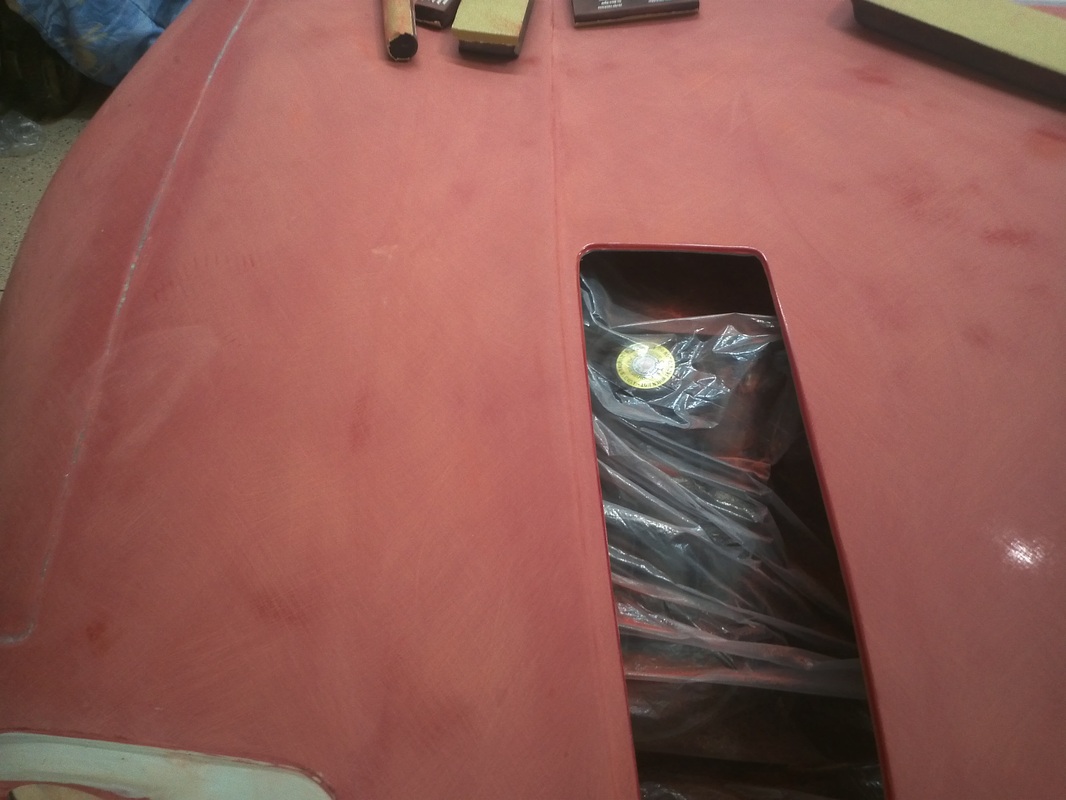
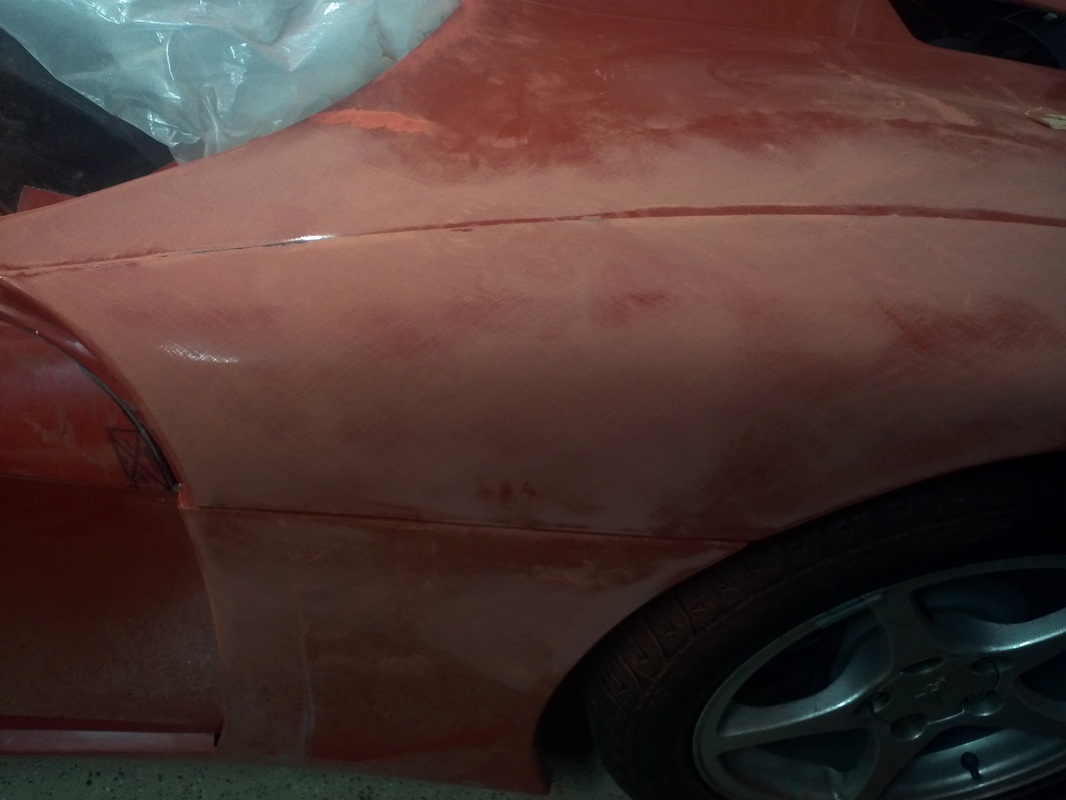
Started Blocking on the Passenger Side Hood mold line area
I purchased The Paintucation DVD and have been doing research online as well as applying some tips from my painter. My goal is to do all of the body work myself all the way through wet sanding my final coat of Slick Sand polyester spray filler. I have mounted the hatch, hood and initial fitment of the doors. I have run into an issue with my roof resting on the chassis (it should not be) that is affecting the door openings. So I have only trimmed and mounted the doors and will hold there until the issue is resolved. With these mounted I have not done any gapping, but I am very confident that I will be able to complete all of this with very professional results.
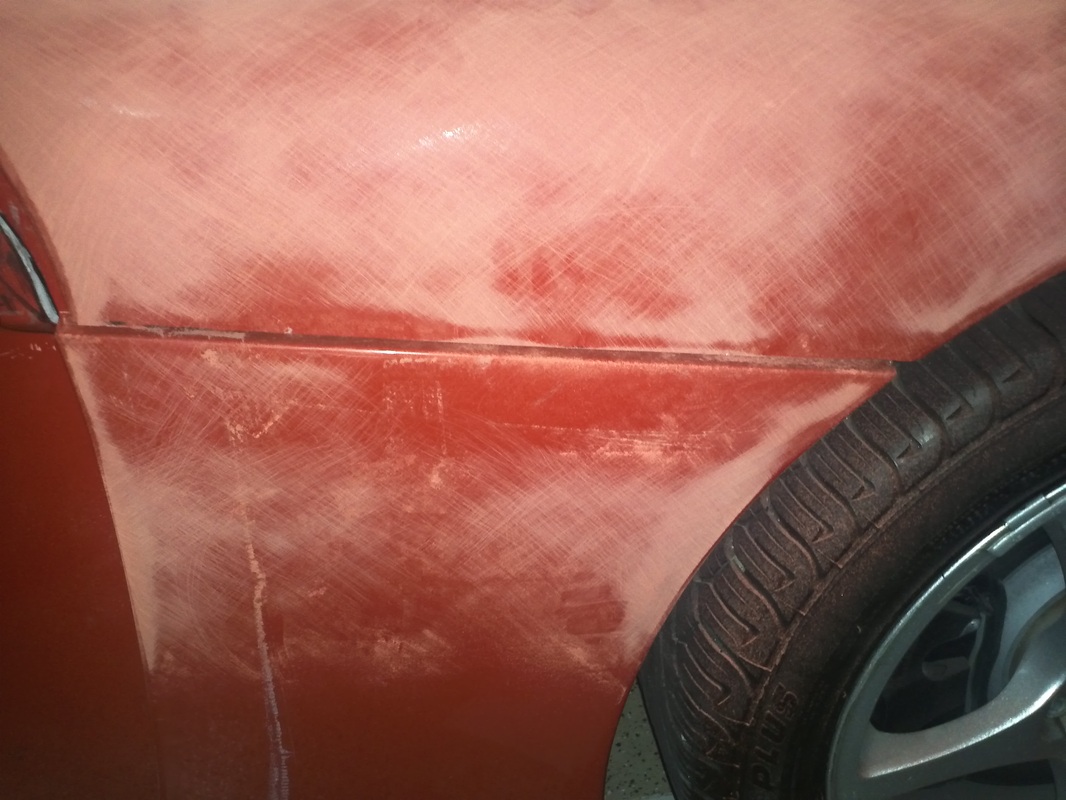
Because the molds are very good and the seams are done extremely well the process for the mold lines will be this. I will initially block the area around the mold lines. This knocks down some of the really high points of the mold lines, exposes some of the voids and takes care of some of the initial blocking. The voids will be filled with Evercoats Rage lightweight filler and blocked.
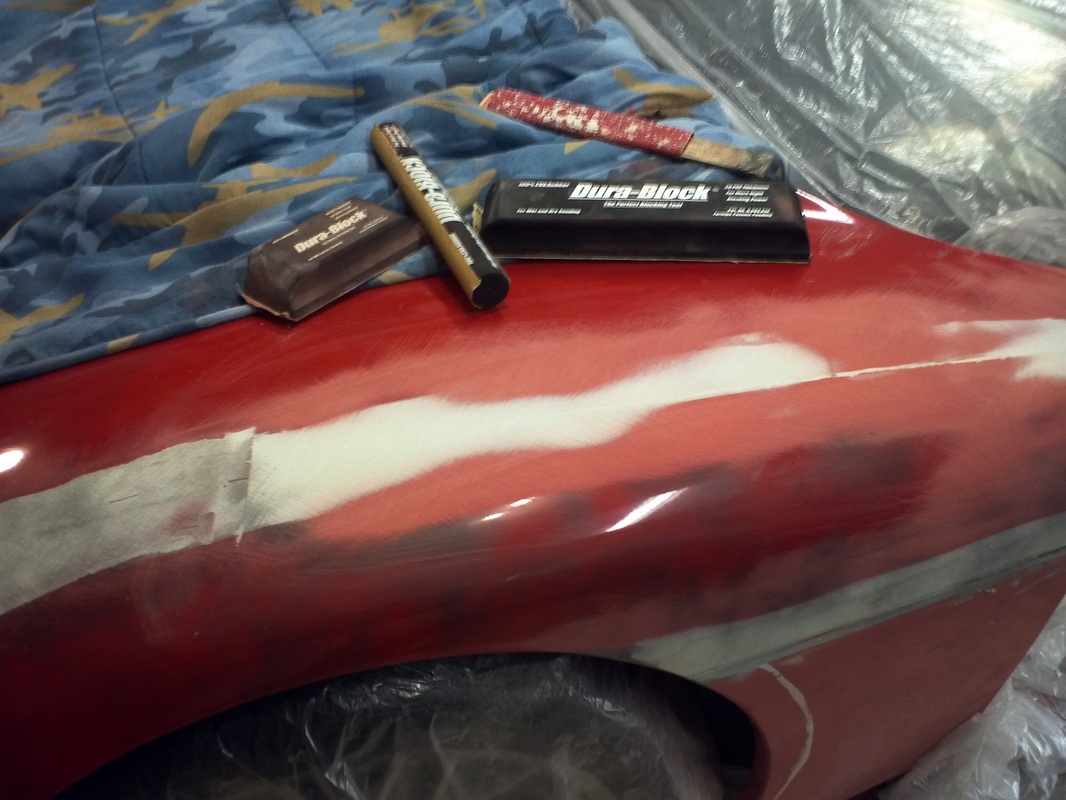
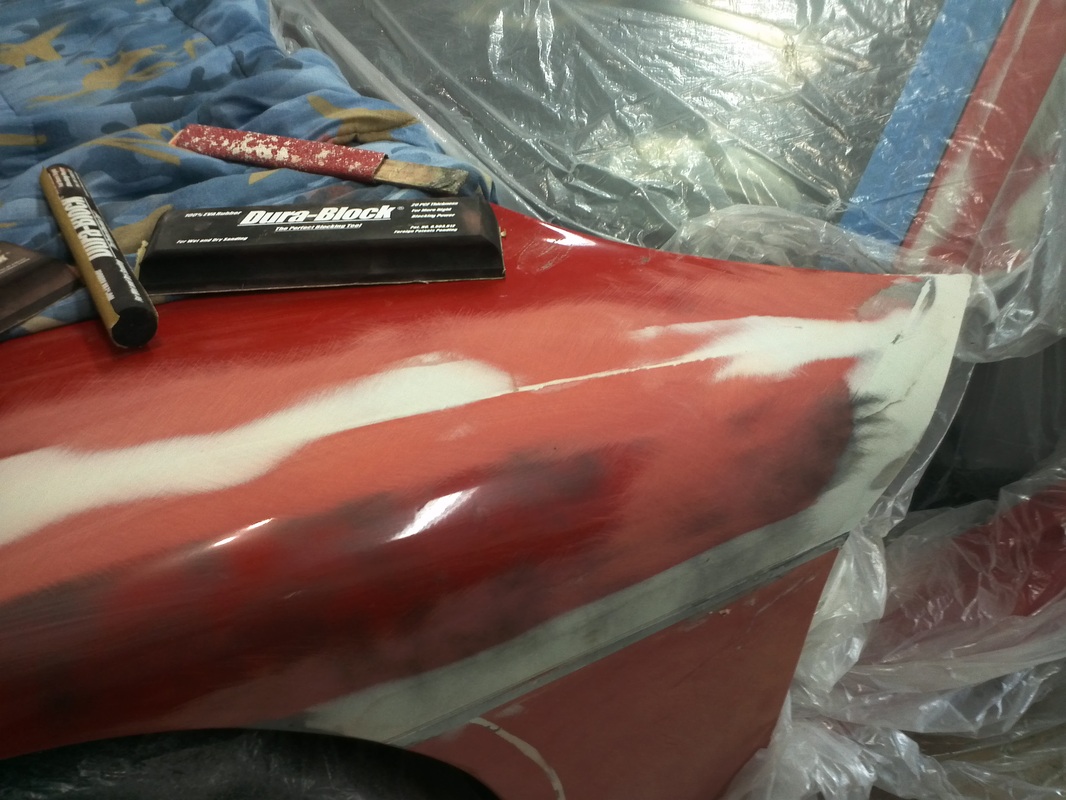
I grabbed my long flexible blocking bar and a strip of adhesive backed sand paper to test out my blocking skills on the area around the mold lines atop the hood passenger side. Using the 45 degree or "X" I proceeded. I was working on a small area, but found the technique to be easy to follow and very natural after a few minutes. The hood in this area is also very good. The only low area here is the inside of the mold lines along most of it there. This was just a test but I was happy with my work and what I saw there on the body. What I didn't like was all of the red dust. Body work is extremely dusty/dirty work. I will mask of the interior and cover the entire hood and engine area prior to proceeding with this. If I can get the issue resolved soon I can do the initial blocking of the doors and the surrounding so that I can put the body on a buck.
Because the molds are very good and the seams are done extremely well the process for the mold lines will be this. I will initially block the area around the mold lines. This knocks down some of the really high points of the mold lines, exposes some of the voids and takes care of some of the initial blocking. The voids will be filled with Evercoats Rage lightweight filler and blocked.
I grabbed my long flexible blocking bar and a strip of adhesive backed sand paper to test out my blocking skills on the area around the mold lines atop the hood passenger side. Using the 45 degree or "X" I proceeded. I was working on a small area, but found the technique to be easy to follow and very natural after a few minutes. The hood in this area is also very good. The only low area here is the inside of the mold lines along most of it there. This was just a test but I was happy with my work and what I saw there on the body. What I didn't like was all of the red dust. Body work is extremely dusty/dirty work. I will mask of the interior and cover the entire hood and engine area prior to proceeding with this. If I can get the issue resolved soon I can do the initial blocking of the doors and the surrounding so that I can put the body on a buck.


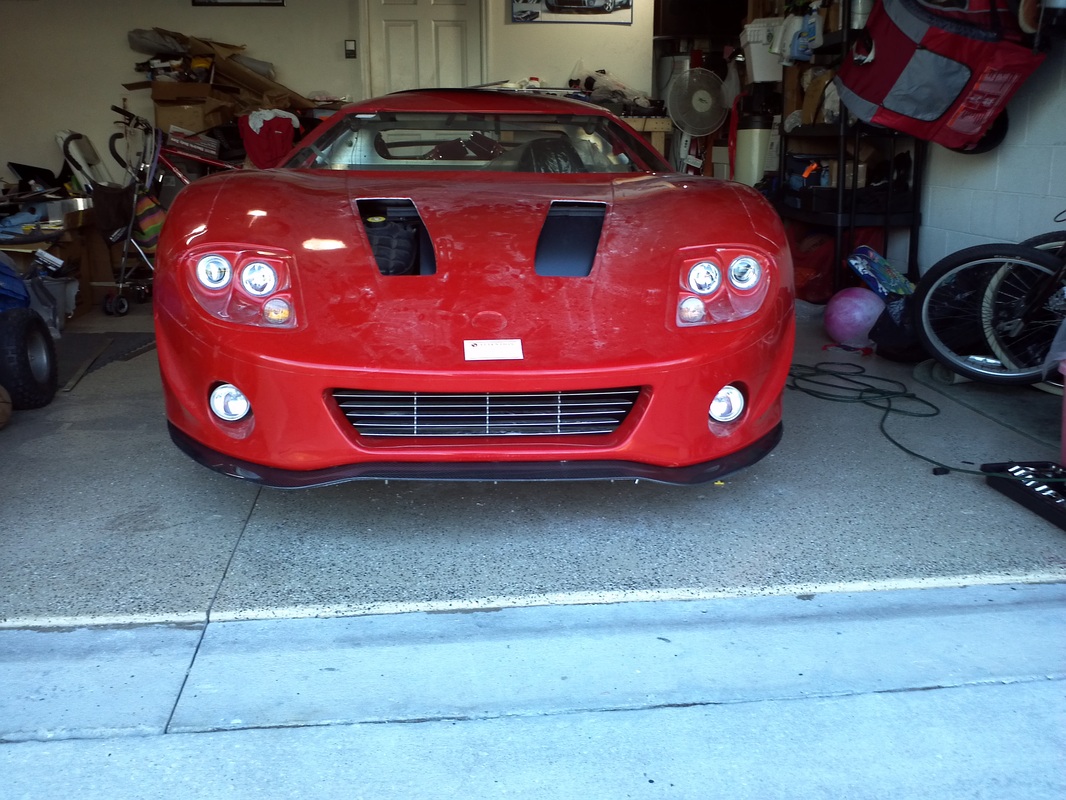
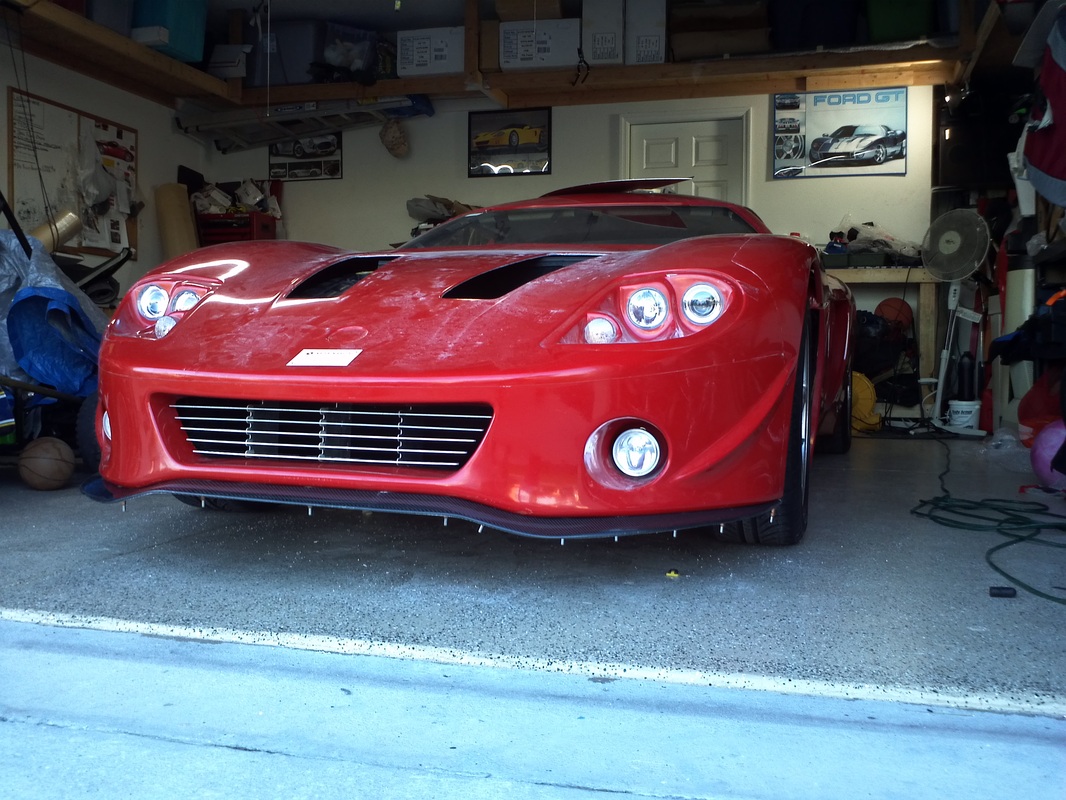
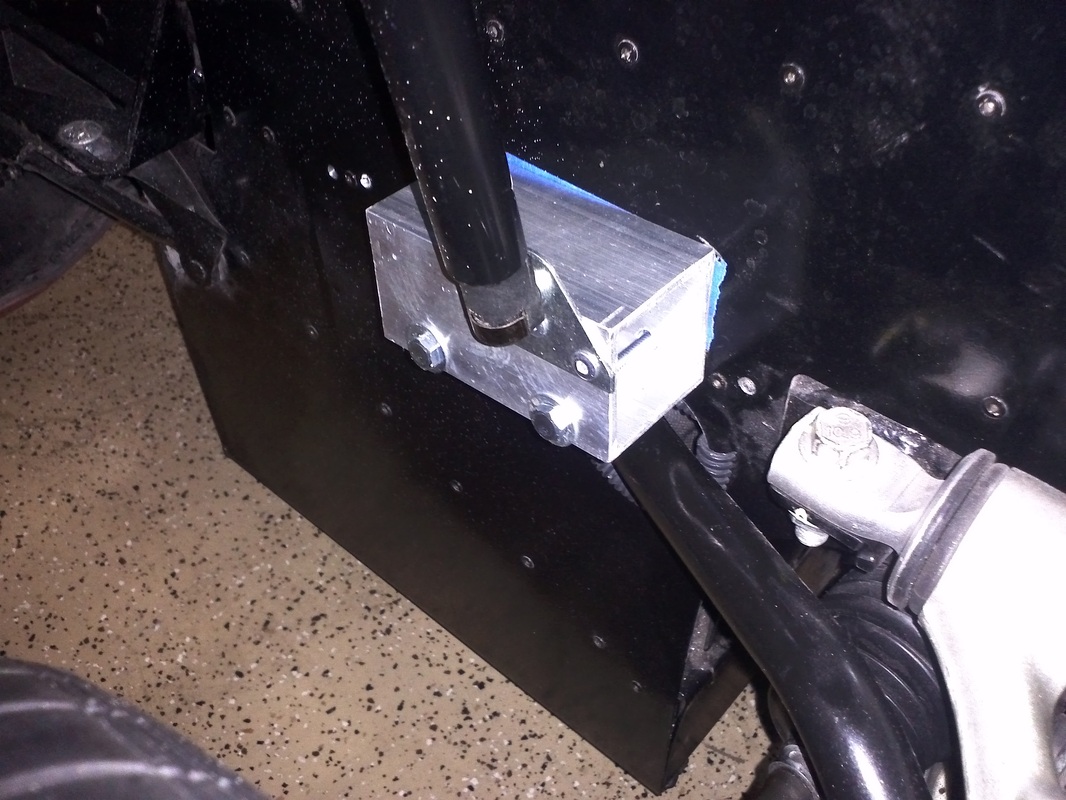
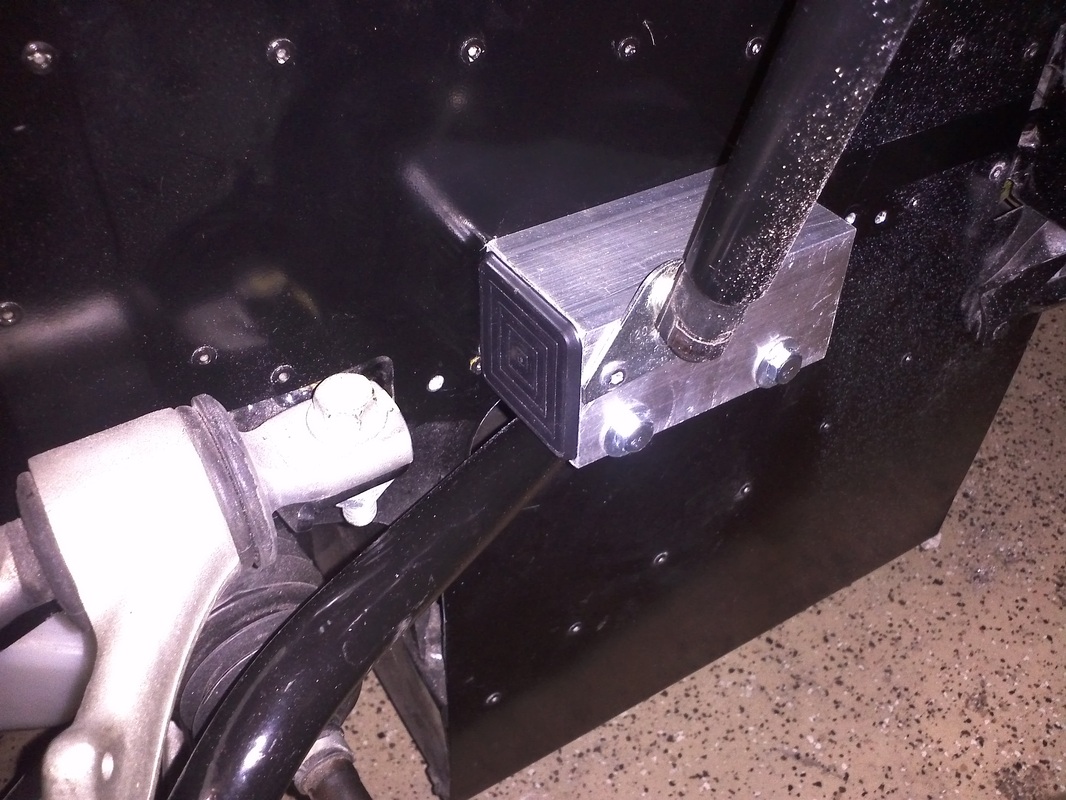
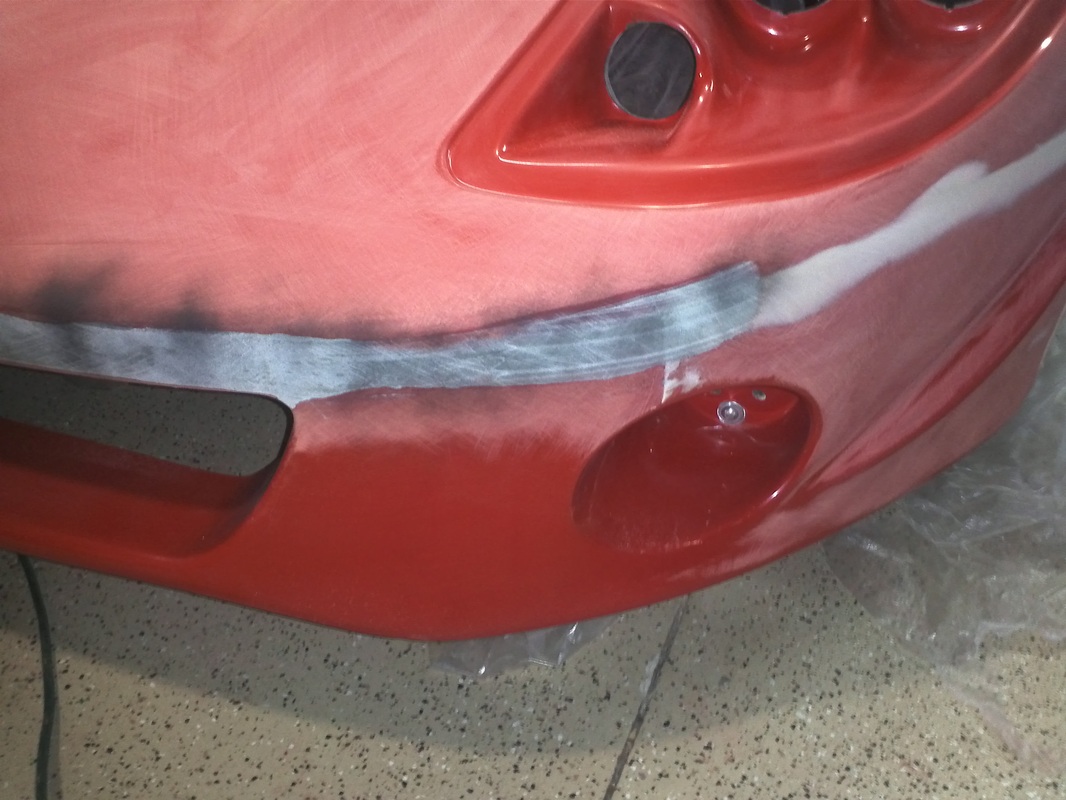
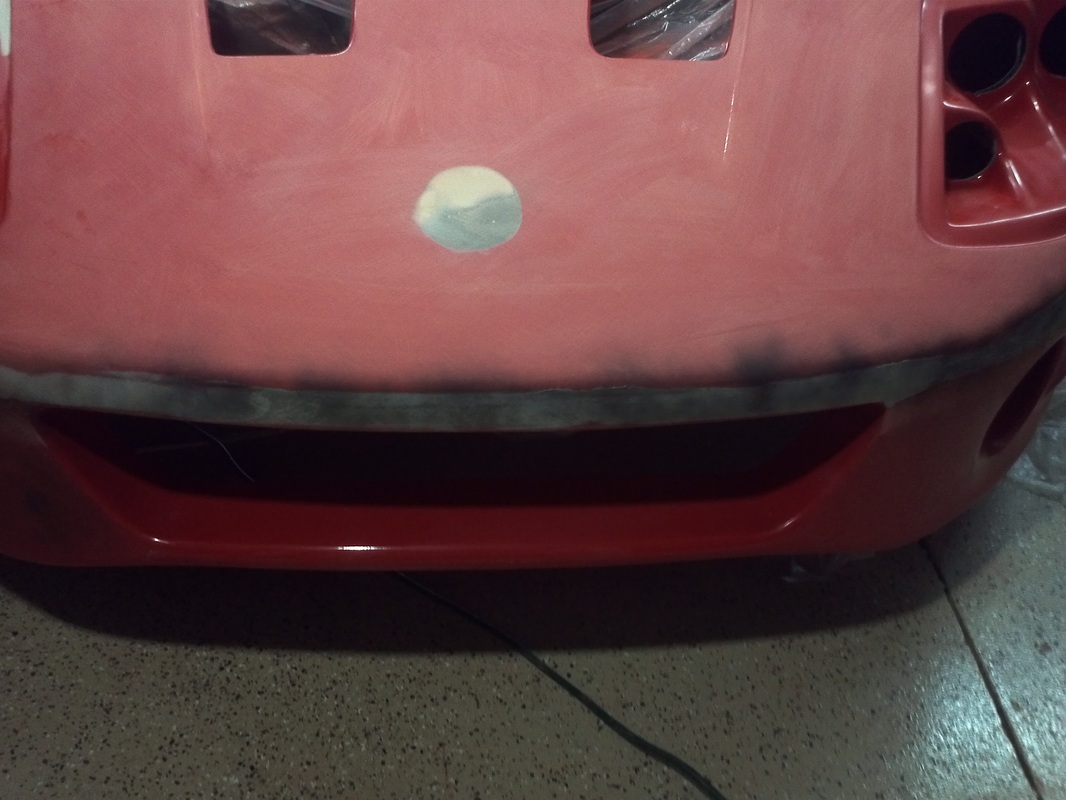
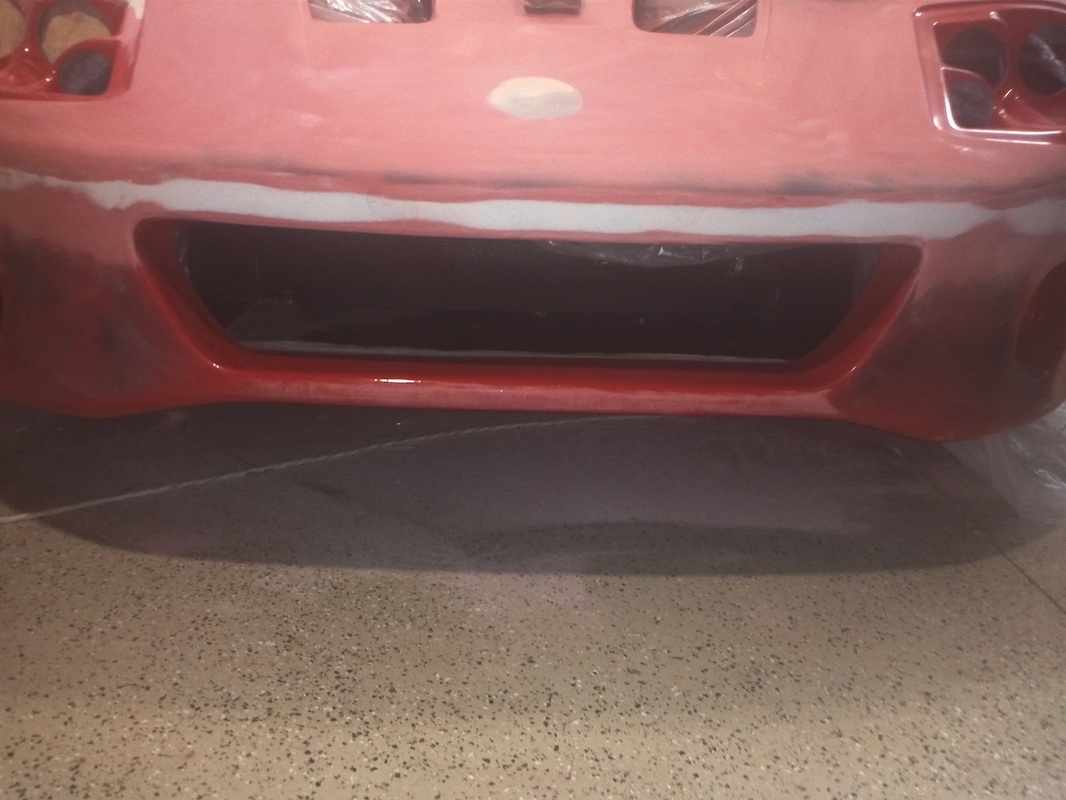
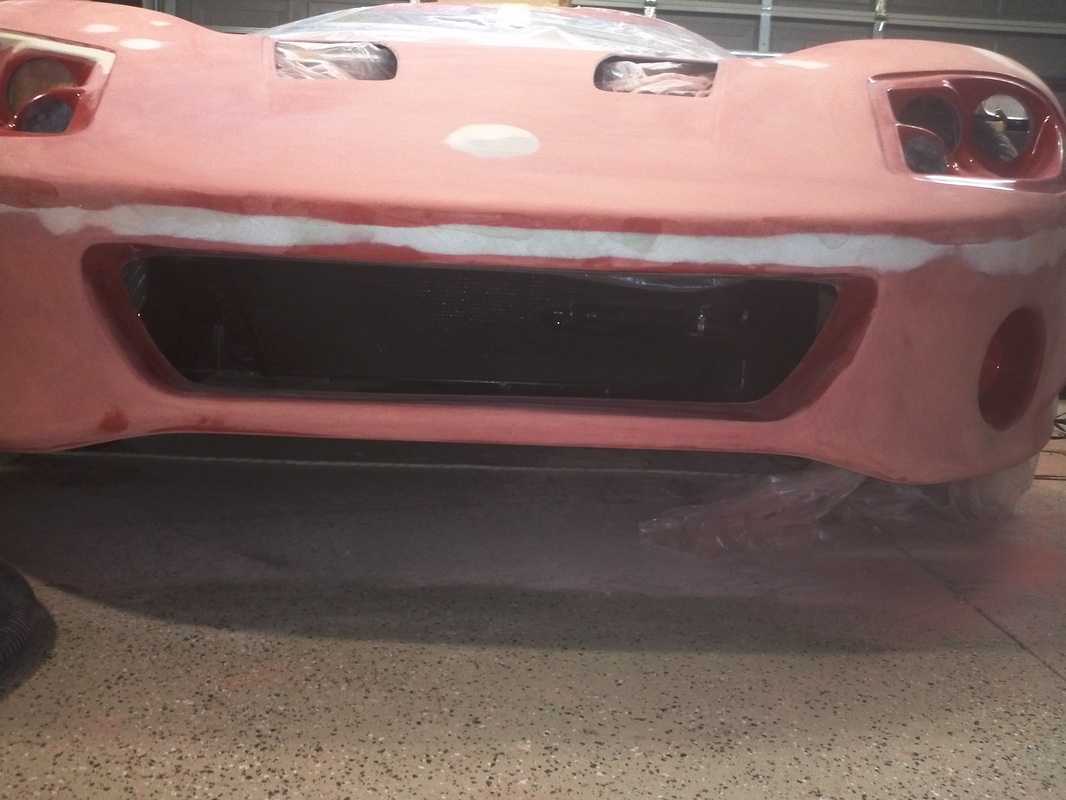
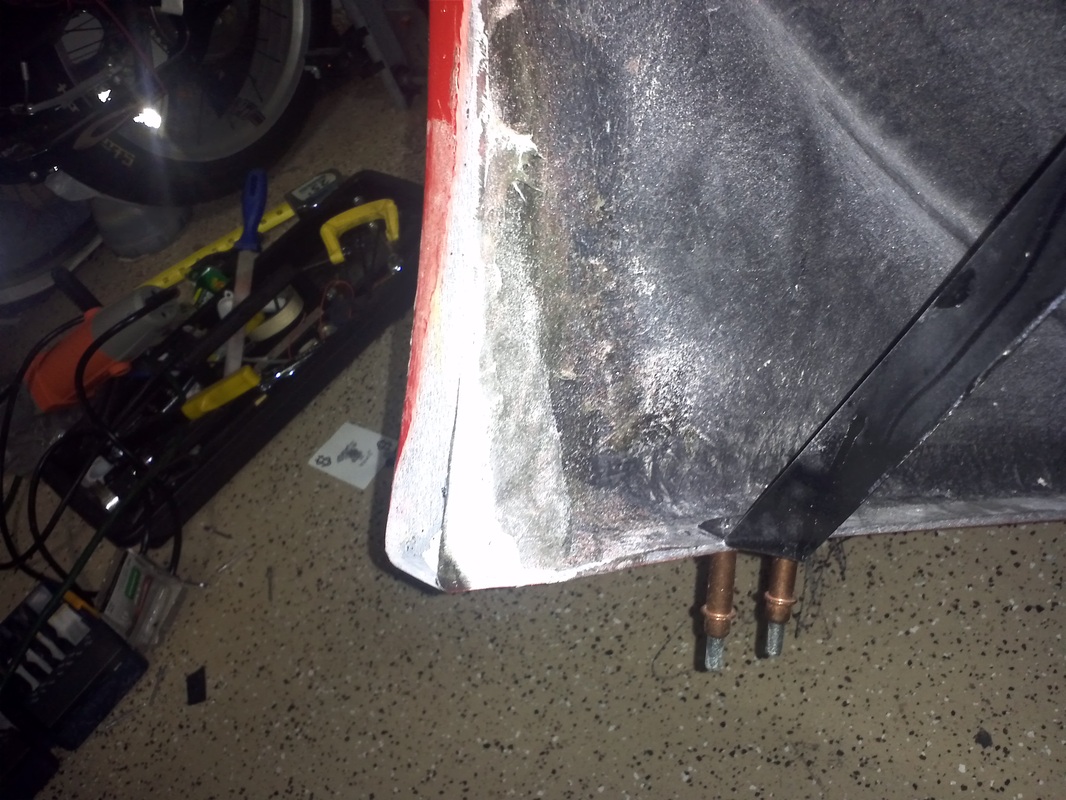
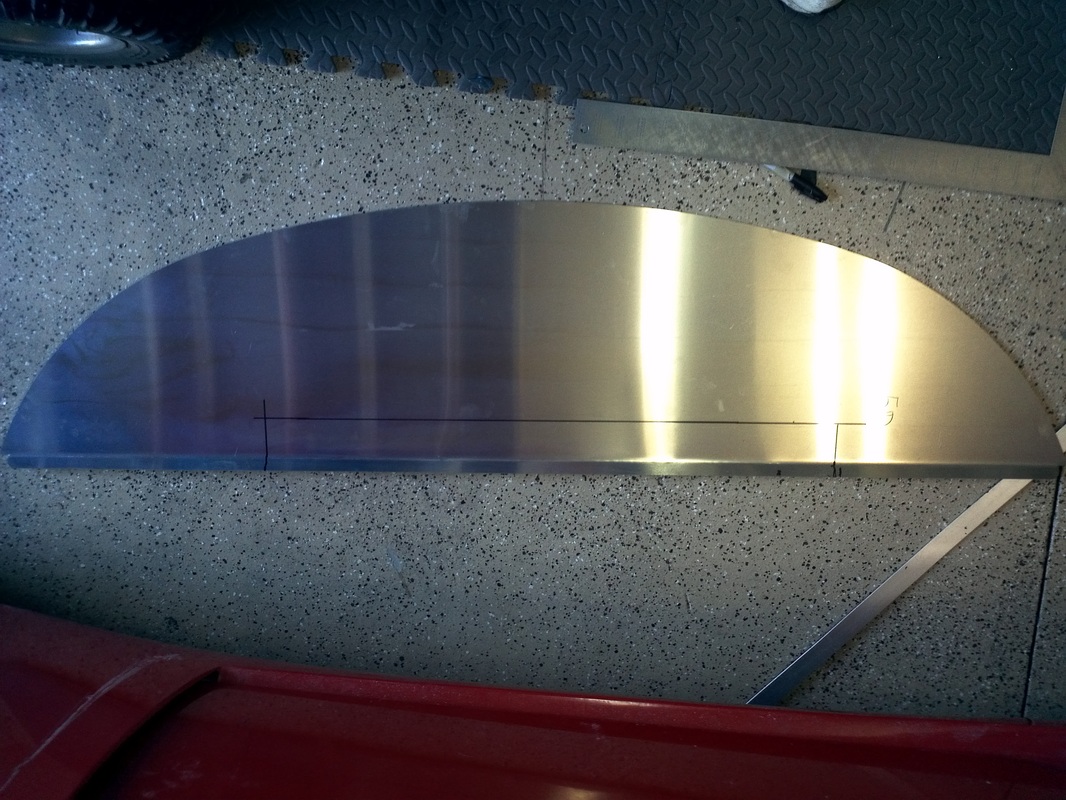
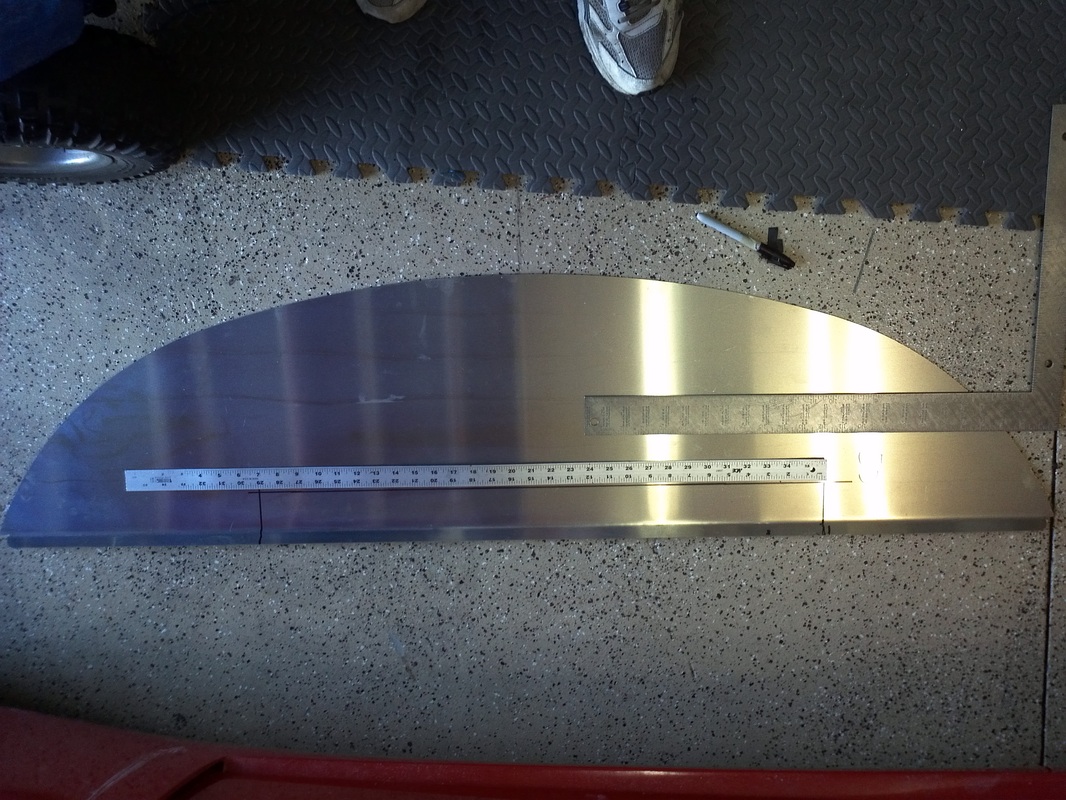
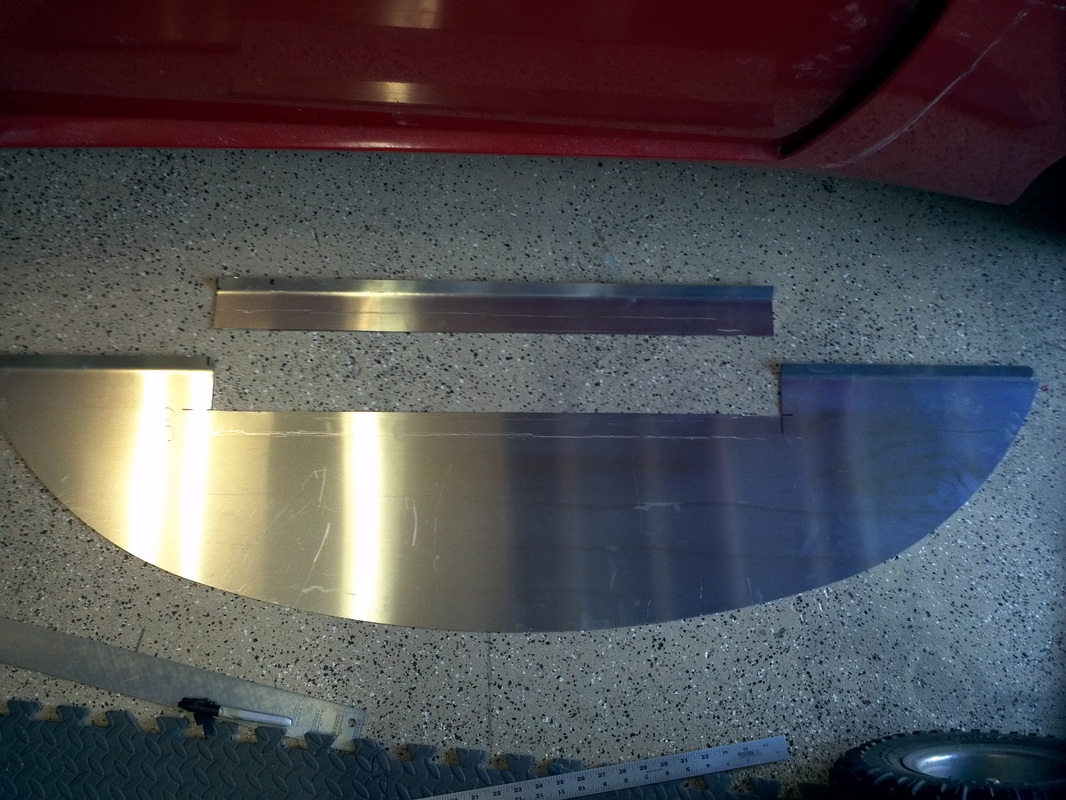
Nose Aluminum Horizontal Close Out Panel
FFR no longer includes this piece with the Gen2 kit. The nose of the Gen2 has an upward detail where the Gen1 was flat. I have planned to install this panel since planning the build because to me, a car looks unfinished if I can see the ground through the radiator intake. I also was prepared to have to make some cuts in the panel in order to have it fit with the contours of the Gen2 nose. I put the panel in place with clamps and opened the hood to make marks for the area I needed to cut in order for the piece to clear the AC Condenser. I will reattach the piece I cut on the forward part of the opening. I started in the middle drilling and clecoing the panel. The size of the panel allows it the form to the contours. After mocking up the splitter I will add the nose aluminum to finish this areas mock up.
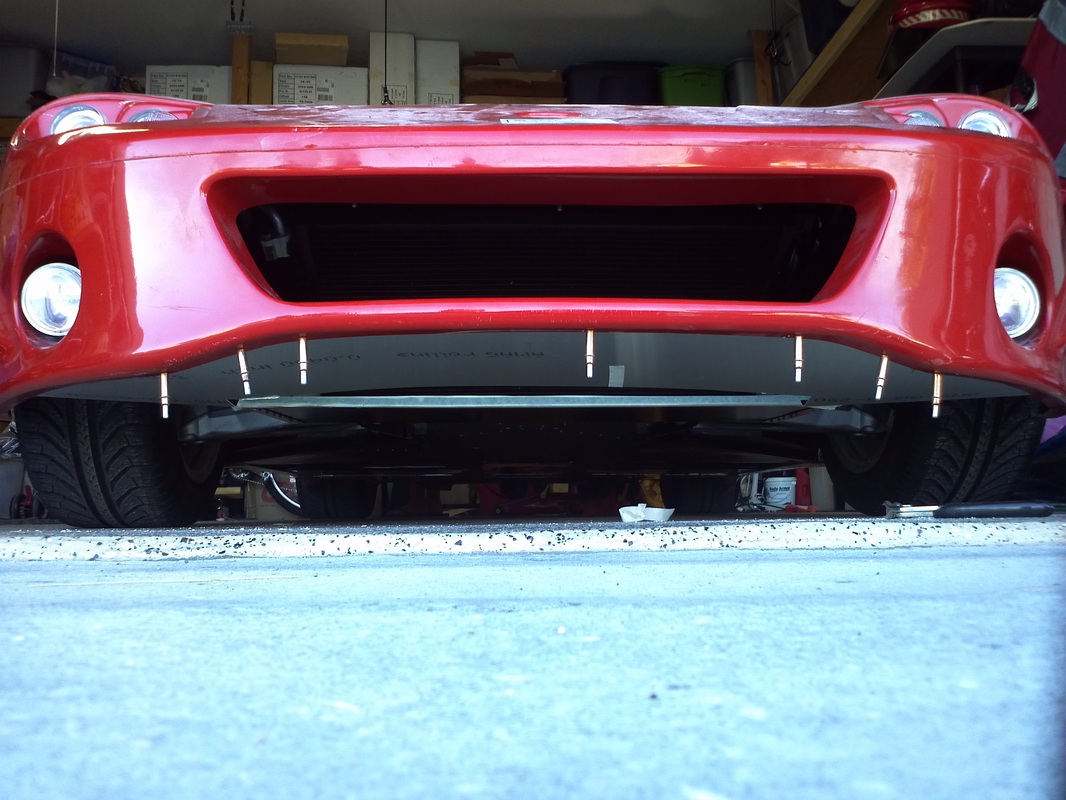
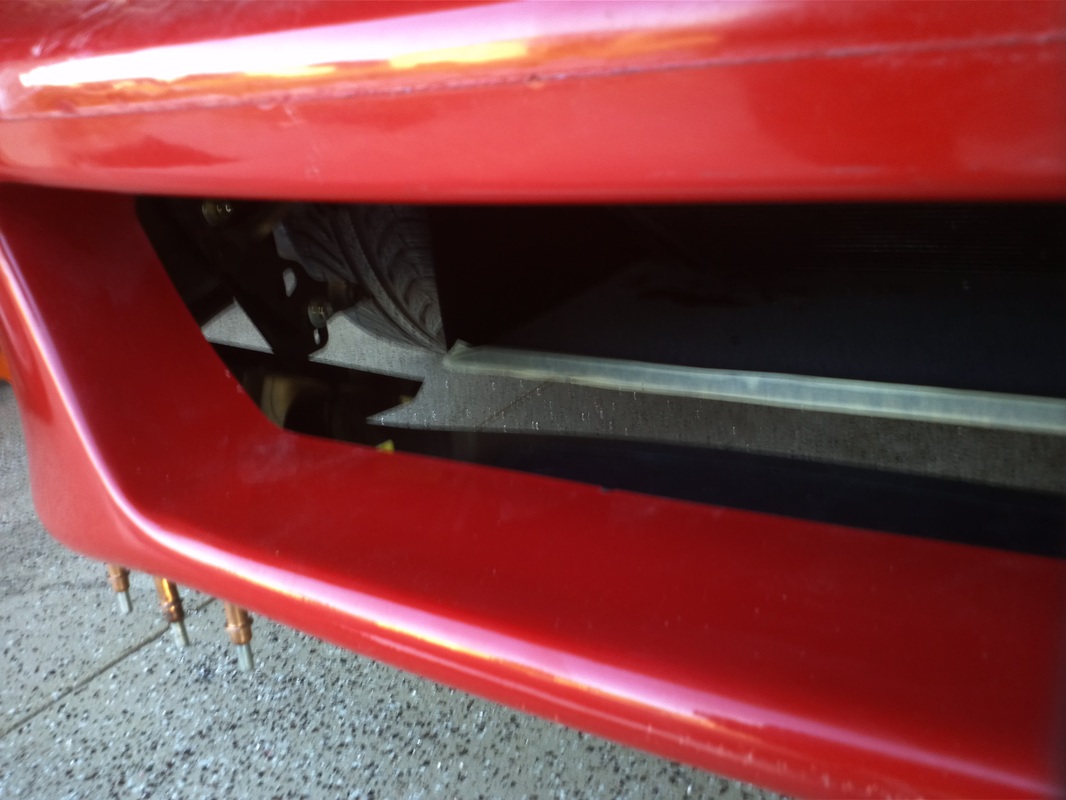
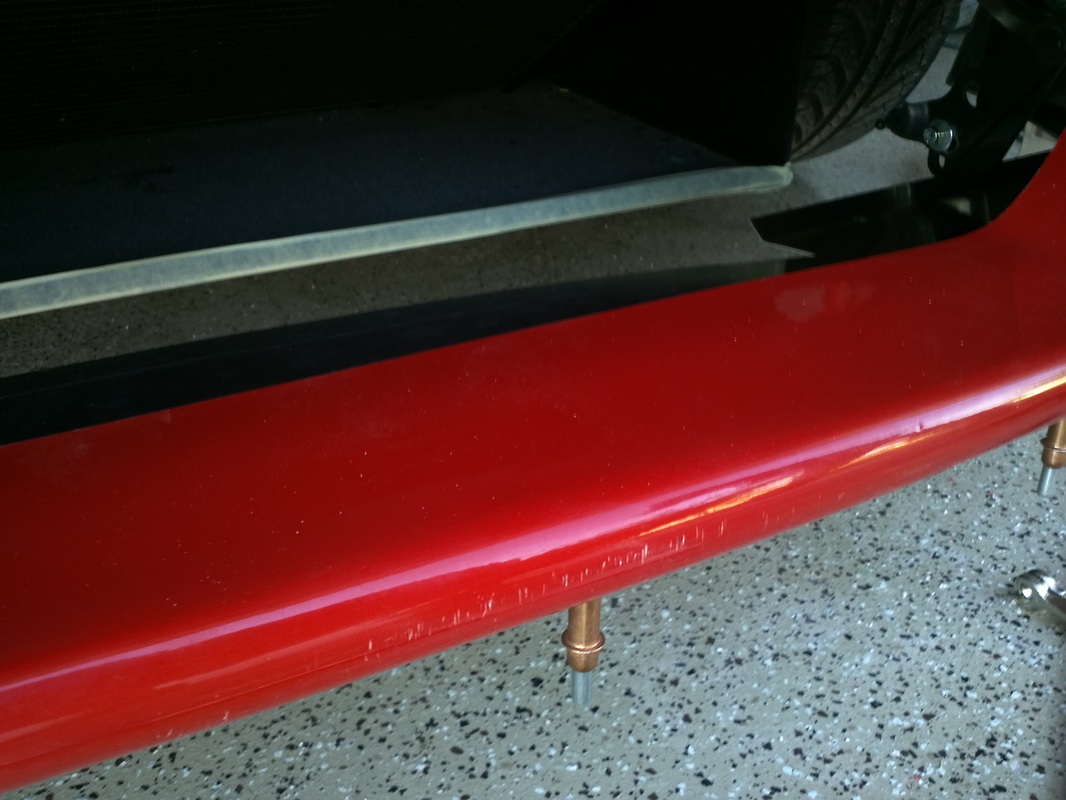

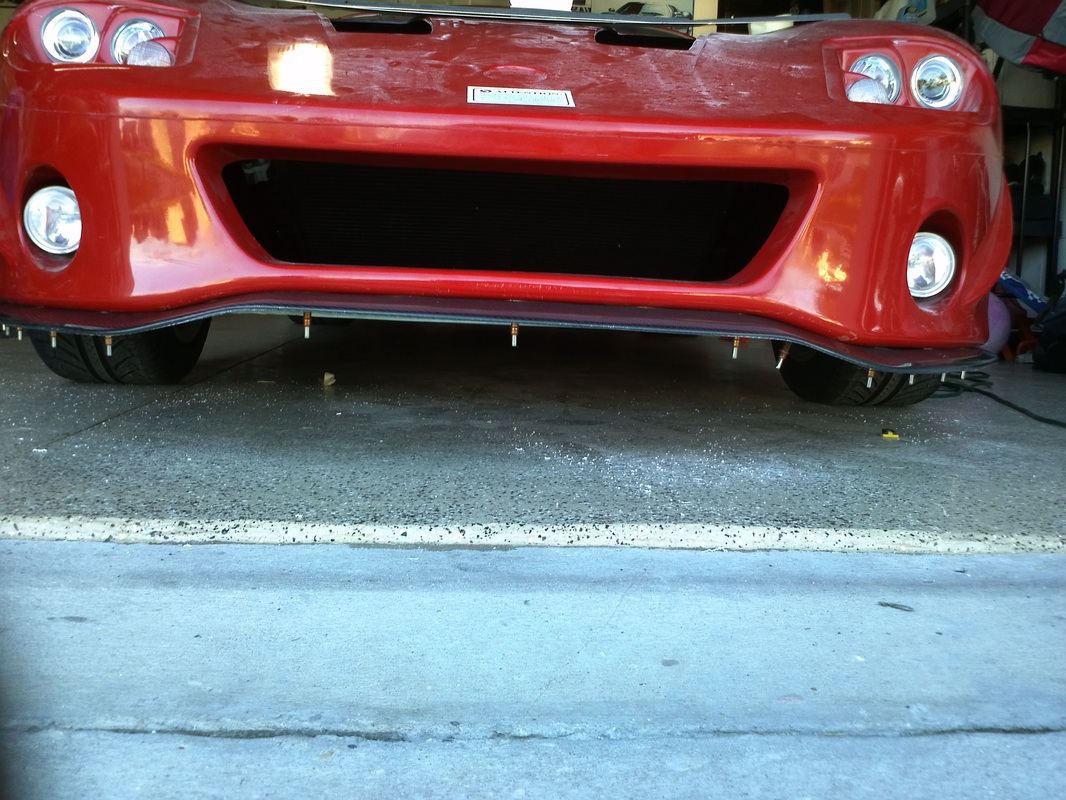
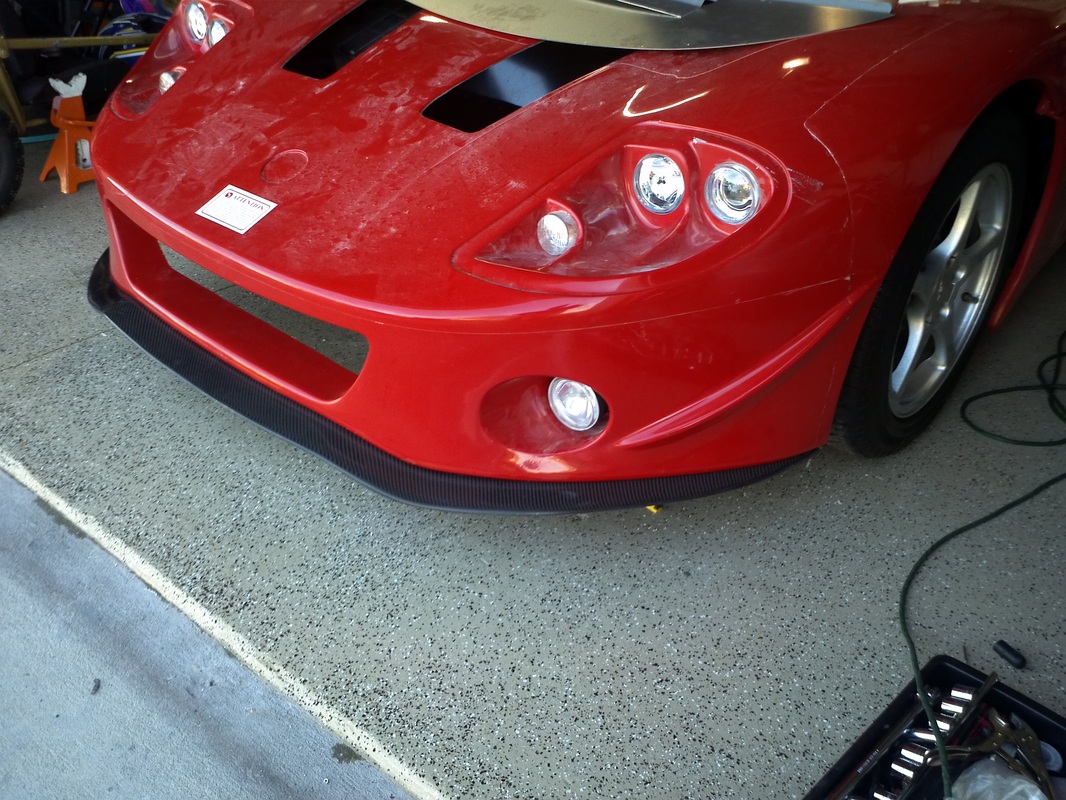
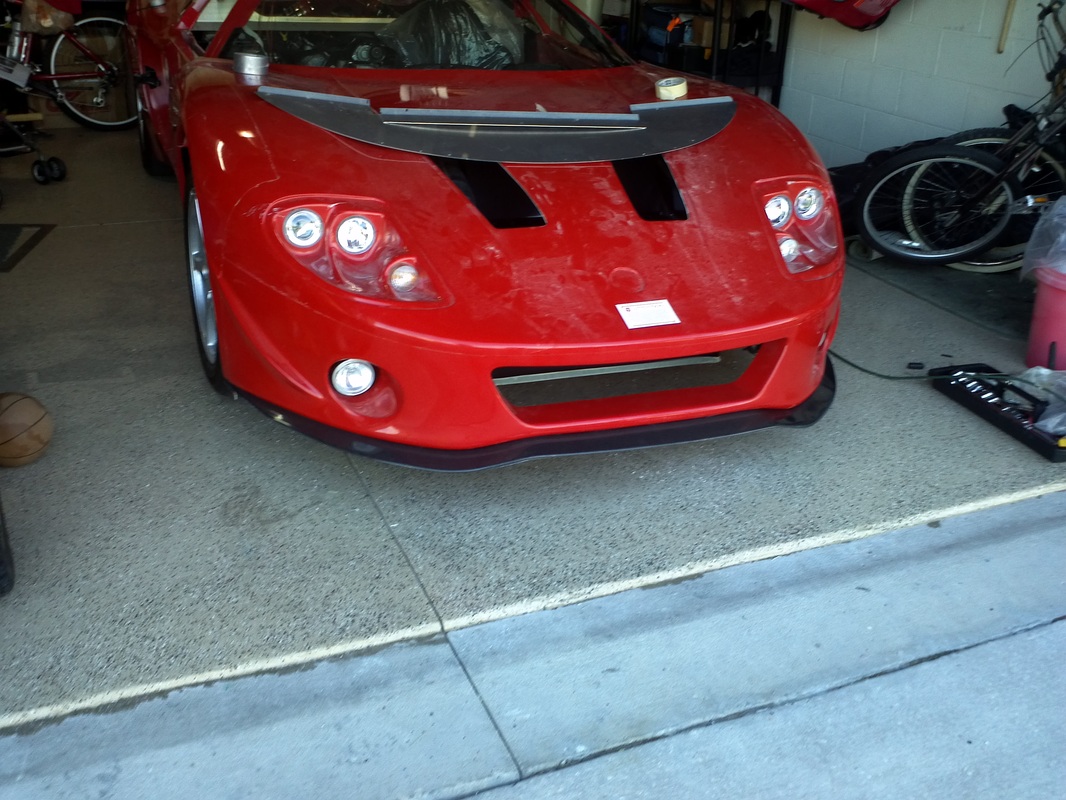
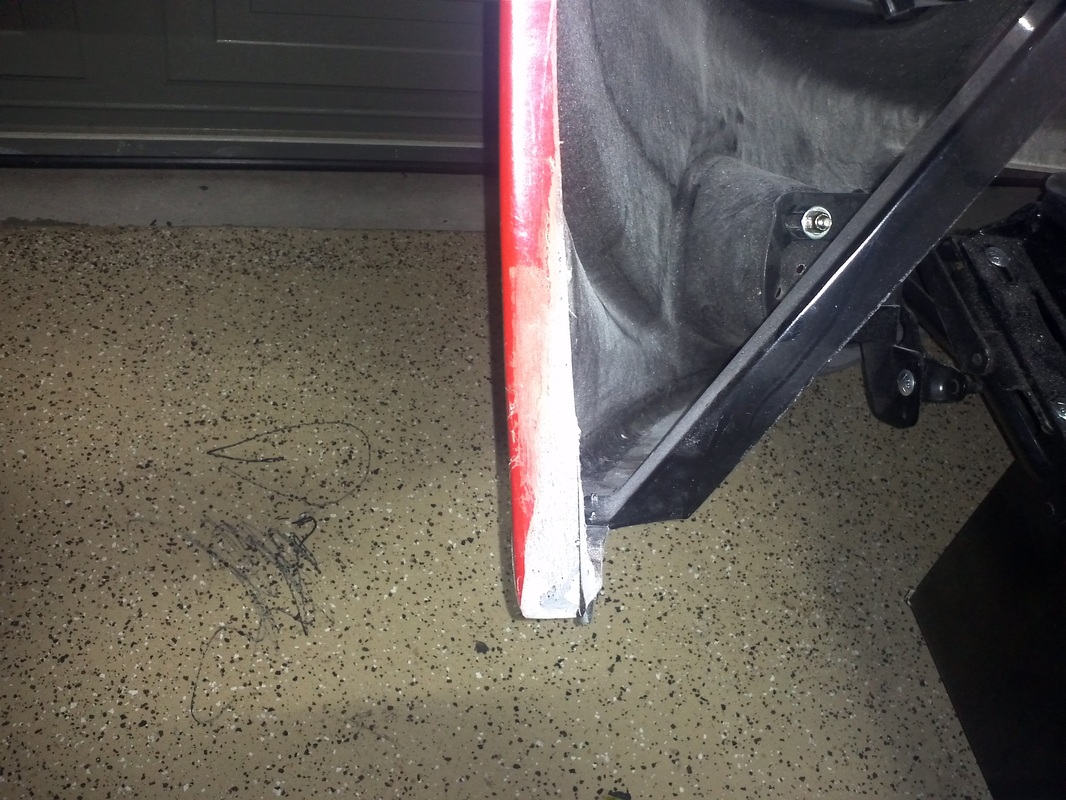
Carbon Fiber Splitter
Fit perfectly. I plan to put this idea on the forums for comment to see if its a good or bad idea and go from there. The plan is to add some 1/8. 3/16 or 1/4" bar stock strips that span from front to back under the the splitter along with some bar stock on the inside of the body. I am hoping that this will help maintain the intergrety of the spitter in case of a unforseen rub/dump. I believe that this would keep the splitter intact while putting all of the stress on the body. So if the bump was enough to cause damage it would be cheaper to repair the car in that area compared to the $400 cf splitter. ?????