Grille and Louver Assembly
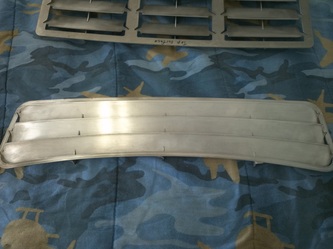
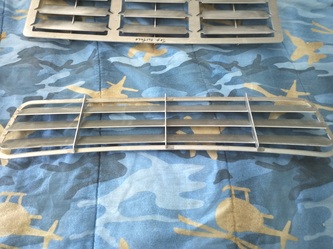
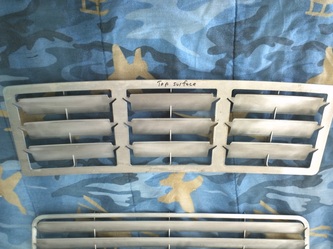
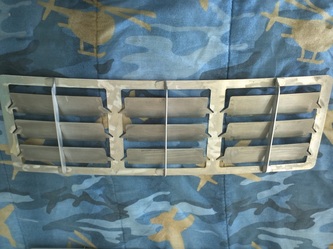
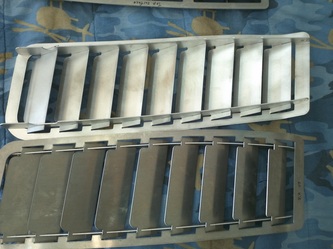
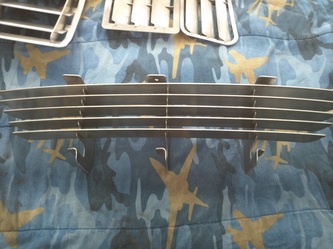
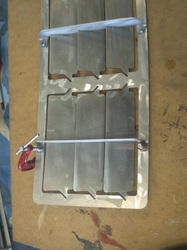
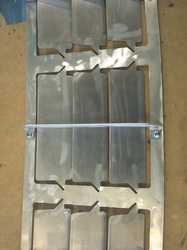
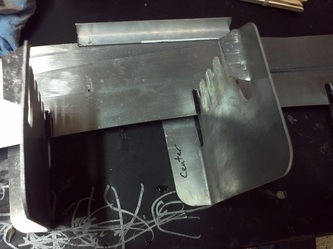
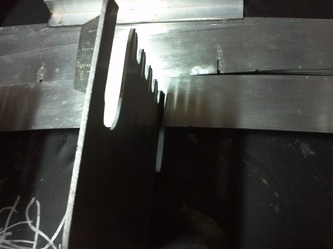
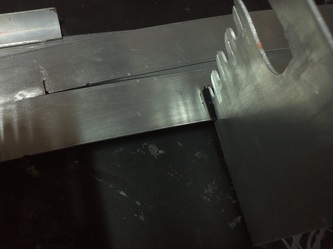
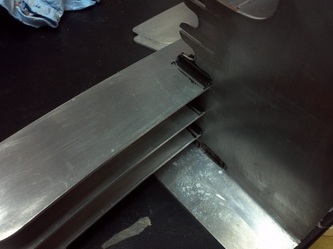
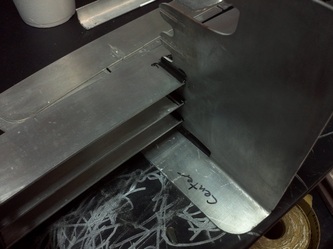
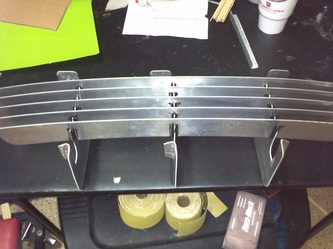
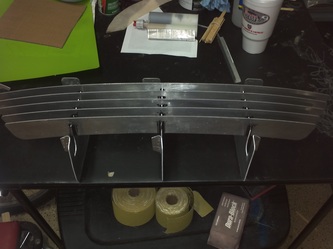
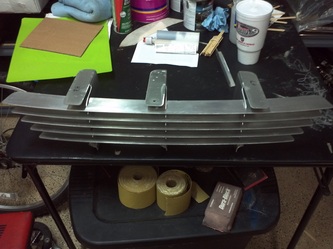
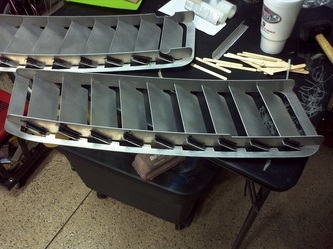
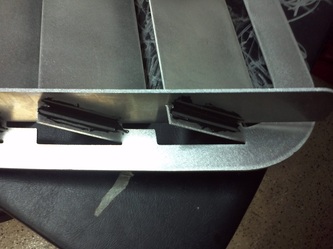
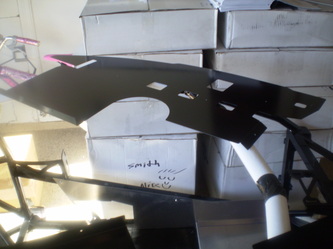
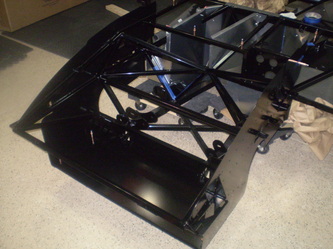
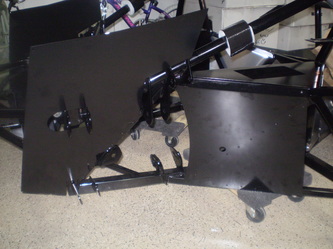
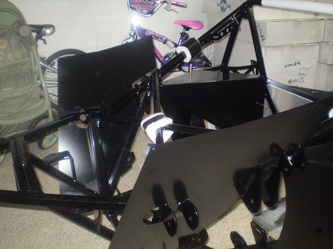
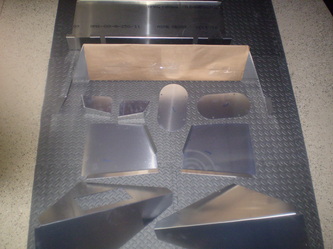
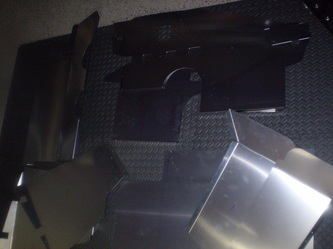
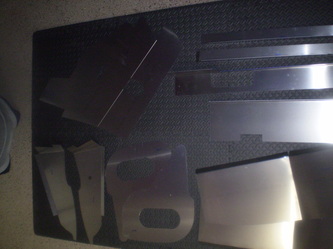
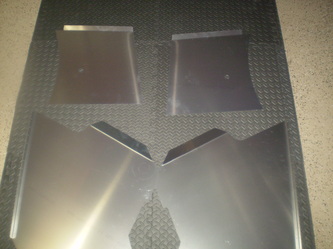
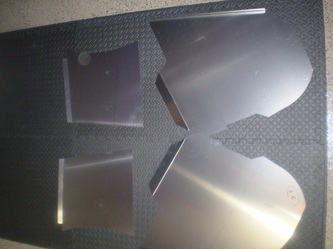
All of these are VRaptorSpeedWorks (Shane's) products. I had partially assembled them when prior and decided to complete them. Shane recommends 3M 8115 Epoxy when assembling some the grille and hood louvers. For the rear deck and hatch pieces I drilled 1/8" holes and used #8 1/2" sheet metal screws, which I cut and ground flush.
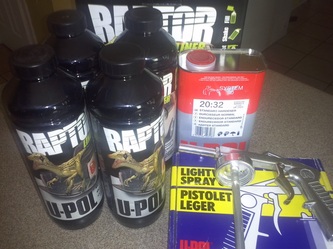
U-Pol Raptor
I had the majority of my panels are powder coated. It looks nice in the wheel wells, but does not add sound absorption for the debris set in motion by the tires and pinging on the aluminum. This is one part of getting rid of the ping.
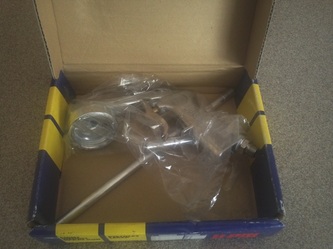
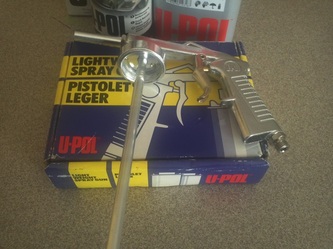
Special thanks to Fastthings (Gene) for suggesting this product. I researched and uncovered a lot of information over a three day period. I did not find any negative feedback on the product. In fact everything I read and/or viewed was positive and recommended the product for DIY application and rated it as good as the higher cost professional applications. Armed with that information I searched eBay and found a new kit wo/shutz gun and a separate U-Pol shutzs gun. The kit can be purchased with the gun included.
The kit instructions state it covers 125sqft. I plan to cover all of the wheel well aluminum pieces (tire side surfaces at minimum) and exposed fiberglass. If the kit is only enough to cover the tire sides it will not be an issue because I also have a gallon of Liquid Fatmat that I will spray on the opposite side of the wheel well panels. Since these panels are powder coated the instructions are to lightly scuff the surface and then clean prior to applying (I'll use both 80 and 180 grit). Should I decide to cover any of my raw panels, they will be treated with etching primer prior to applying.
U-POL’s or RAPTOR Truck Bed Liner is a 2K paint product. The urethane formulation dries rapidly and provides excellent UV protection.
• No need to wax after application
• Abrasion & stain resistant
• Protects against rust, corrosion salt, damp & extreme temperatures
• Waterproof, flexible, helps deaden sound & vibrations
• Apply with shutz gun, roller or brush to obtain different textures
• Provides excellent adhesion
http://www.u-pol.com/product-cat/83/raptor%E2%84%A2-bed-liner.htm
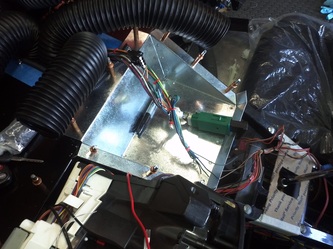
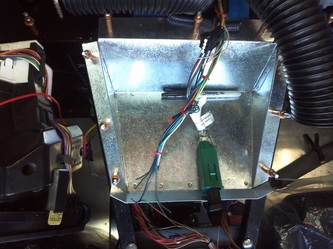
Top Panel and Cut-Outs
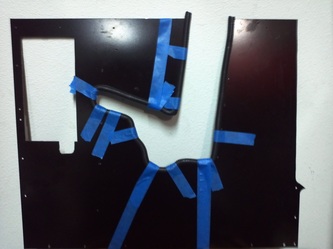
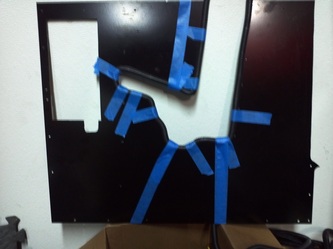
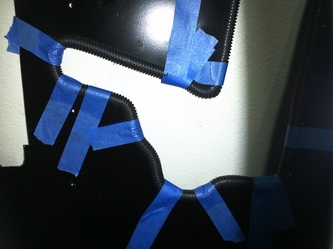
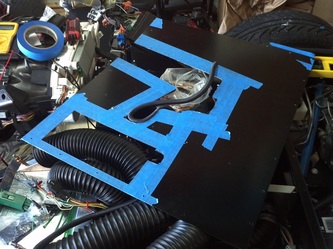
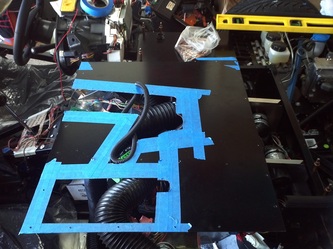
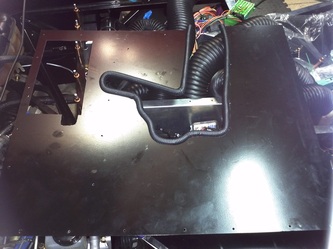
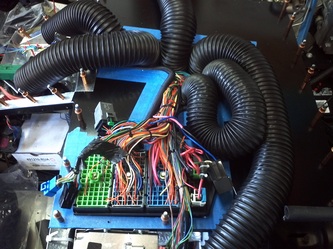
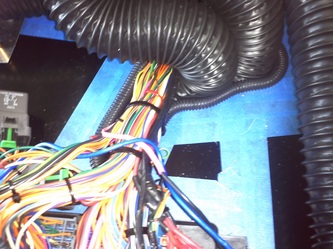
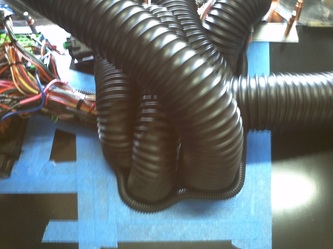
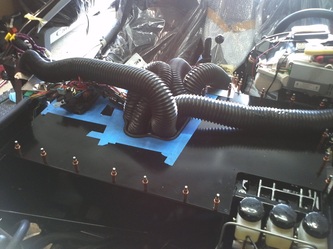
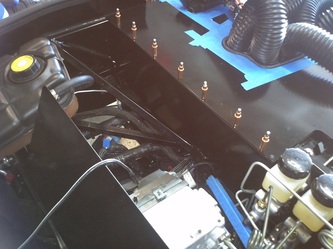
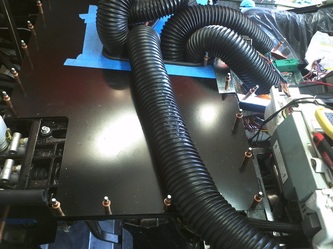
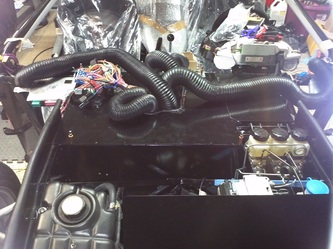
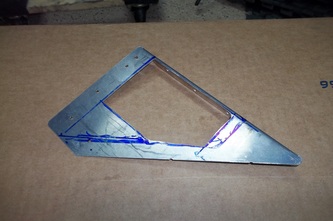
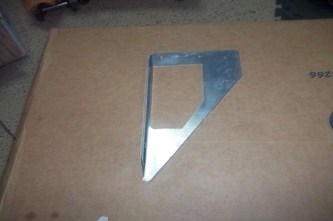
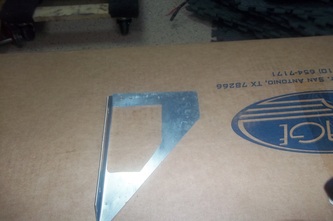
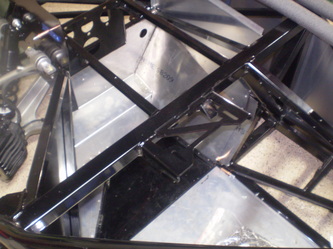
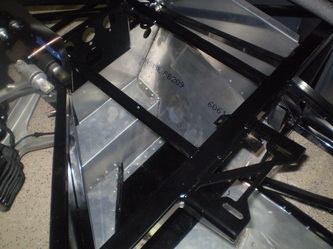
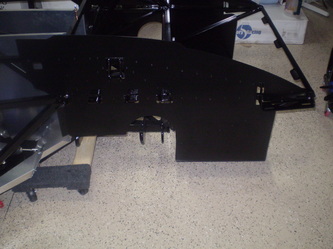
The AC hoses, my interior fuse box/BCM wiring and interior fuse box will all need access in this panel. I started with a cardboard template to make sure everything fit and that I did not get into the the wiper enclosure panel which also aids in supporting the body in that area. I placed split loom along the perimeter of the AC hose and wire opening and secured it with silicone.
Two Piece Panel
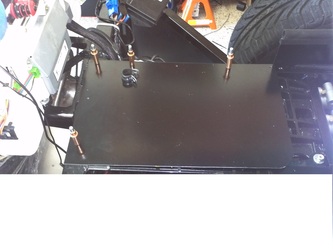
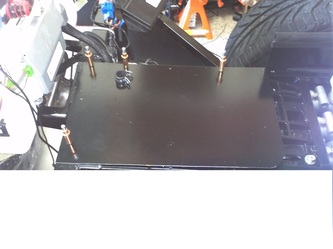
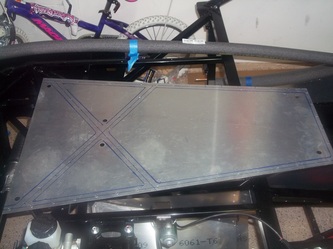
In order to give me easier access to the driver's side under dash wiring I split the top panel into two pieces. I made the cut down the middle of the 3/4" fore/aft bar to the inside of the area. The Larger section was secured in the normal silicone/rivet maner. For the Driver's panel I placed a continuous line of slicone on the fram and let it cure. I also place sheet metal screws in the panel to secure it. This way I can access the area from the top with even with the center console interior section installed.
Top Panel, Foot Box Front Wall
Radio Close-Out Panel
Another one od VRaptor SpeedWork's outstanding products. This panel replaces the flat panel supplied with the kit so that the tunnel is still isolated from the interior and has the area to instal a head unit.
AC compressor cover plate
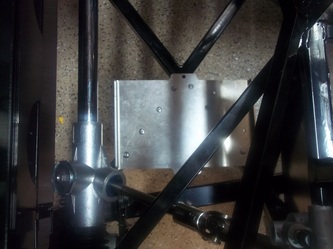
I placed the cover with washers and long rivets to ensure clearance.
Passenger Foot Box
Battery Tray and Front/Center Undercarriage Aluminum
I held out on installing the battery tray because my steering rack was on back order and it arrived last Thursday. I installed the battery tray offset to the drivers side because I will be installing the AC. I put the frame on jack stands and centered the front undercarriage aluminum panel. I them traced the frame, pulled it and drilled the 1/8 holes. It will be installed later in the build, however you have access to tracing out the frame prior to installing the battery tray.
Radiator Aluminum
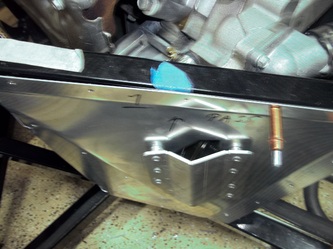
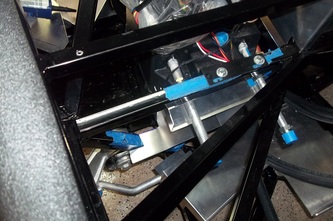
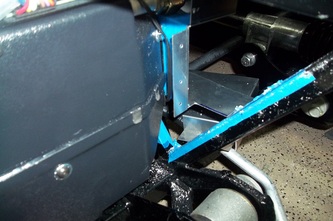
Installed the radiator Aluminum under tray and rear duct aluminum. I will be adding reinforcement to the front as this is a vulnerable area to road debris. A straight run of 1/4" steel riveted to the under tray with a brace at each end should work.
Built Drivers Foot Box
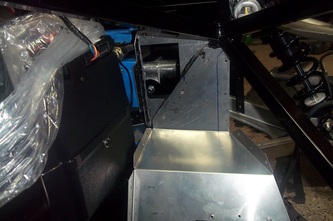
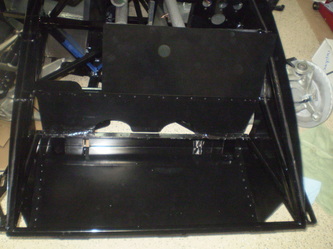
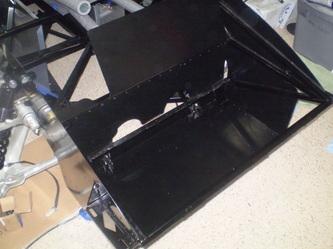
Driver's box complete. I received a tip from a forum member that attended the build school. The tip; If you are happy with the fit of the panels as they are when the kit arrives proceed with drilling the holes with the panels in place. I measured, marked and drills all of the hole I could with the panels in place on the drivers side. I then pulled the the panels cleaned and silicone'd the frame and where panels met for the driver's foot box. I only had to trim one panel to remove a small over-hang.
Powder Coated and some mounted
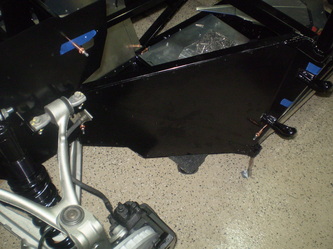
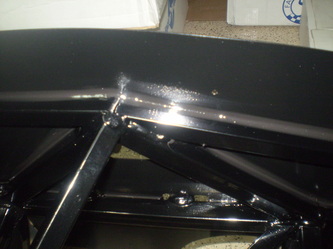
I picked up the panels this morning from Ameratrail in St. Cloud Florida. James is a professional and their customer service was top notch. I would recommend them to anyone. Their facility is extremely large. James was able to do ALL 34 panels at once. I dropped them off just before closing on Wednesday and they were ready for pick up at opening on Friday morning. On the way back I purchased the GE Silicone II in black. The panels look very good. I mounted the six panels require prior to starting the suspension using black rivets and black silicone. Tomorrow I start with the battery tray and then to suspension.
Update.
My steering rack is on back order so I'll hold off on the battery tray until it arrives.
Update.
My steering rack is on back order so I'll hold off on the battery tray until it arrives.
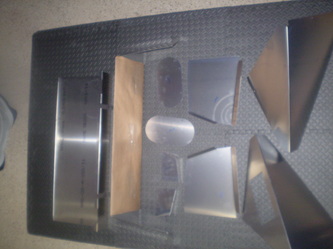
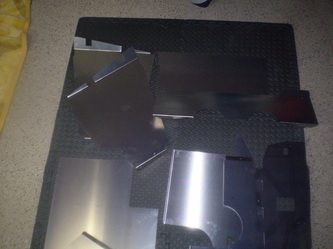
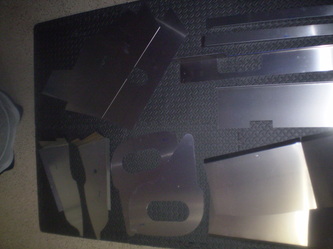
Panels for powder coat
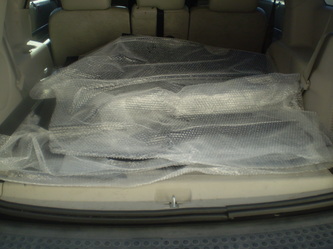
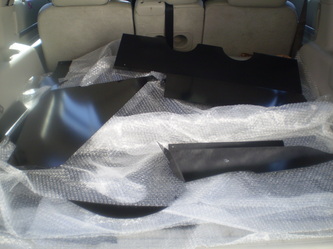
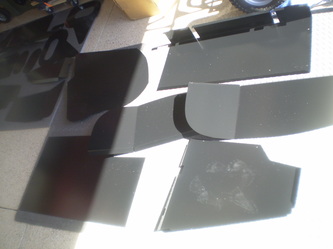
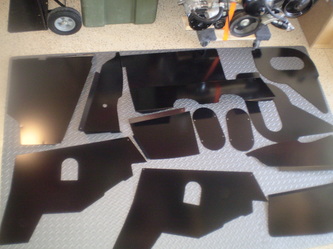
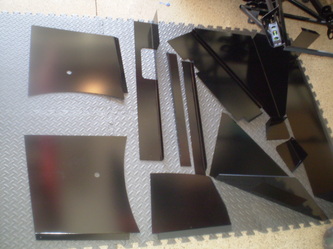
These are the majority of the panels that can be can be seen or are exposed on the finished GTM. These are now at the powder coat facility. I've chosen a low gloss black so we'll see how they turn out.
