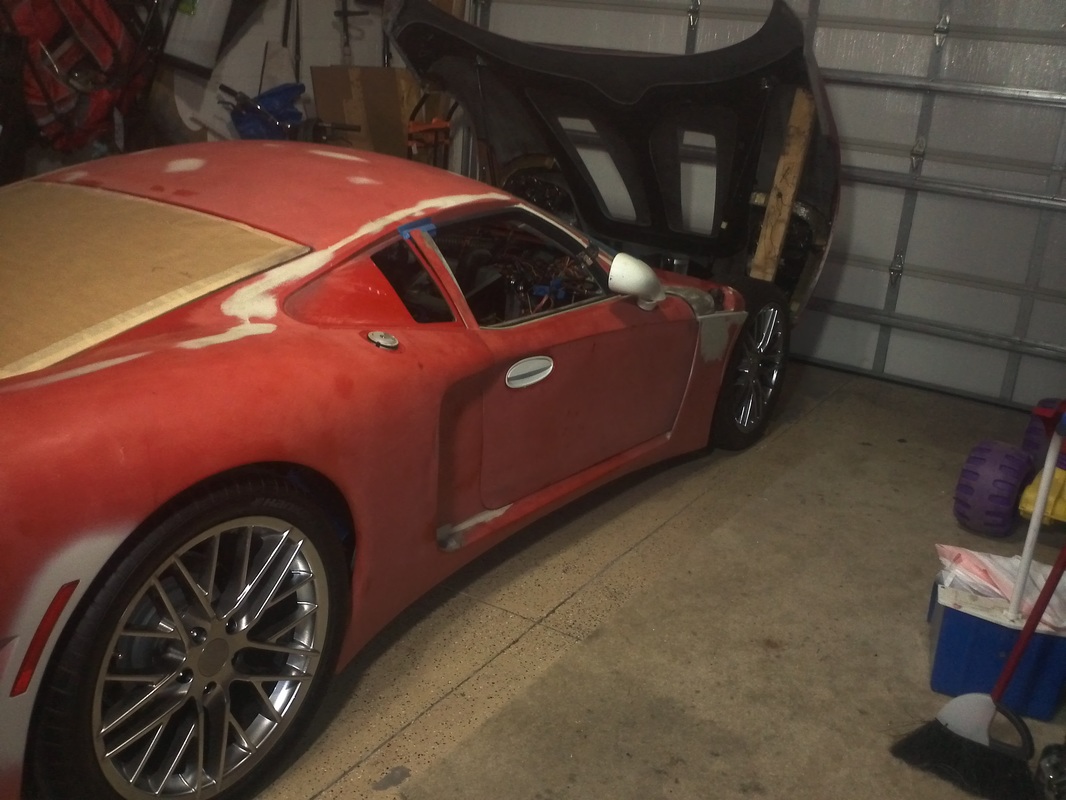
Getting Ready to Continue the Build
The GTM has been on jack-stands, with the rear wheels off, since November. Having the rear wheels off made the wiring I was doing much easier. I decided that getting the garage cleaned and organized would be the first task. So I inspected the GTM, securing items and making it ready. I then installed the rear wheels and put the GTM on the ground, started it up and moved it to the driveway. I then was able to get items, like Christmas decorations, back on the shelves and other item put in their place. I swept and organized a few items before backing the GTM back into the garage. I am still deciding if I will install the front upper fully adjustable suspension that Mike fabb'd or move directly back to the interior.
New Tool Chest
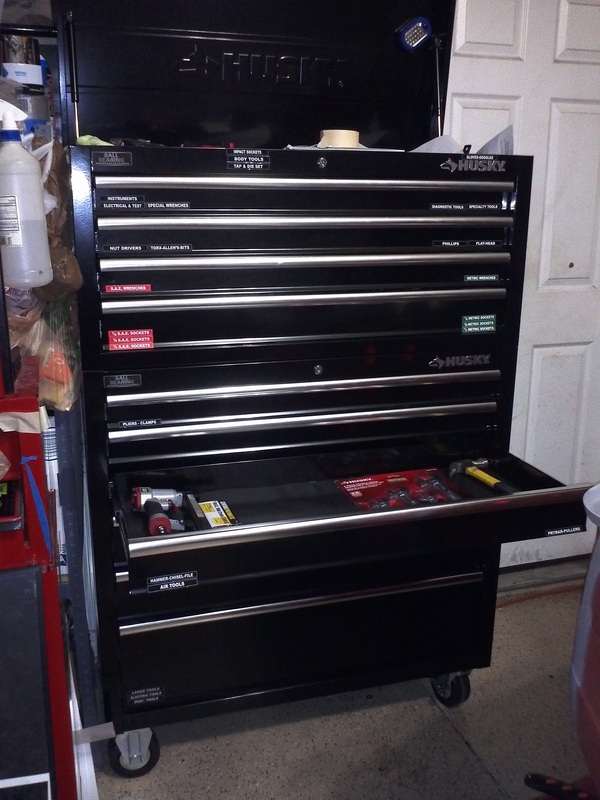
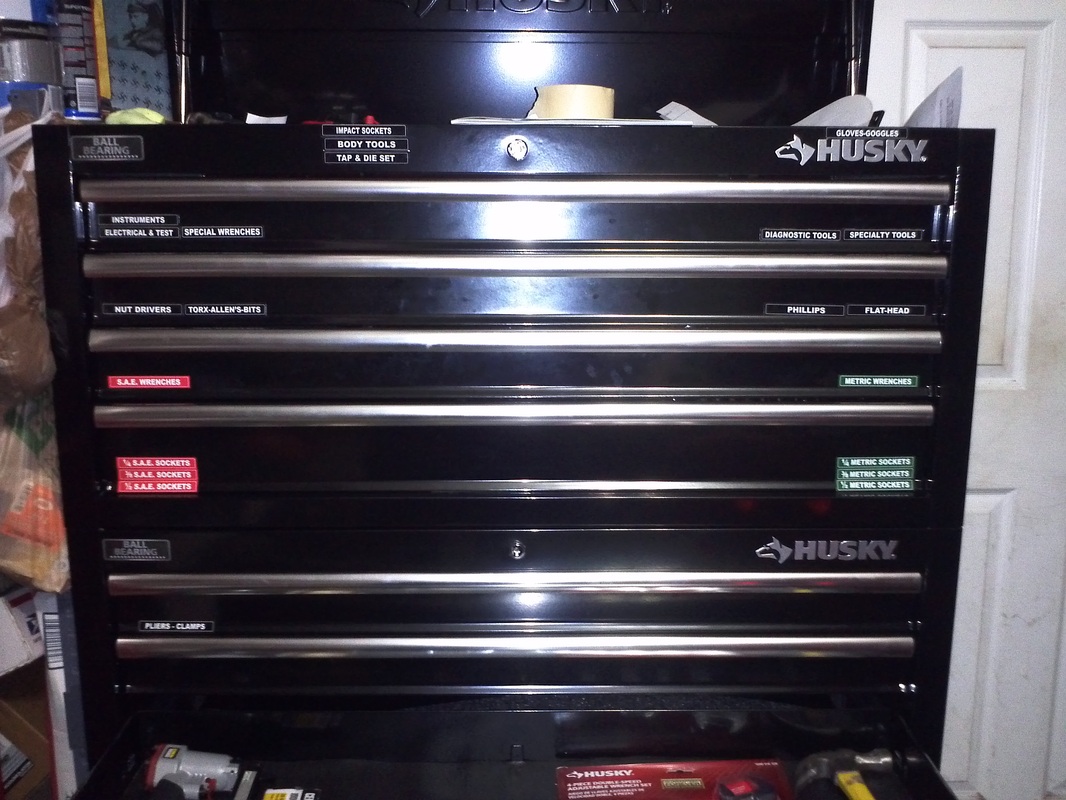
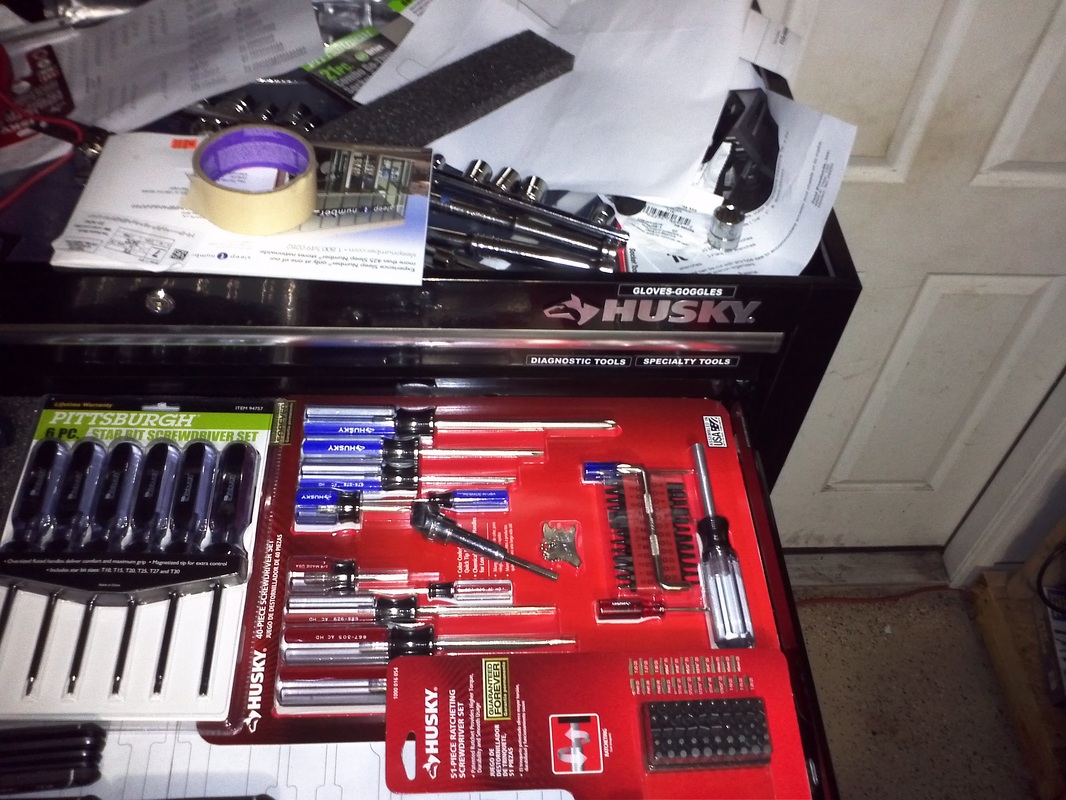
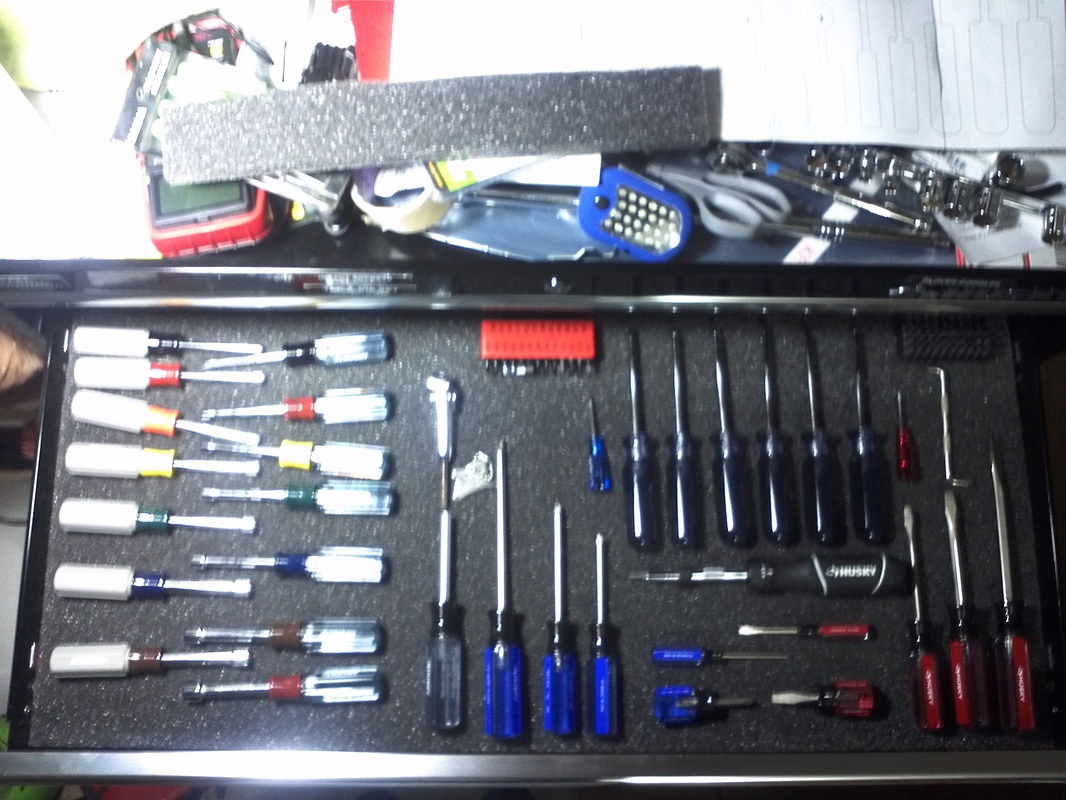
Although not a build update, this is a needed addition. My Craftsman chest has been over-run by tools, clutter and disorganization. I initially set out to purchase the bench-chest with a wooden bench top. However, while I was looking at the different option, this Husky chest caught my attention. This chest has more storage and was also on sale.
It's 40" wide and 60.5" tall with ball-bearing drawer slides and gas struts on the lid. The upper section's drawers are 36"x16.25" and the lower's are 36"x15.5" (4 upper and 6 lower). It's definitely not a high-end chest as it has relatively thin walls compared to professional high-end chest, but it will be more than adequate for my garage and tool storage needs.
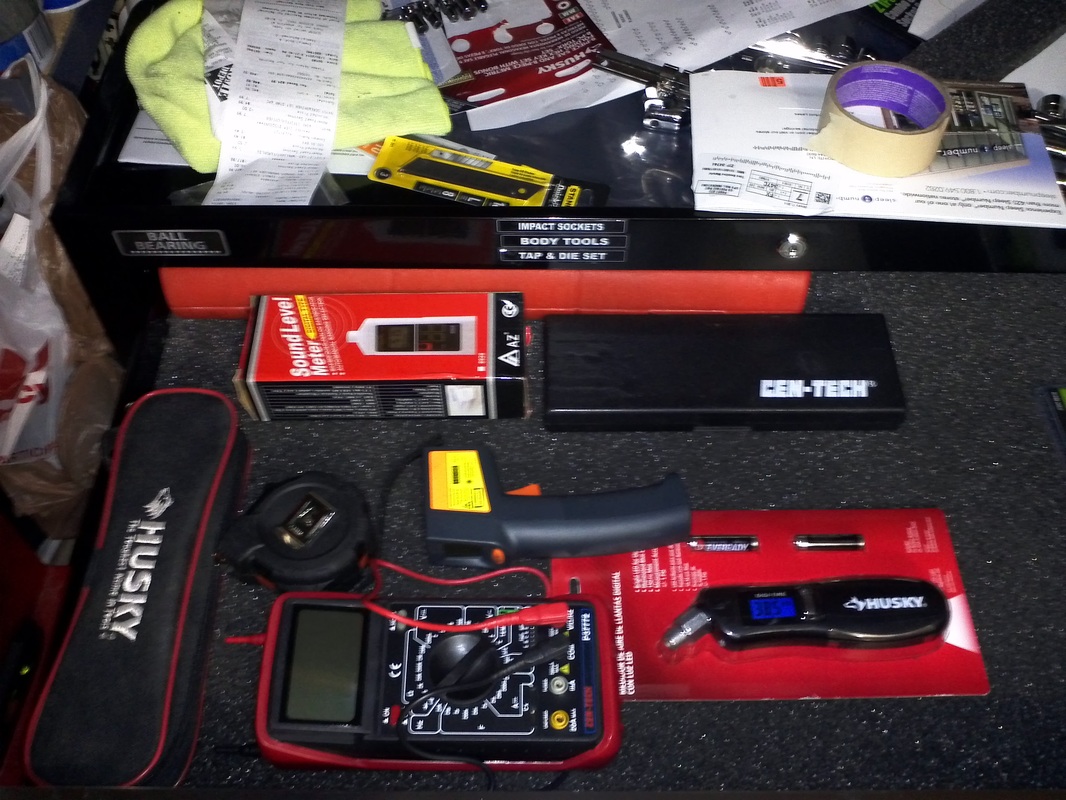
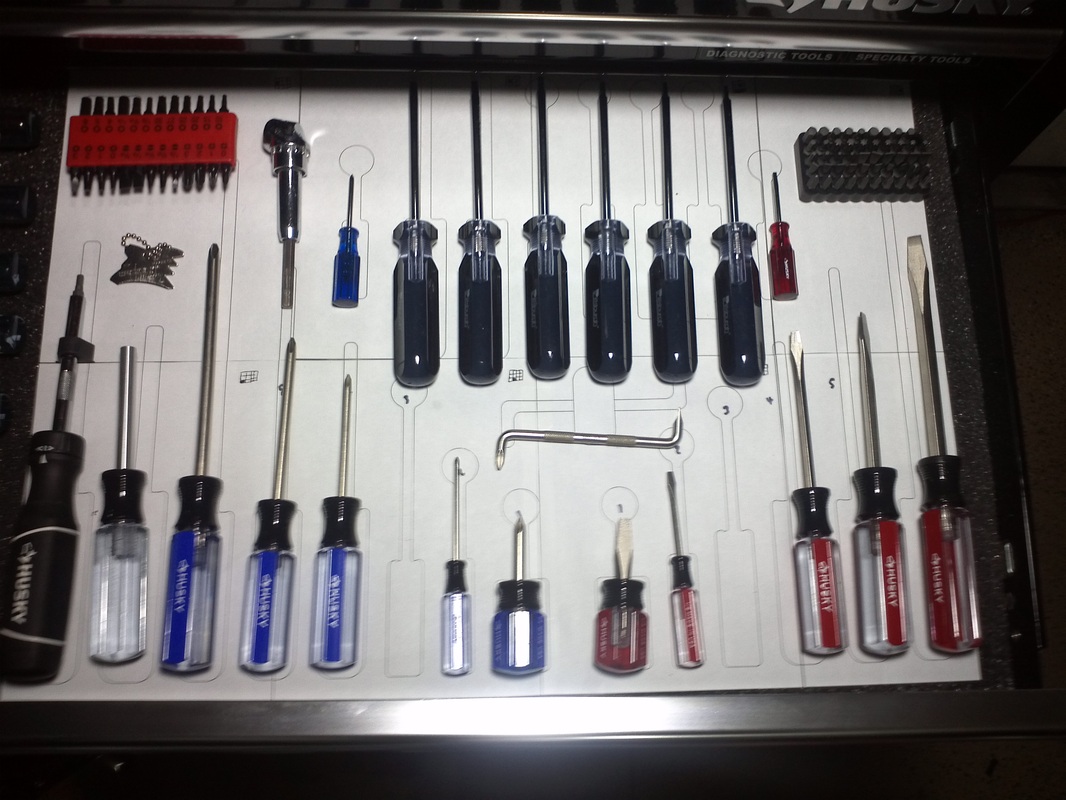
There is more storage space than I have tools so It makes organizing easier. I purchased some closed-cell foam and am experimenting with tool recesses and plan to add a contrasting color and do some shadowing. I also purchased some labeling kits and magnet labels to help with the organizing. This will definitely make items easier to find and let me know precisely what is not in the chest or misplaced.
It's 40" wide and 60.5" tall with ball-bearing drawer slides and gas struts on the lid. The upper section's drawers are 36"x16.25" and the lower's are 36"x15.5" (4 upper and 6 lower). It's definitely not a high-end chest as it has relatively thin walls compared to professional high-end chest, but it will be more than adequate for my garage and tool storage needs.
There is more storage space than I have tools so It makes organizing easier. I purchased some closed-cell foam and am experimenting with tool recesses and plan to add a contrasting color and do some shadowing. I also purchased some labeling kits and magnet labels to help with the organizing. This will definitely make items easier to find and let me know precisely what is not in the chest or misplaced.


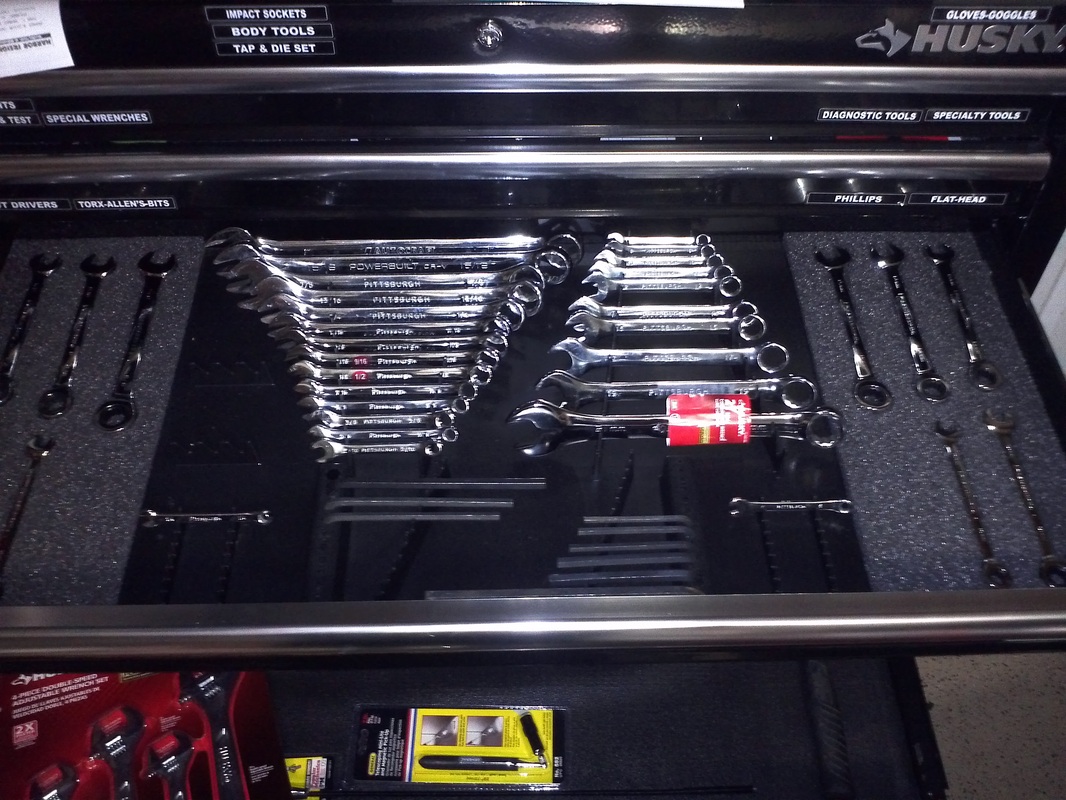
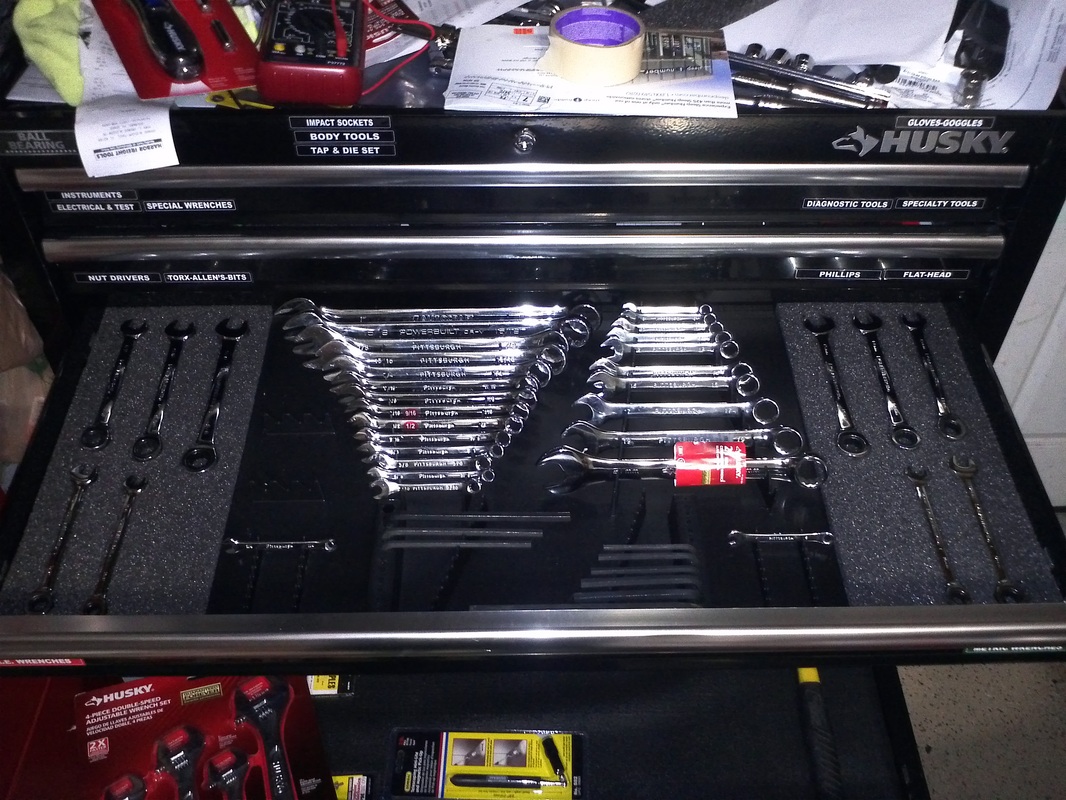


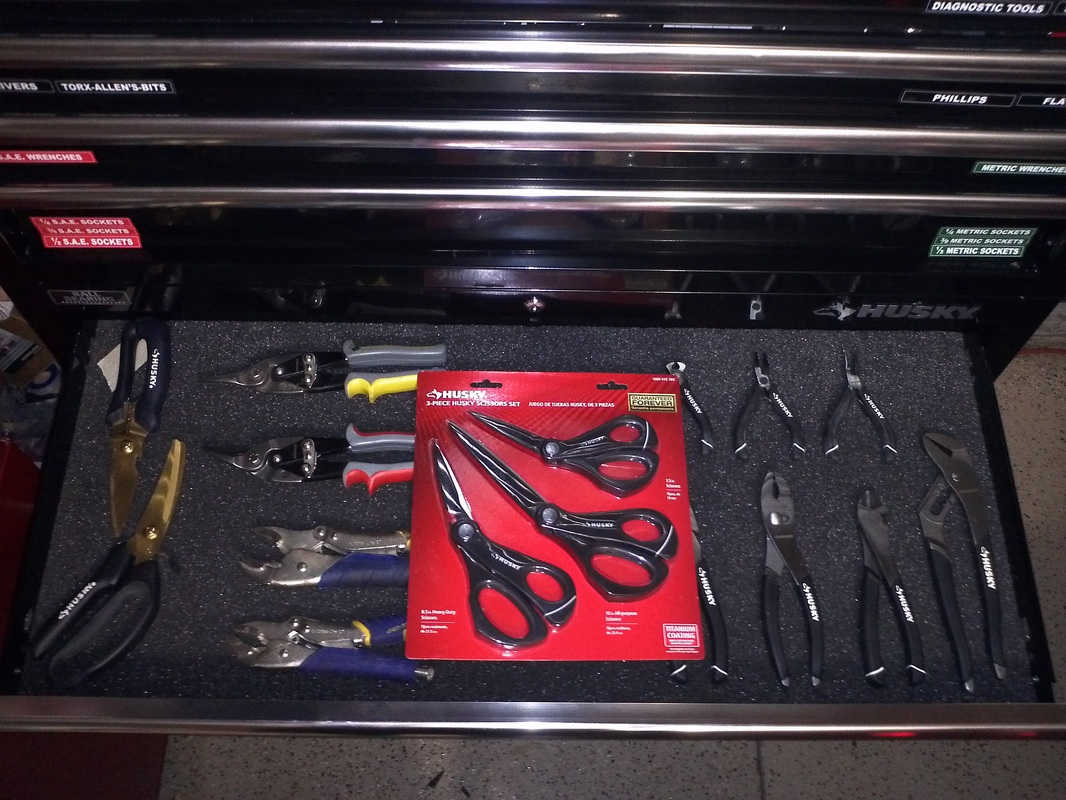
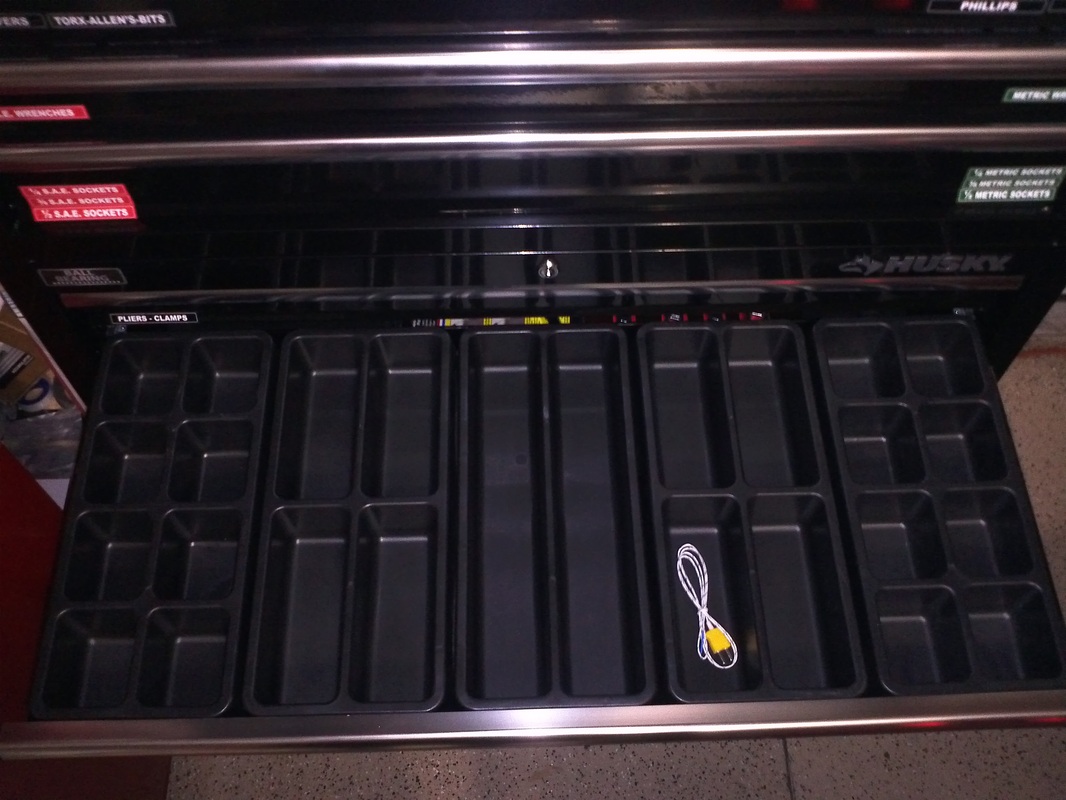
I have a layout that I like for the Pliers+ drawer. I'll stare at it for a while before I commit to outlining the tools and making the cutouts.


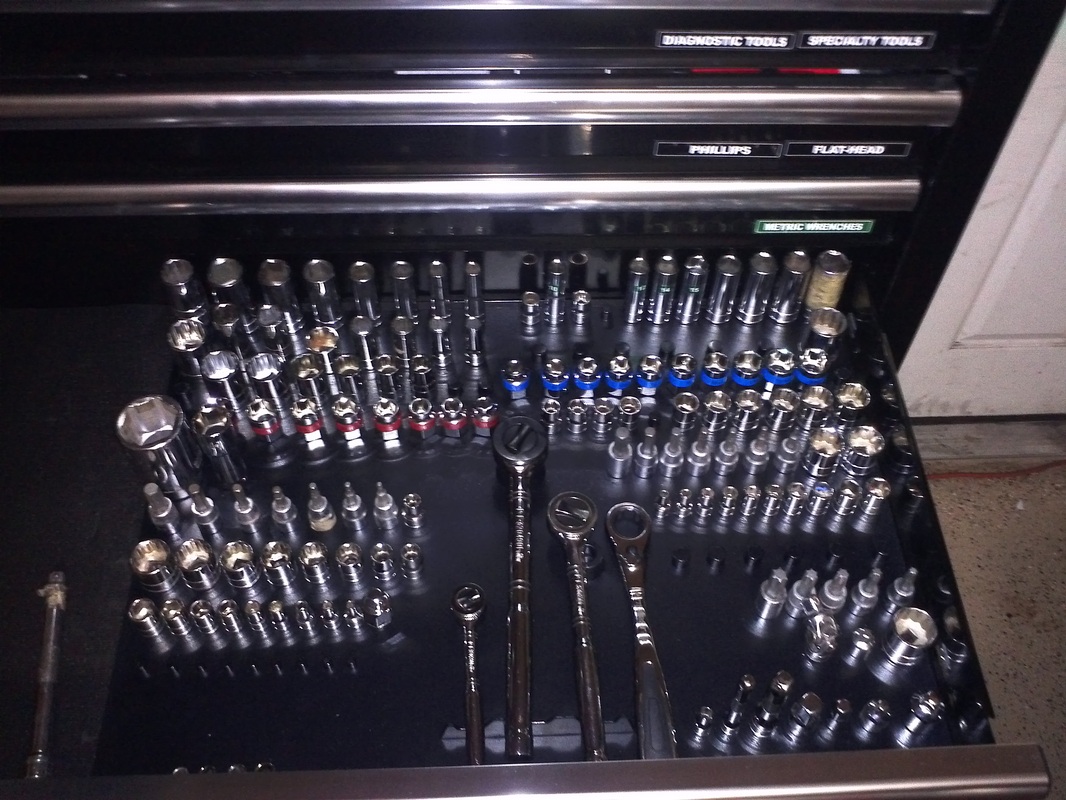
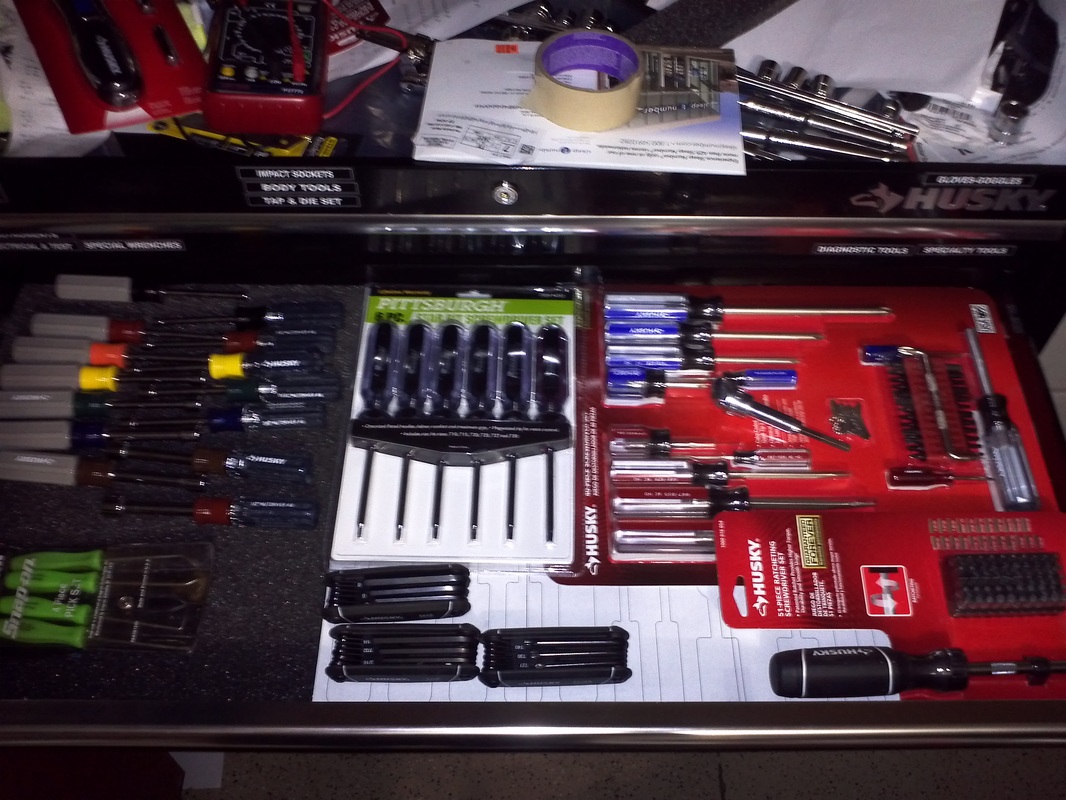
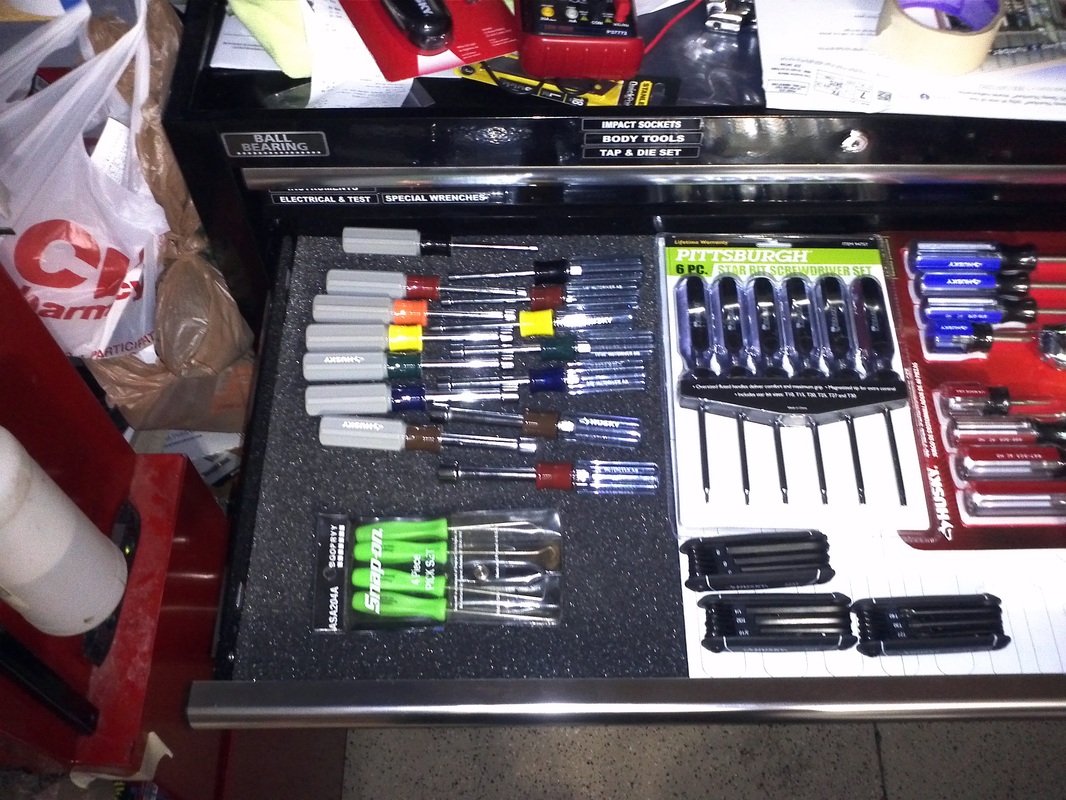
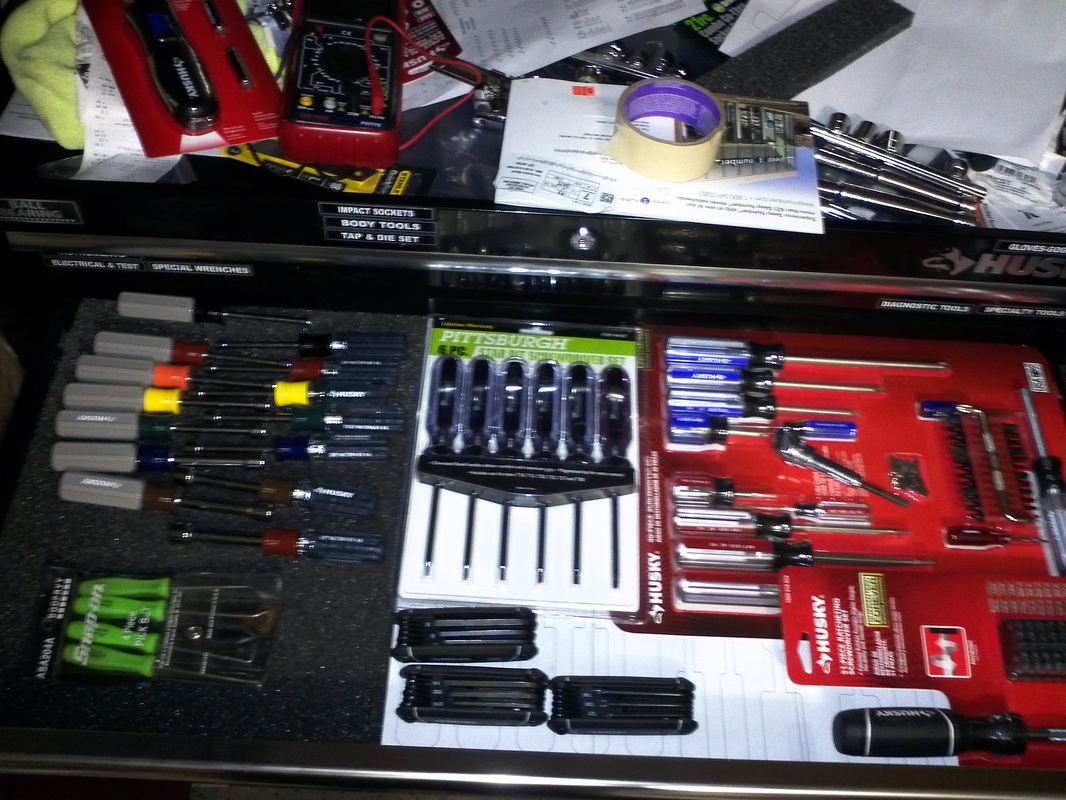
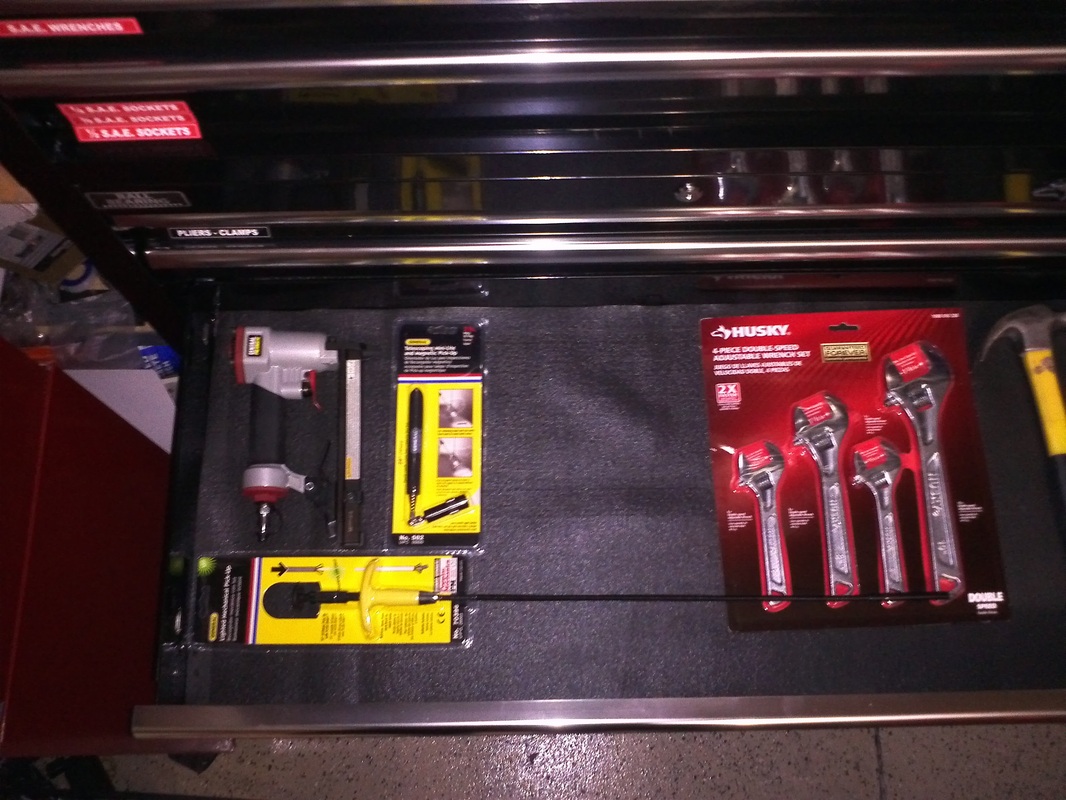
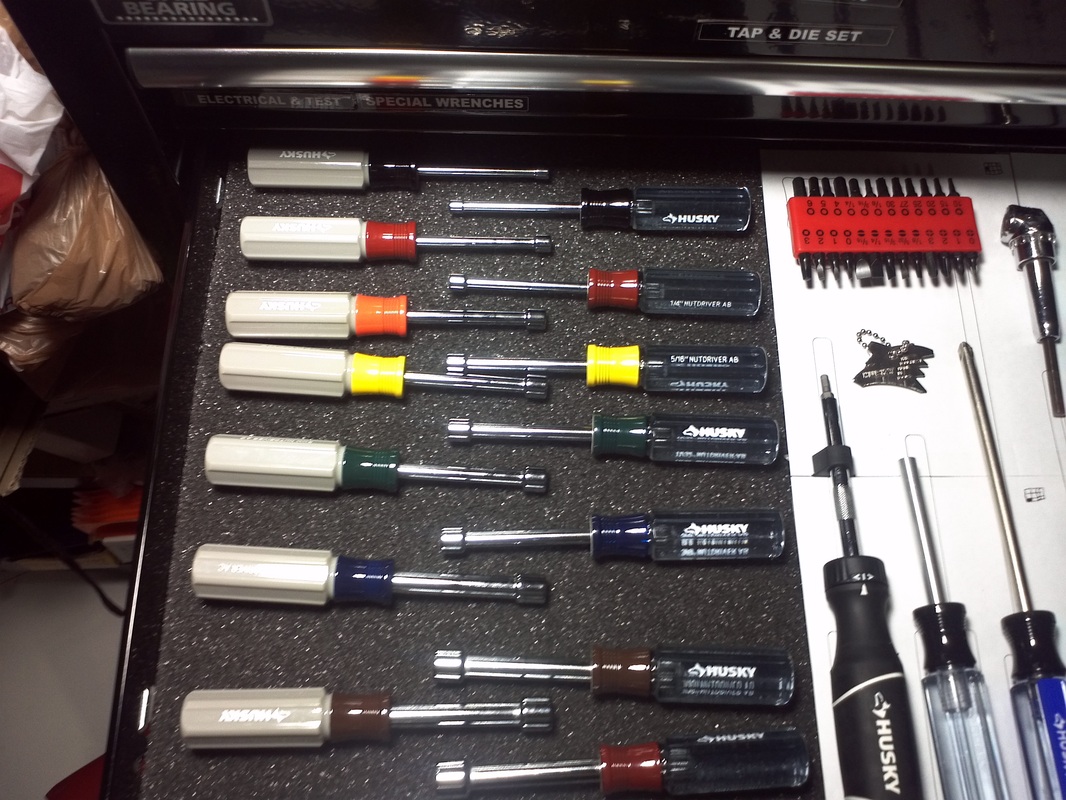
Working on the Driver Drawer.


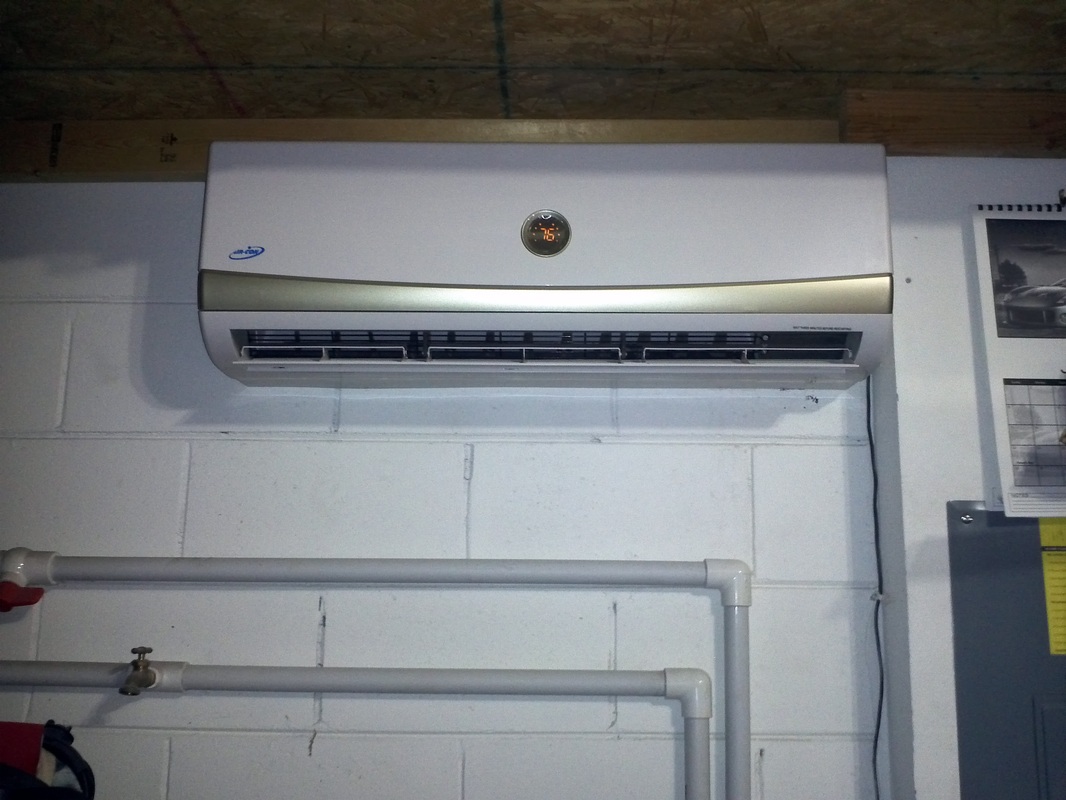
Garage HVAC
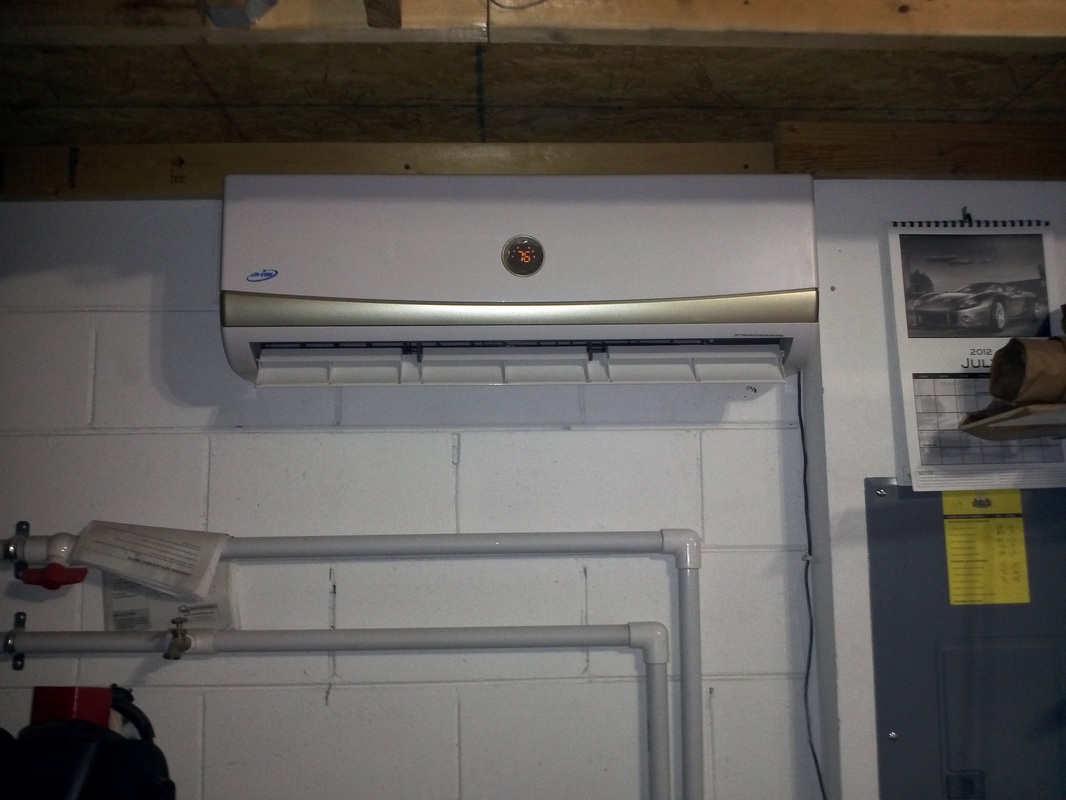
After two Florida summers in my garage I decided to add some climate control. I purchased a 12000btu AC Heat Pump Combo. For max efficiency I also purchased a garage door insulation kit as my door is not insulated. I had to drill a 2 5/8" hole through the block wall. After the lines were connected I placed a vacuum (~-1.5mmHG) on the system for 25 minutes. I added a 20amp circuit to my exterior panel. Then I released the freon into the system (it came pre-charged). I set the temp to 78 degrees and then used a dish soap solution to check the four connections for leaks.
The temp in the garage, according to my clock with temperature readout, was 91 prior and is now at 77 and I have yet to add the door insulation (plan to do it during the evenings this week).
It should be a much more enjoyable place to build now. There are not many days in which the heat will be needed, but when I do, I won’t have to dig out the electric space heater.
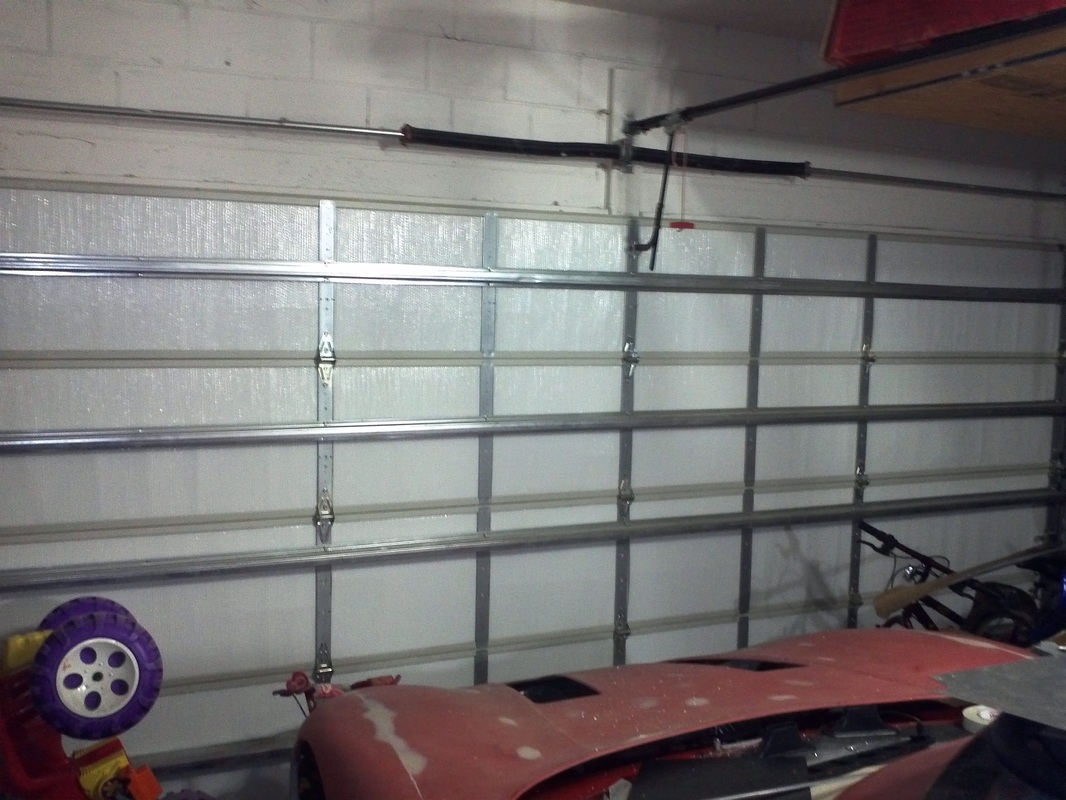
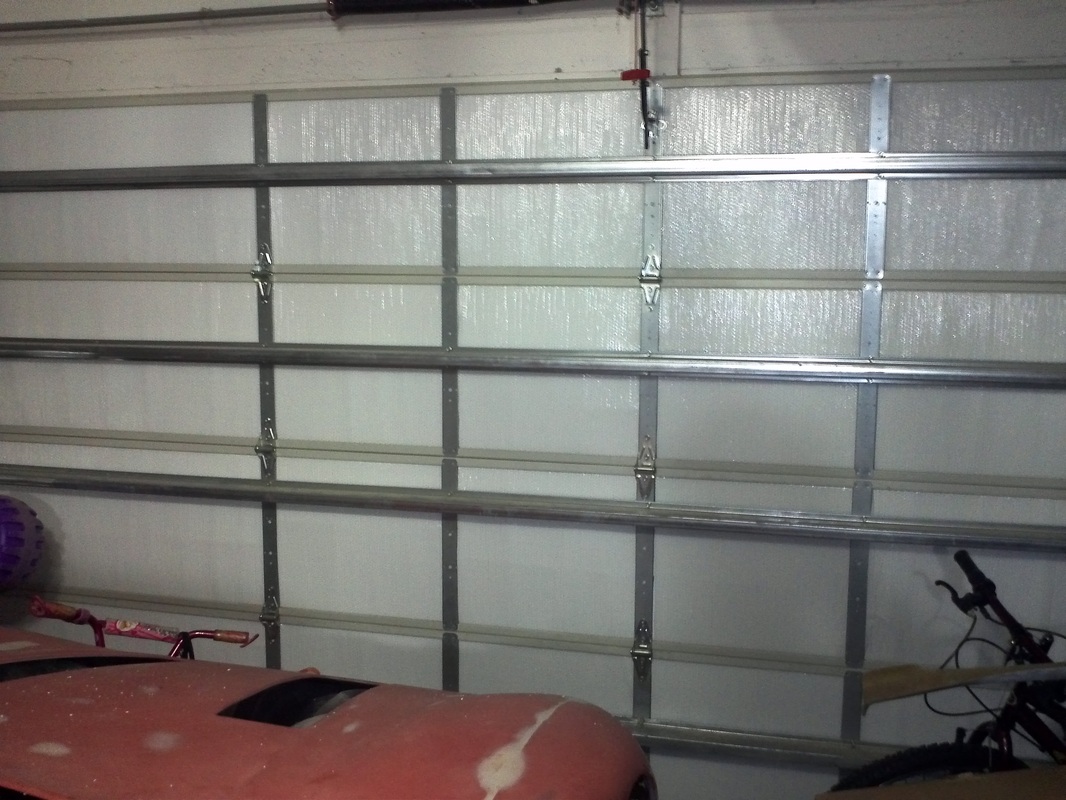
Garage Door Insulation
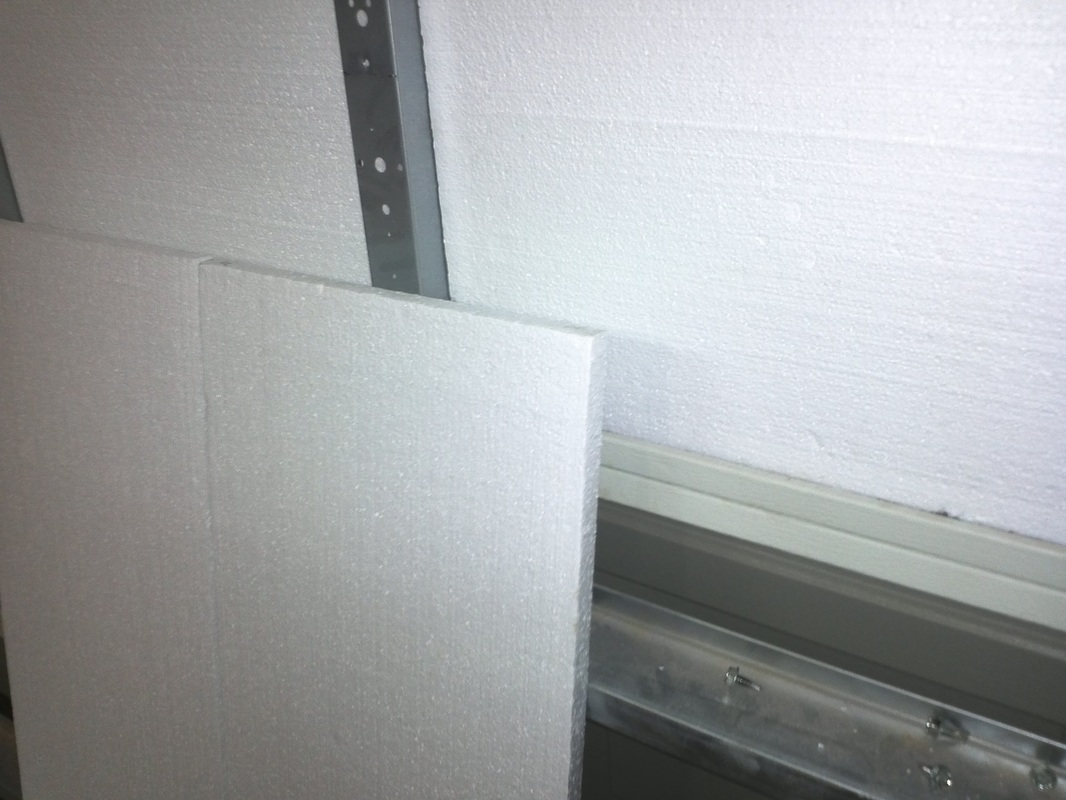
I was able to make a little progress on insulating the garage door. The insulation kit, I ordered, states it brings the rating to ~R9. My door receives direct sunlight from the morning sun and acts as a huge heater for the entire morning. I decided I would also compliment the insulation kit with some foam to increase the rating.
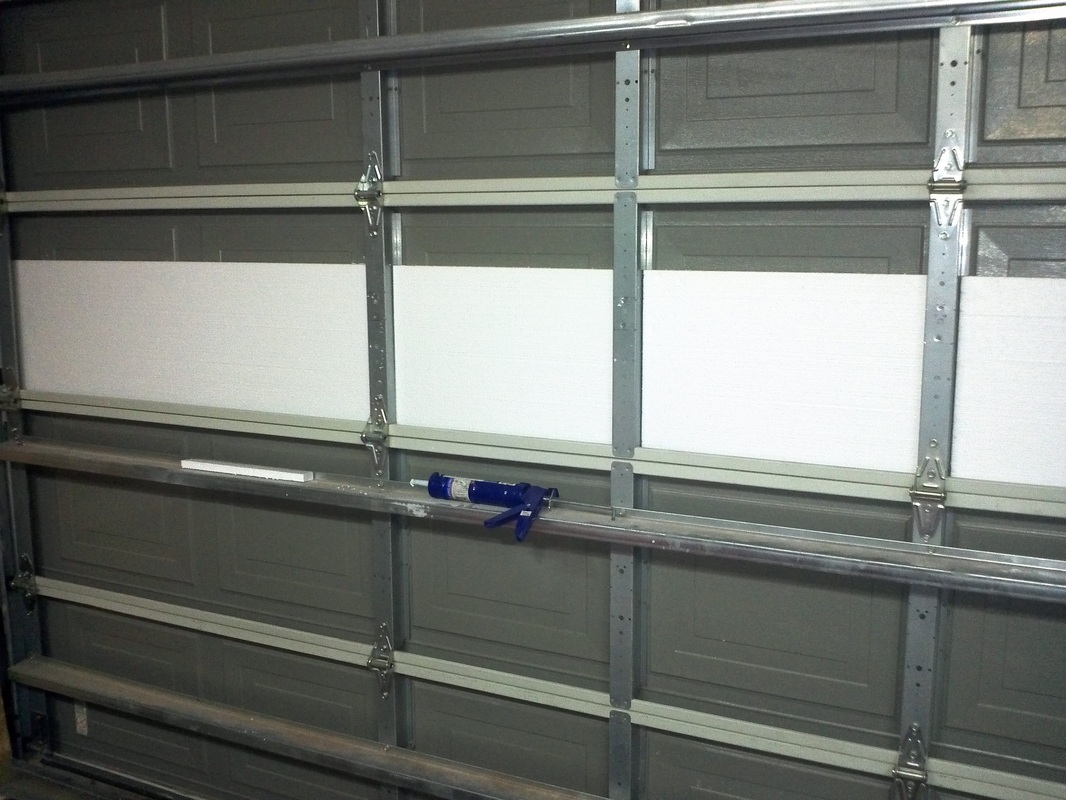
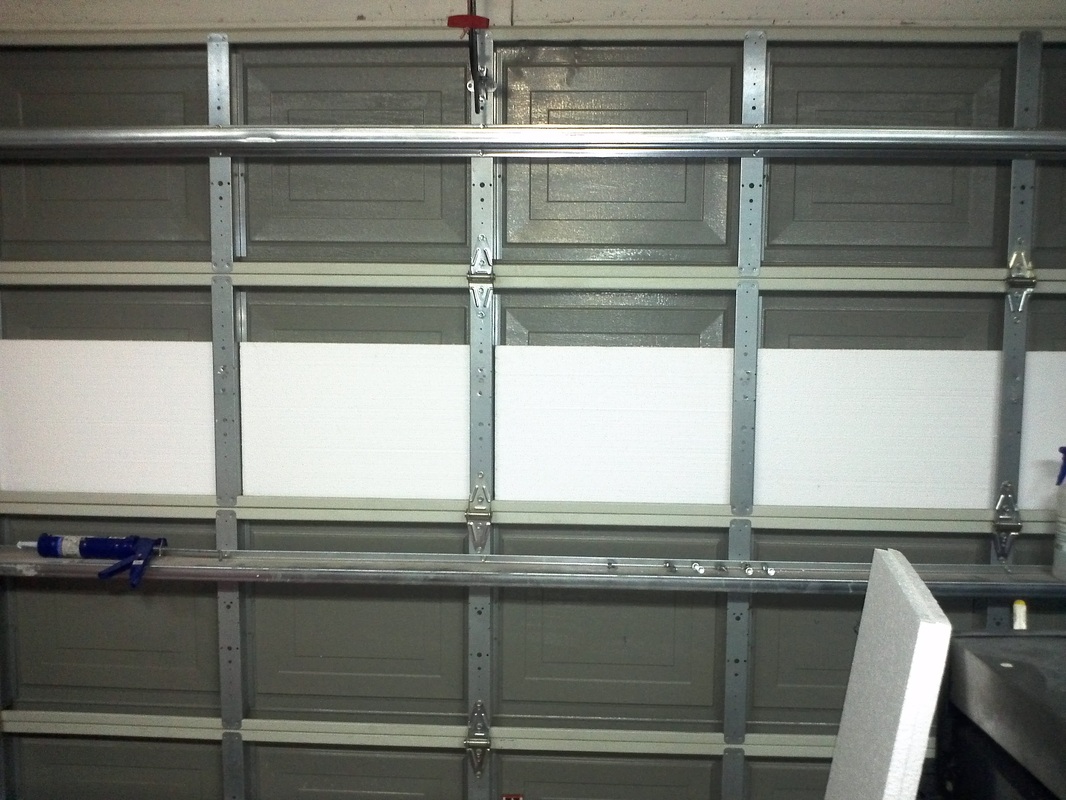
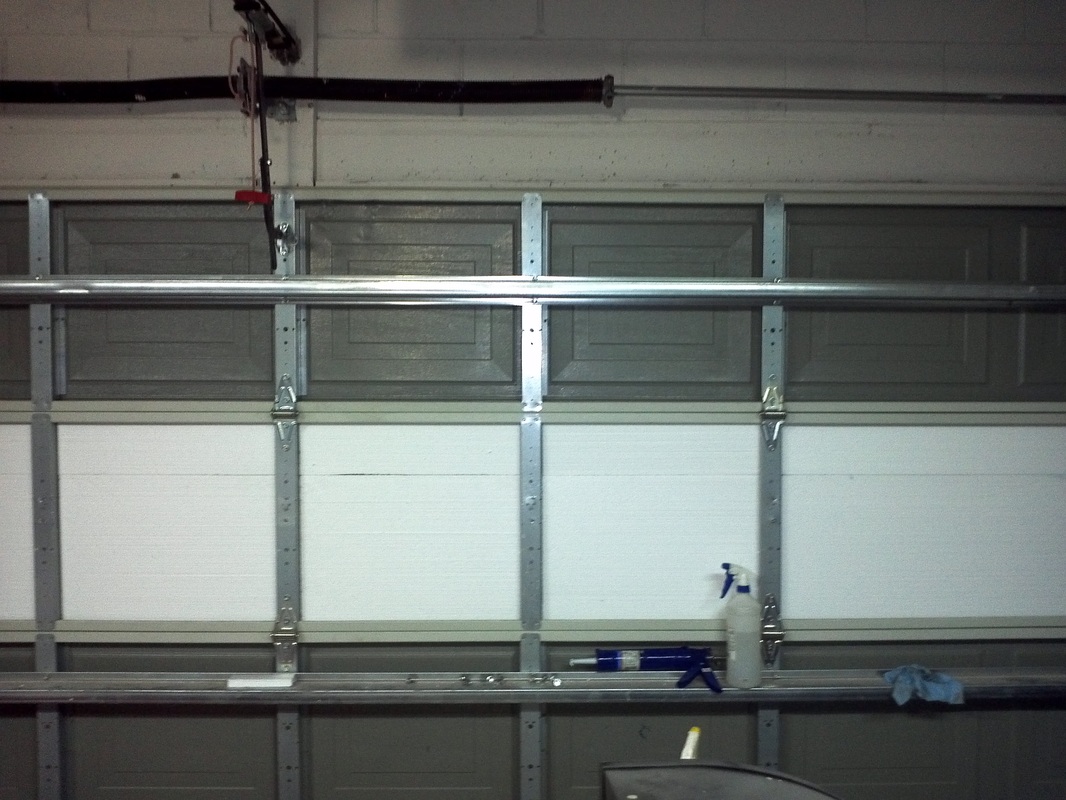
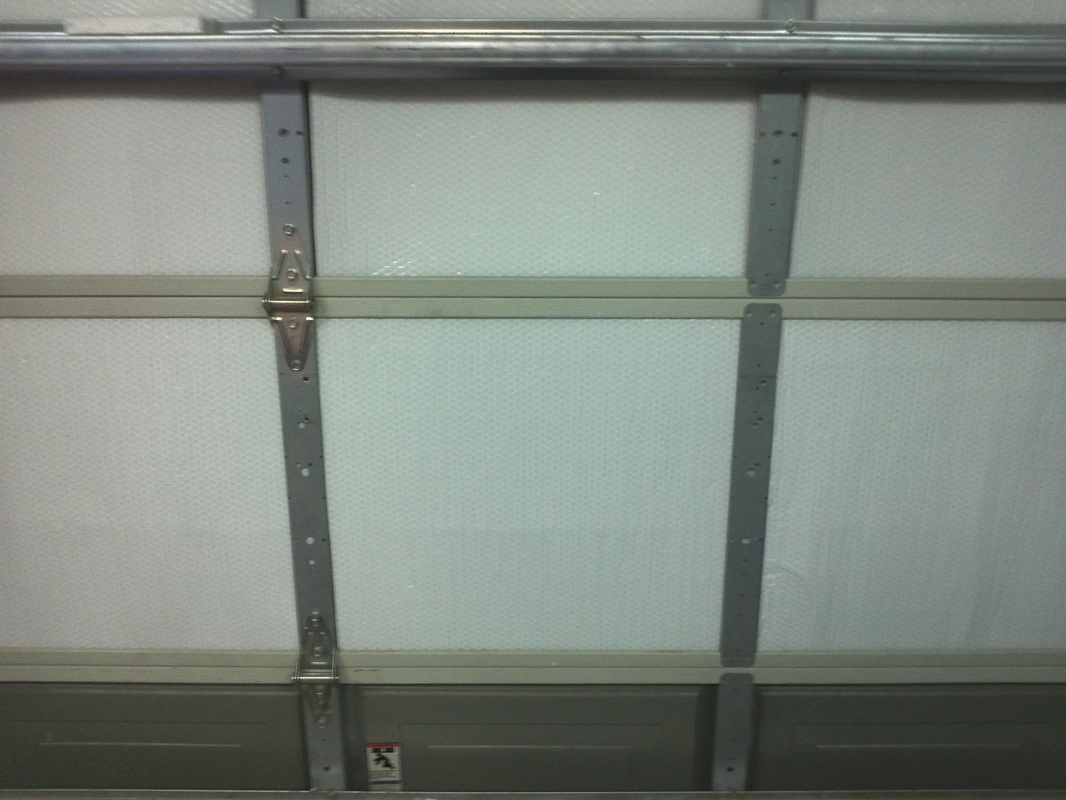
In order to install the insulation the hurricane beam, covering the horizontal section, had to be unbolted from the garage door. I used a foam compatible adhesive to bond the foam to the garage door inside of the door’s sections. I then cut the kit’s insulation to the section size, and installed each behind the door section flanges and atop the foam.
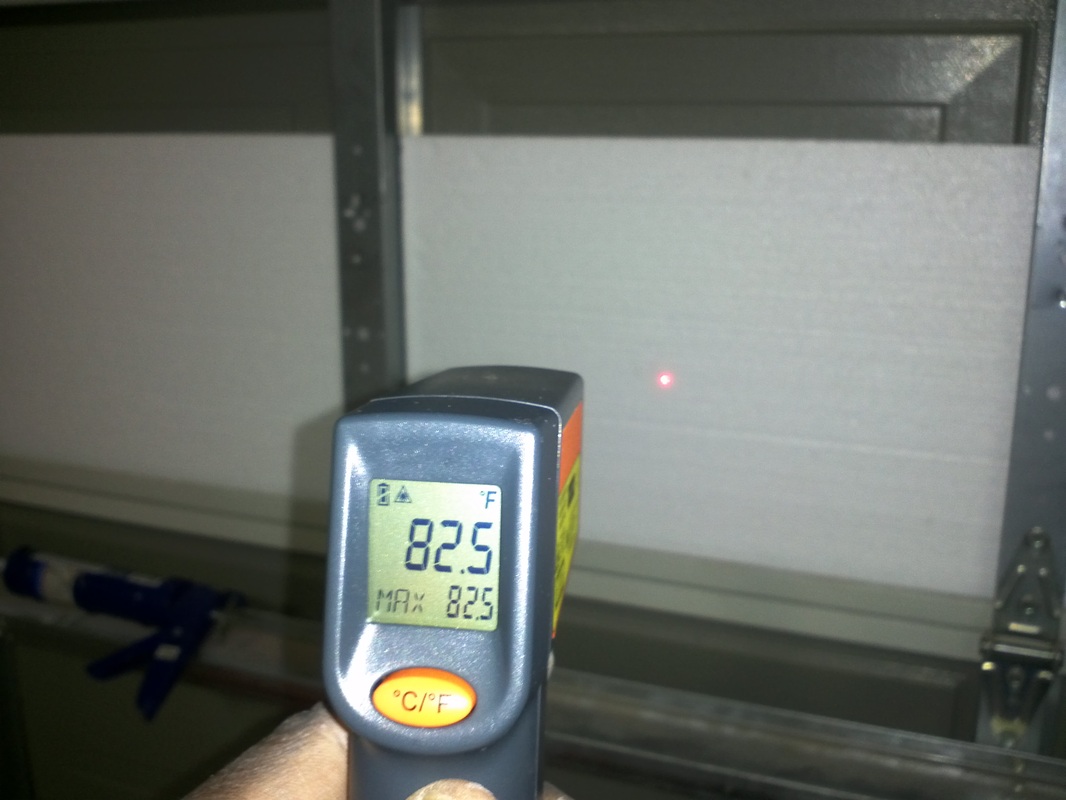
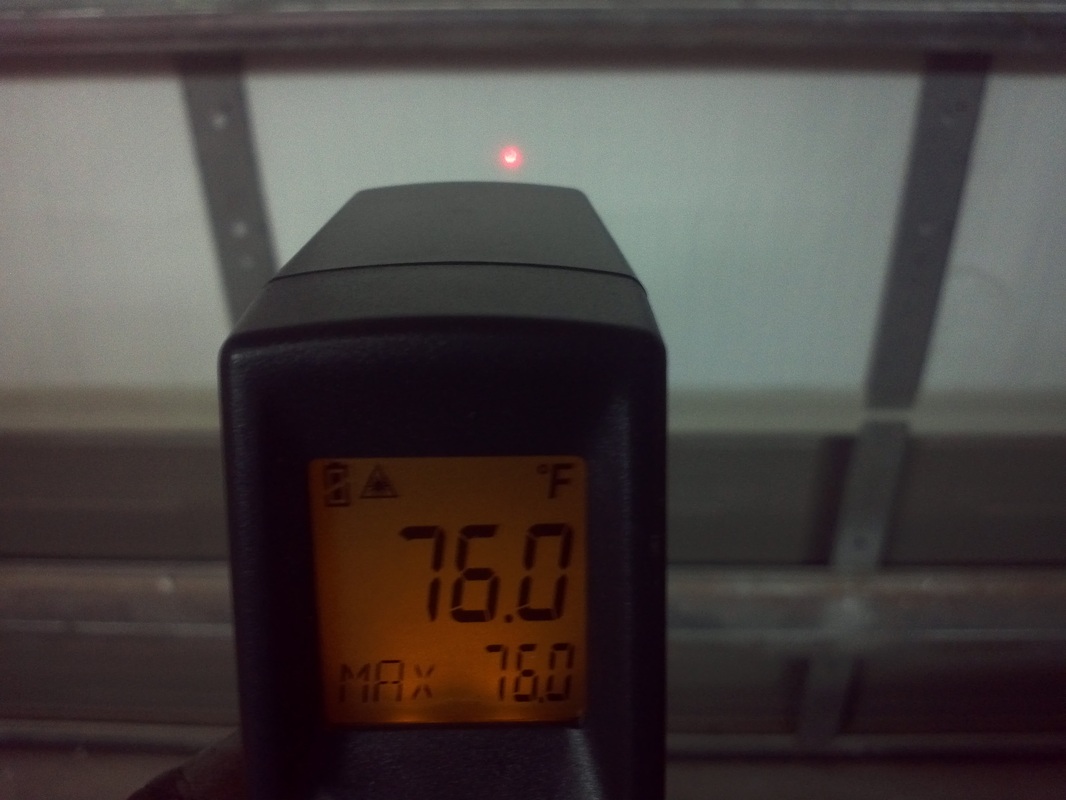
I took some temperature measurements so I could see the effects of the insulation. In the heat of the morning the door was 102 degrees. With the addition of the foam, the temperature reading was ~20 degrees less at 82.5 degrees. After adding the final insulation piece the temperature reading came down to the garage’s current temperature of 76 degrees.
The temp in the garage, according to my clock with temperature readout, was 91 prior and is now at 77 and I have yet to add the door insulation (plan to do it during the evenings this week).
It should be a much more enjoyable place to build now. There are not many days in which the heat will be needed, but when I do, I won’t have to dig out the electric space heater.
Garage Door Insulation
I was able to make a little progress on insulating the garage door. The insulation kit, I ordered, states it brings the rating to ~R9. My door receives direct sunlight from the morning sun and acts as a huge heater for the entire morning. I decided I would also compliment the insulation kit with some foam to increase the rating.
In order to install the insulation the hurricane beam, covering the horizontal section, had to be unbolted from the garage door. I used a foam compatible adhesive to bond the foam to the garage door inside of the door’s sections. I then cut the kit’s insulation to the section size, and installed each behind the door section flanges and atop the foam.
I took some temperature measurements so I could see the effects of the insulation. In the heat of the morning the door was 102 degrees. With the addition of the foam, the temperature reading was ~20 degrees less at 82.5 degrees. After adding the final insulation piece the temperature reading came down to the garage’s current temperature of 76 degrees.


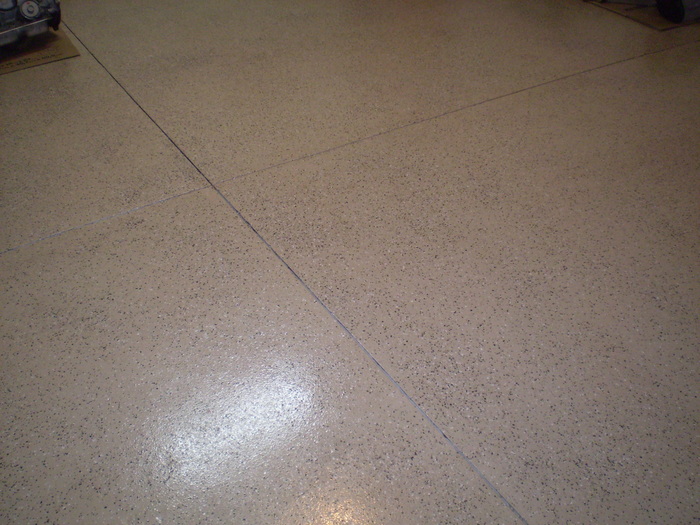
I cleared, prepped, and applied the two part epoxy with the brown flake mix. After dropping a tool and chipping the epoxy I knew it required a top clear epoxy coat. I opted for the non-skid in the clear. It lowers the gloss slightly, but adds up-right protection in wet conditions. If I had to do it again I would ensure my flake coverage was very uniform. Outside of the flake uniformity I am very pleased with the product and have dropped a few more tools that prove the epoxy clear coat is a must if you want your new coating to last.


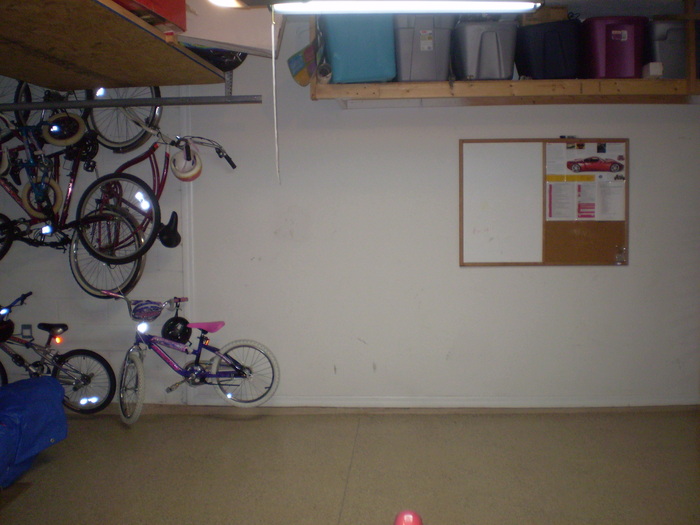
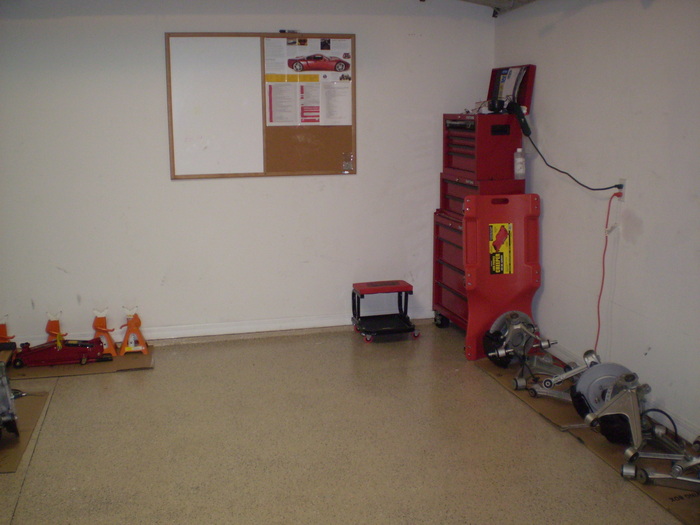
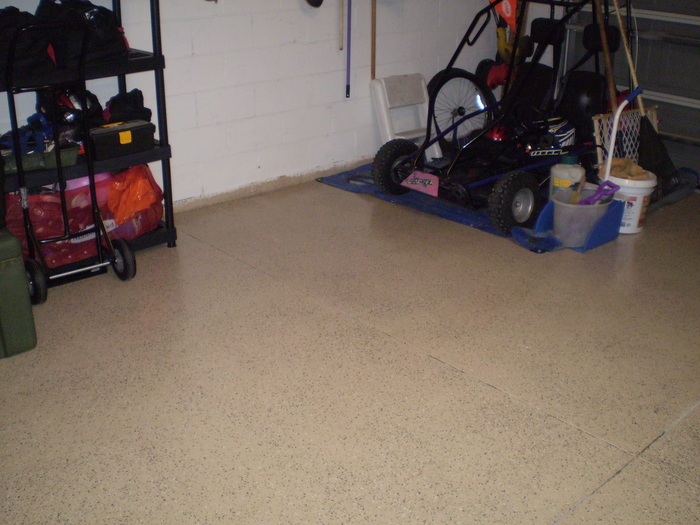
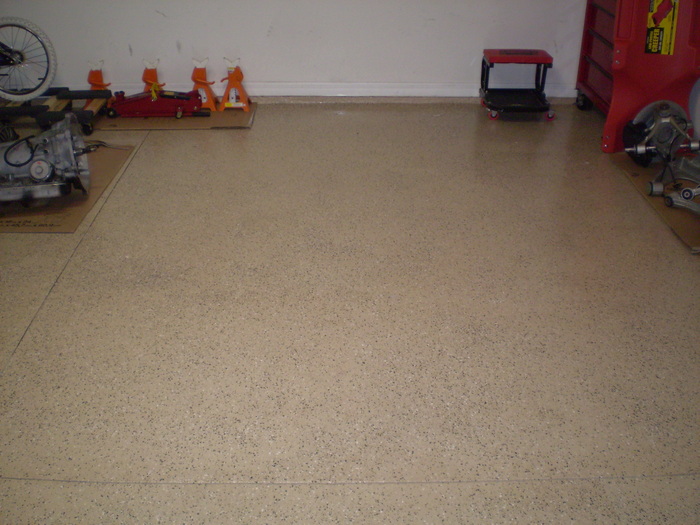
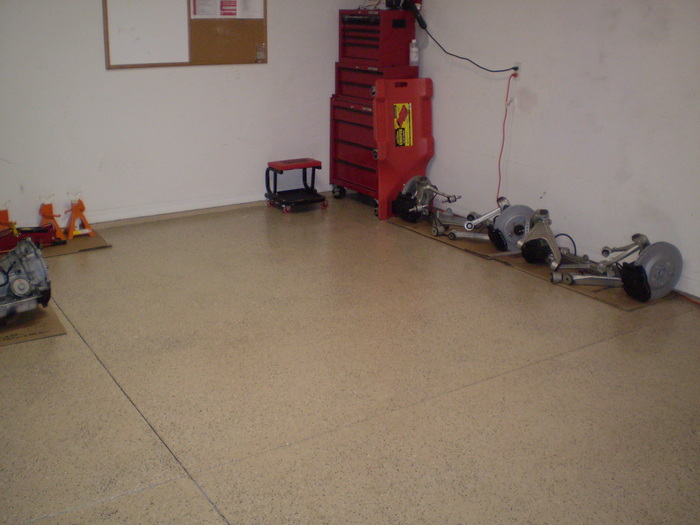
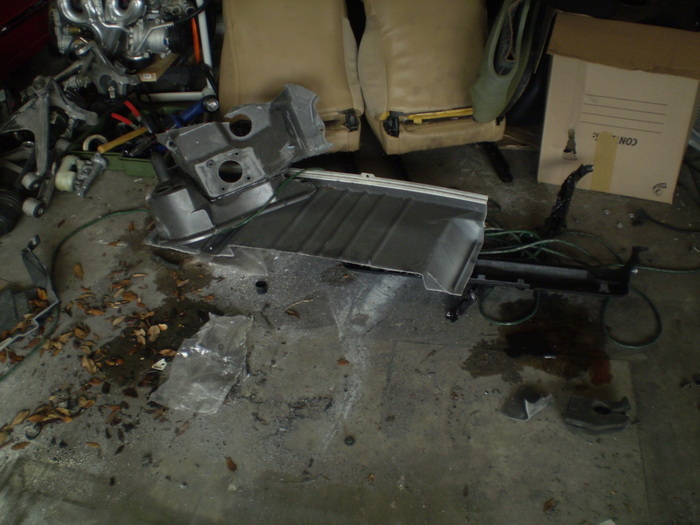
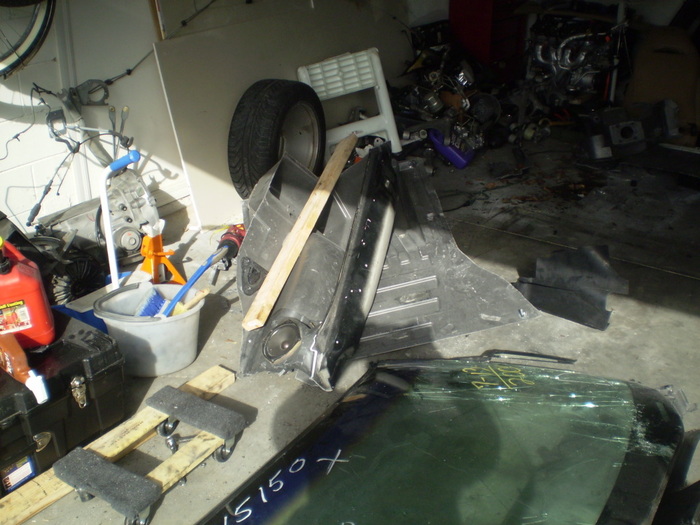
I repositioned items to make room for the tear down of my donor C5. The garage was a mess and needed a make-over in preparation for the Gen2 GTM.