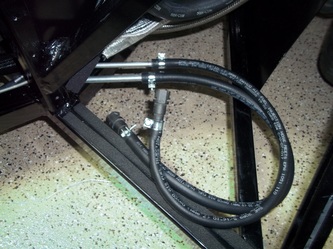
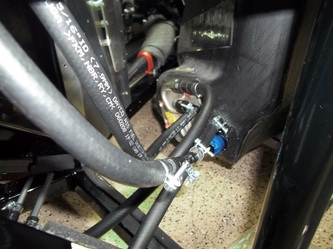
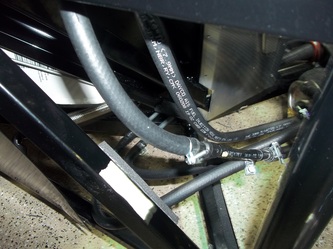
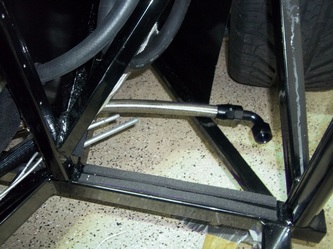
Fuel Lines
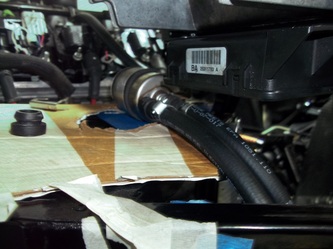
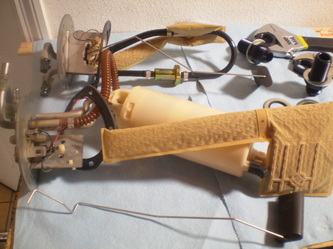
There are not enough fuel line clamps in the kit if your "Y" is built with the hard/nylon line because you have to rebuild it as the nylon shape is not easily workable and may kink.
I am also adding a 3/8 line to connect the vapor ports together. I am capping the line that would be the filler vent. Worse case, I'll have to open the opposite cap when fueling.
I am also adding a 3/8 line to connect the vapor ports together. I am capping the line that would be the filler vent. Worse case, I'll have to open the opposite cap when fueling.
Purge Valve Line
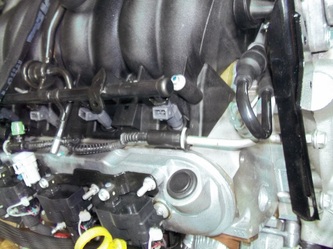
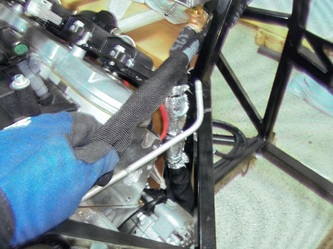
I used one of the 5/16 line hard lines from the donor to make the initial run to the evap. I'll finish with 5/16 fuel line.
Fuel Tank Evaporator Canister.
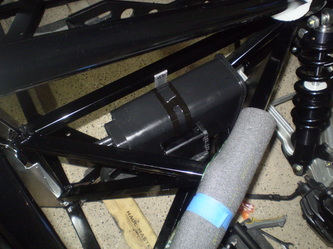
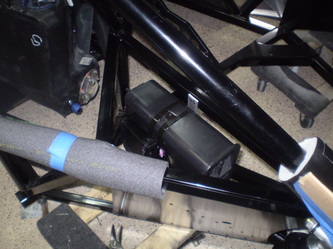
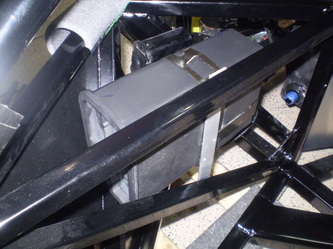
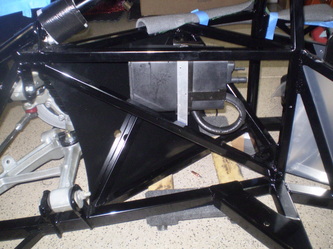
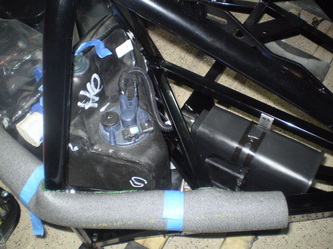
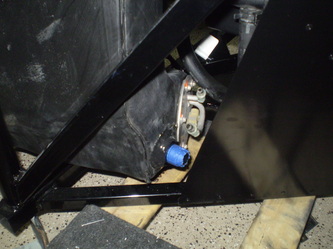
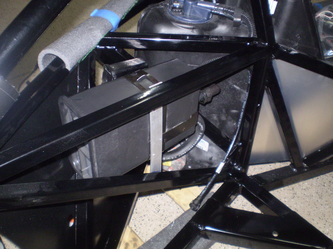
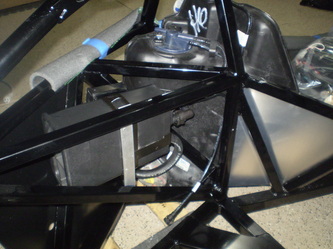
I plan to incorporate all of the corvette's systems into my GTM. The canister will be the first add-on system item installed. Space is at a premium in the GTM. In the corvette the canister was installed in the rear passenger wheel to the front of the tire. The fuel tanks are installed on the opposite side of the car in the GTM. Putting the Passenger tank behind the driver and driver tank behind the passenger. The area behind the GTM's driver side tank is free so this is where I installed the canister. I drilled and riveted the canisters bracket to a 1" by 1/8" flat bar. I attached the blower to the canisters bracket and then drilled and riveted the entire bracket into the GTM. I cut 6" from the blowers tubing. I also attached the fitting from the tank to test the fit.
Fuel Tank Fittings.
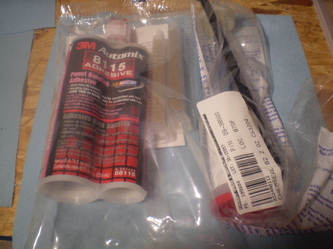
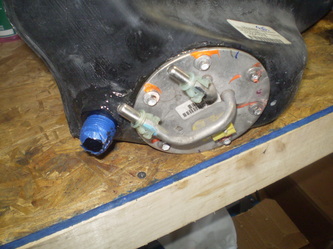
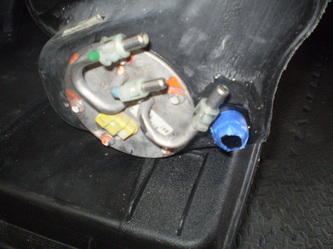
This has been one of my primary concerns and I have spent quite some time reading everything I could on preventing a leak with the other option of purchasing aluminum tanks. Any one who is familiar with the build knows that the nylon washers and RTV as per the manual do not work and will leak. The members of the forum use either the 3M 8115 panel adhesive or an aircraft fuel tank sealant. I have not read of any leaks occurring after using the 8115 along with really torquing down the nut and starting with a tight-fitting hole. The 8115 seams to be the preferred product. I decided to go two steps more by replacing the nylon washers with crush washers and using both types of sealants. The plan was to install with the 8115 and then cover the 8115 with a layer of aircraft fuel tank sealant.
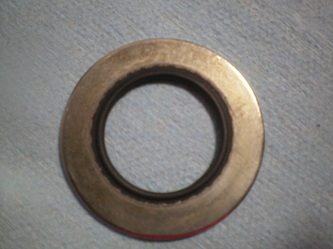
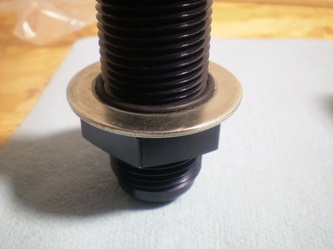
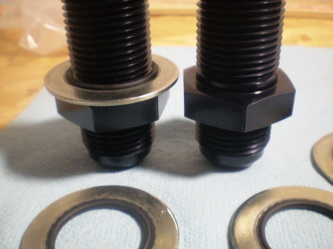
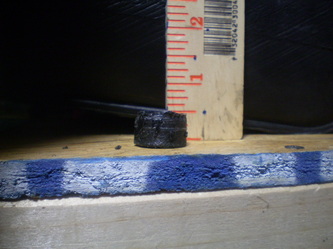
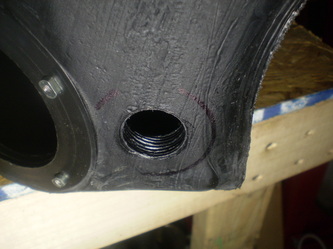
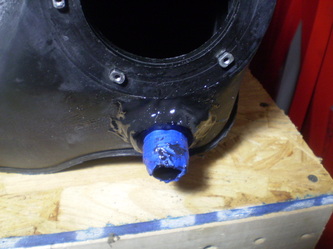
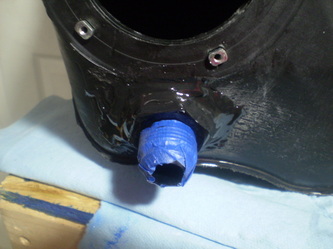
I started by placing a crush washer on the fitting. These are 1" fittings and fit extremely well. Then I drilled a 1" hole. The walls of the tanks are .5" thick. After making the whole I put the fitting in some channel lock pliers and threaded it into the tank. The AN fitting actually cut threads in the tank and was a very tight and solid fit. It fit so well and with the crush washer I am confident I could have placed the other washer and tightened the nut and not had a leak. I then removed the fitting and mixed some of the 8115. I put some on the threads about 1" from the washer and onto the washer. I then threaded it in to the tank and really snugged it down. Then I added some 8115 to the inside followed by the second crush washer and nut. I then really tightened the nut. I added some more 8115 to the inside and outside. I have not yet added the aircraft sealant. I'll let the 8115 cure for a few days prior to adding the layer.
I started by placing a crush washer on the fitting. These are 1" fittings and fit extremely well. Then I drilled a 1" hole. The walls of the tanks are .5" thick. After making the whole I put the fitting in some channel lock pliers and threaded it into the tank. The AN fitting actually cut threads in the tank and was a very tight and solid fit. It fit so well and with the crush washer I am confident I could have placed the other washer and tightened the nut and not had a leak. I then removed the fitting and mixed some of the 8115. I put some on the threads about 1" from the washer and onto the washer. I then threaded it in to the tank and really snugged it down. Then I added some 8115 to the inside followed by the second crush washer and nut. I then really tightened the nut. I added some more 8115 to the inside and outside. I have not yet added the aircraft sealant. I'll let the 8115 cure for a few days prior to adding the layer.
Assembled Tanks
Very uneventful. I used my hand brake line bender to add a little more angle to the bottom tube on the original drivers side tank.
